A variable is basically a nickname for a certain value. For example, if I’m working on my site and I want the text to be in the Roboto font, I can create a variable called TextType and set the value to be Roboto. Throughout my site I can set the text to use the variable TextType. While I could achieve the same result simply by setting the font to Roboto, the advantage to using a variable is that if I change my mind and decide to use Arial font instead of Roboto, I can simply the TextType variable to Arial and the change will take effect sitewide.
To create a variable:
Variables are currently limited to font family, text color and size (for Pro users). In the example below, we’ll create a font family variable.
- Open the Elementor Editor.
- Drag a Paragraph element to the canvas.
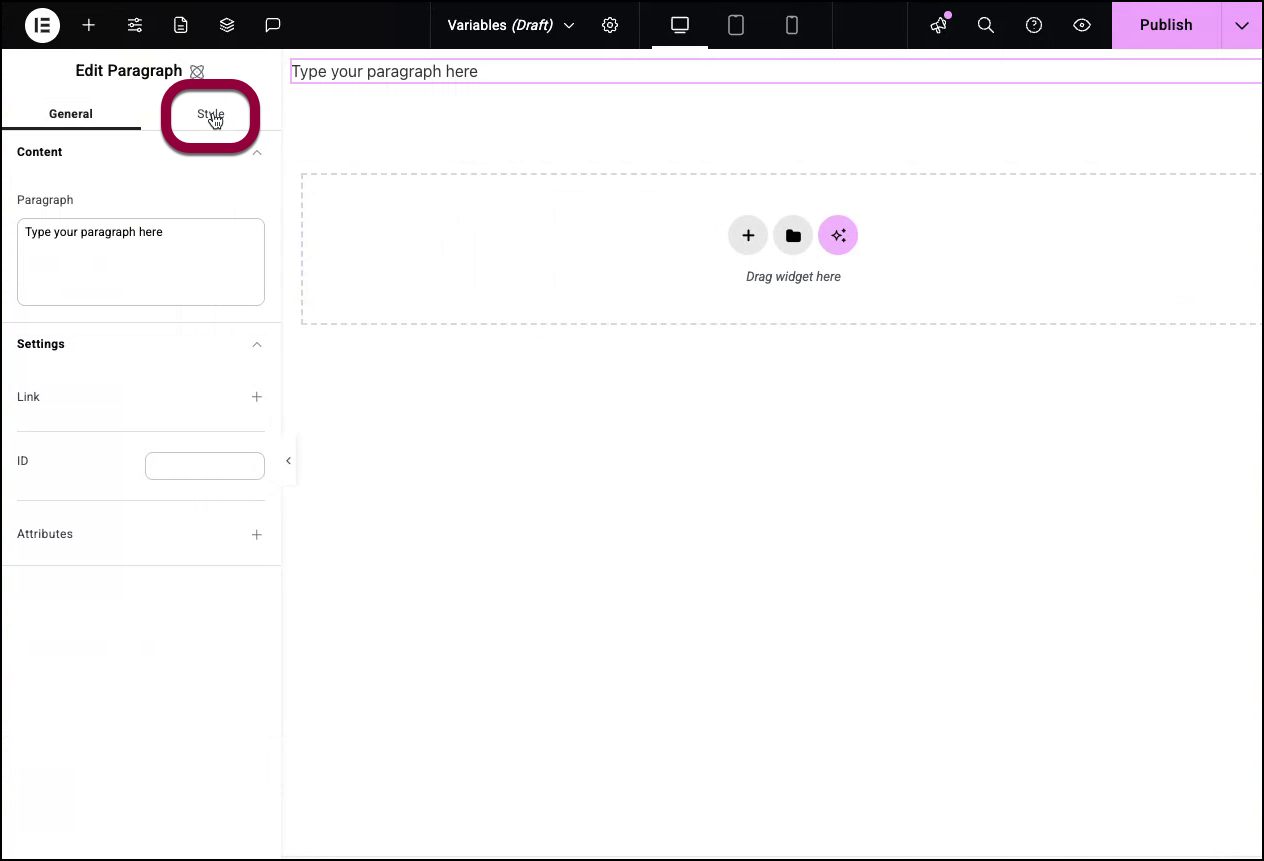
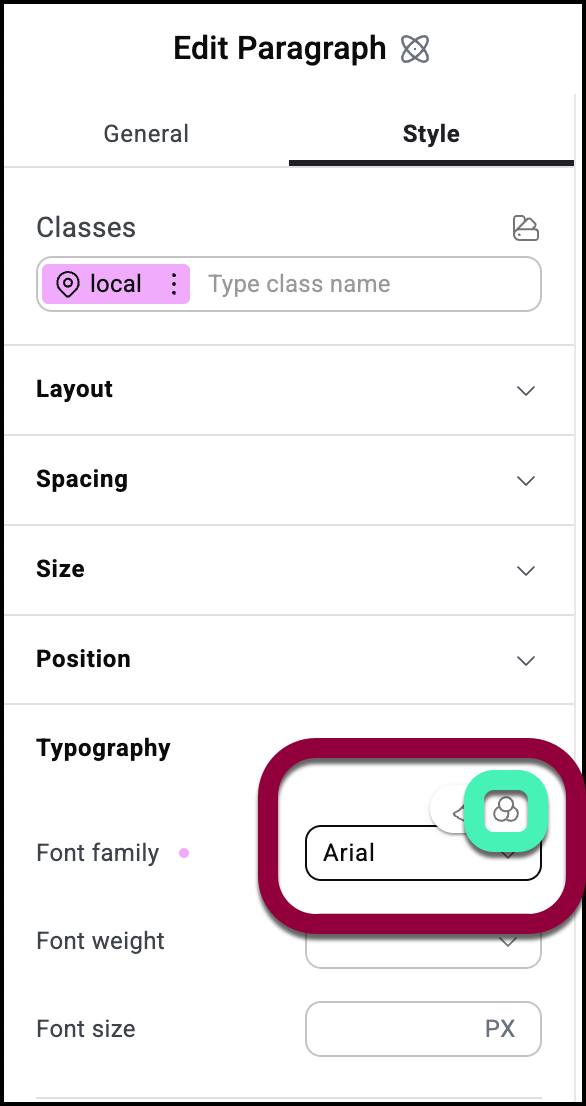
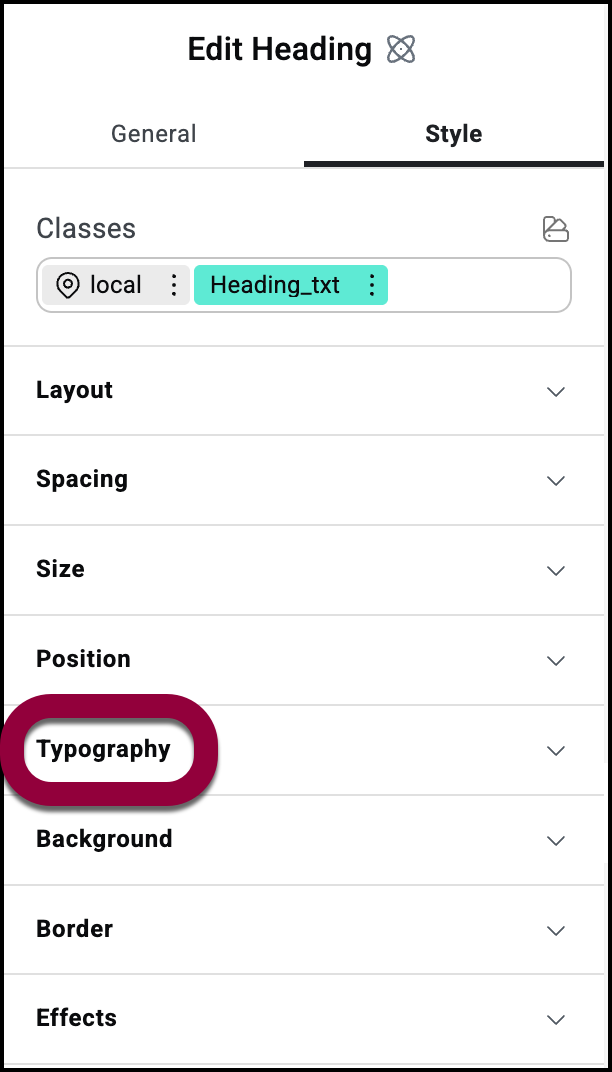
- Click the Style tab.
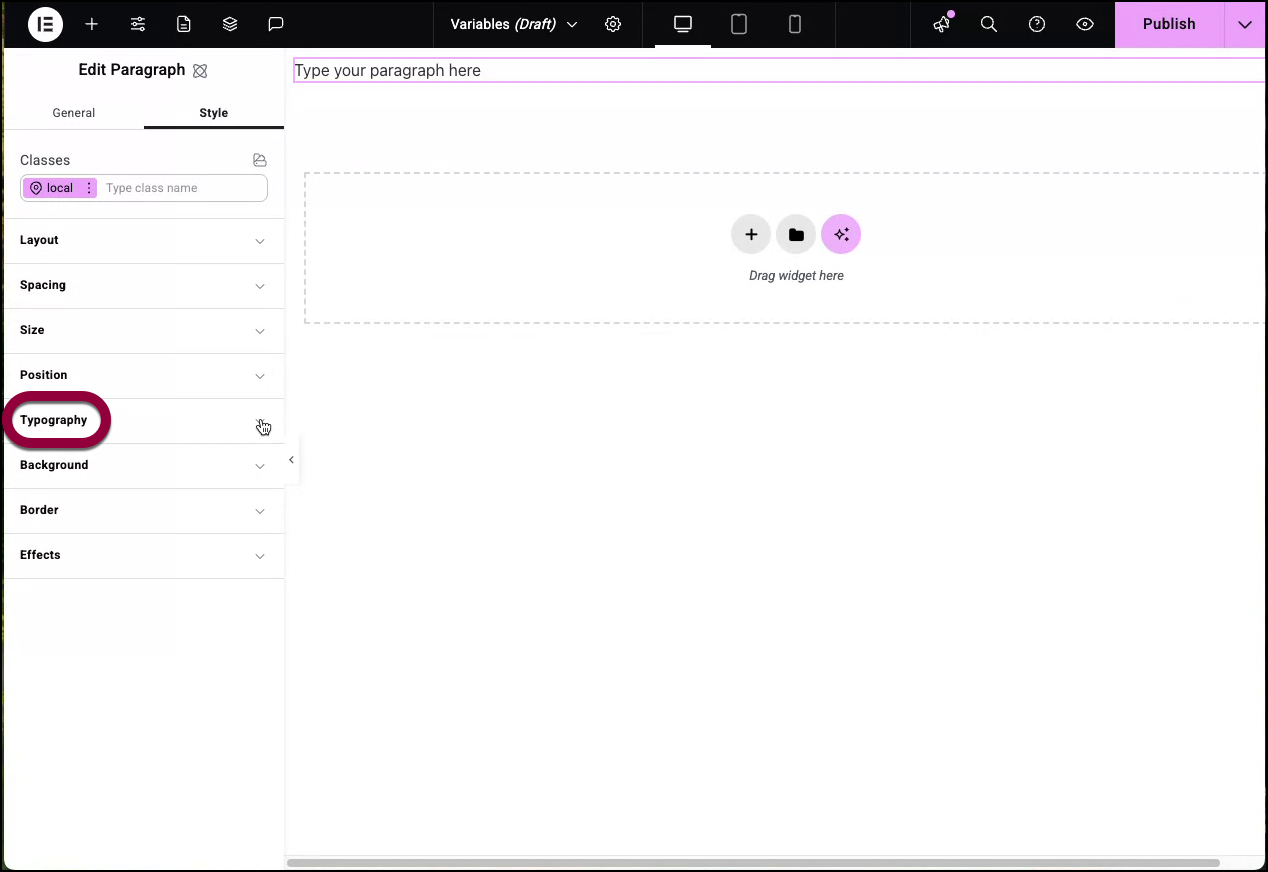
- Open the Typography field.
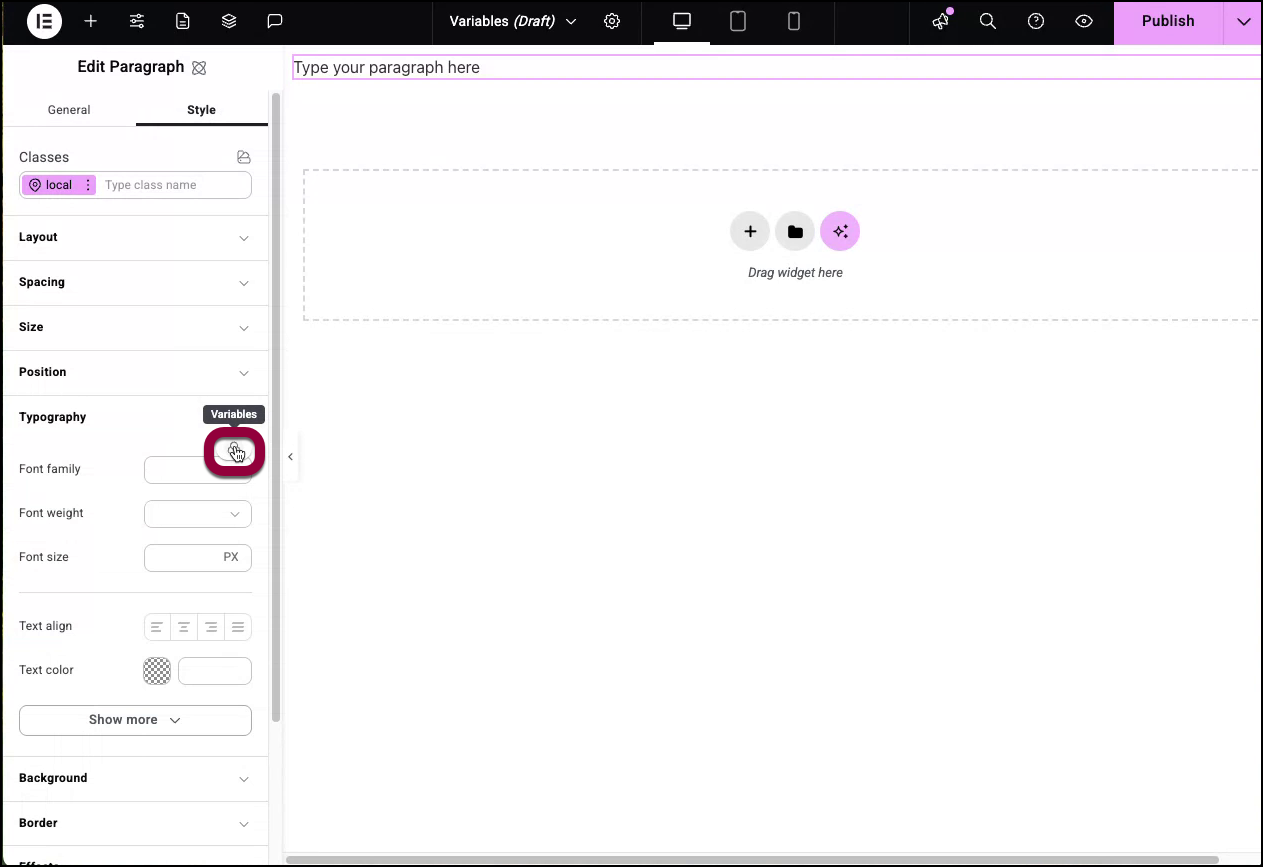
- In the Font family field, click the variable icon
 .
. 
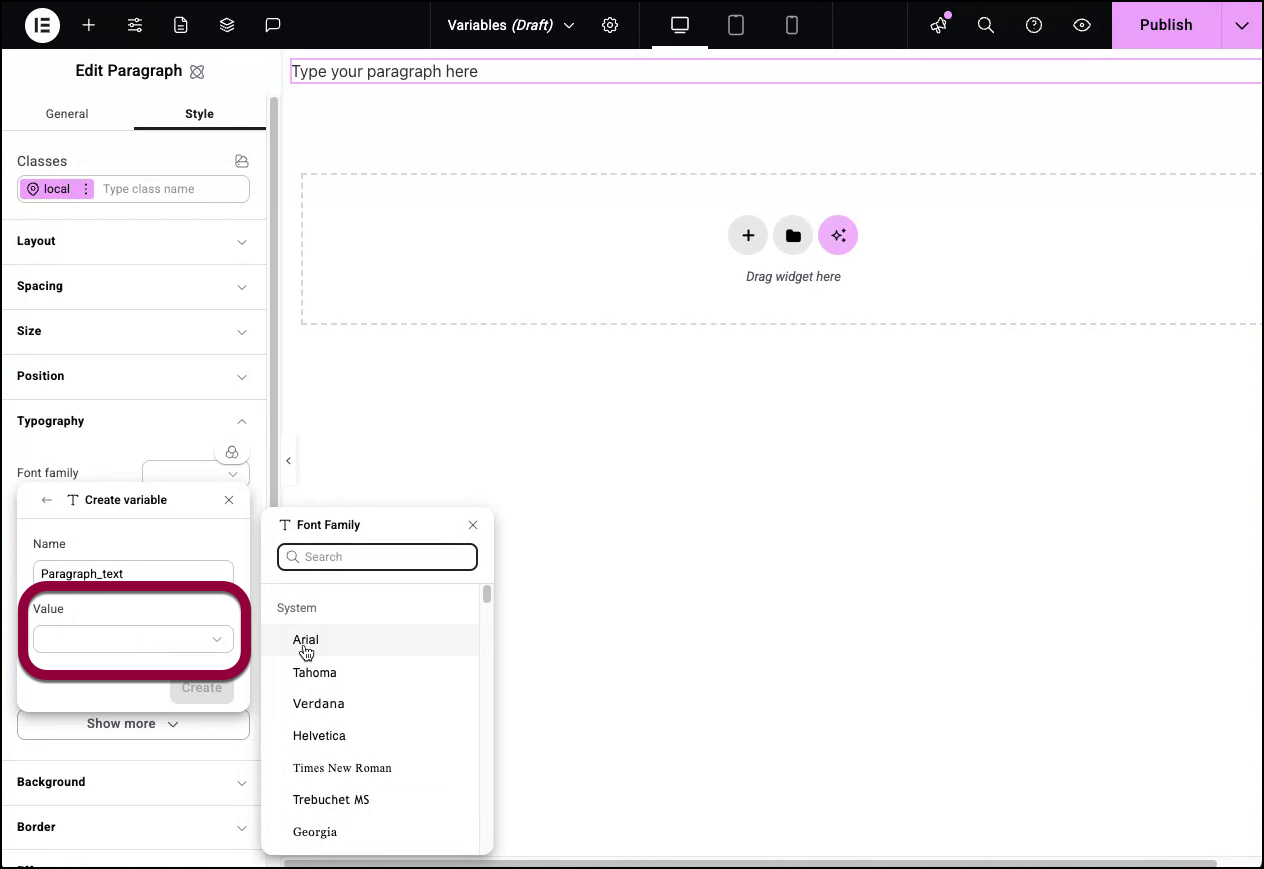
- If this is the first variable you’re creating, click Create a variable. If it’s not your first variable, click the plus icon in the variable popup.
- Name your variable. In this case, we’ll name the variable Paragraph_text.

- Enter Arial in the Value field.
- Click Save.NoteIf you add value before creating the variable, that value will be the variable’s default. For example, if you change the font size to 100 PX and then create a variable, that variable will default to 100 PX.
To edit a variable:
In this example, we’ll edit the variable we created above, changing the font type to Roboto.
- Open the Typography field as described above.
- Hover over the Font family field.
- Click the variable icon.
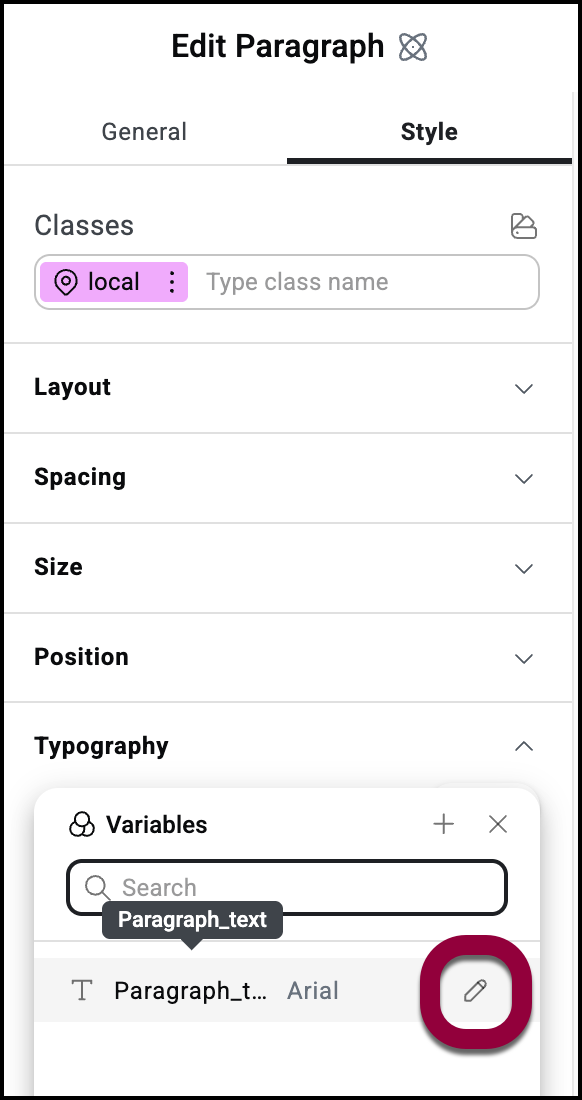
- Hover over the variable you want to edit.
- Click the pencil icon next to the variable name.
- Edit the name and/or value.
- In this case, we’ll change the value to Roboto.
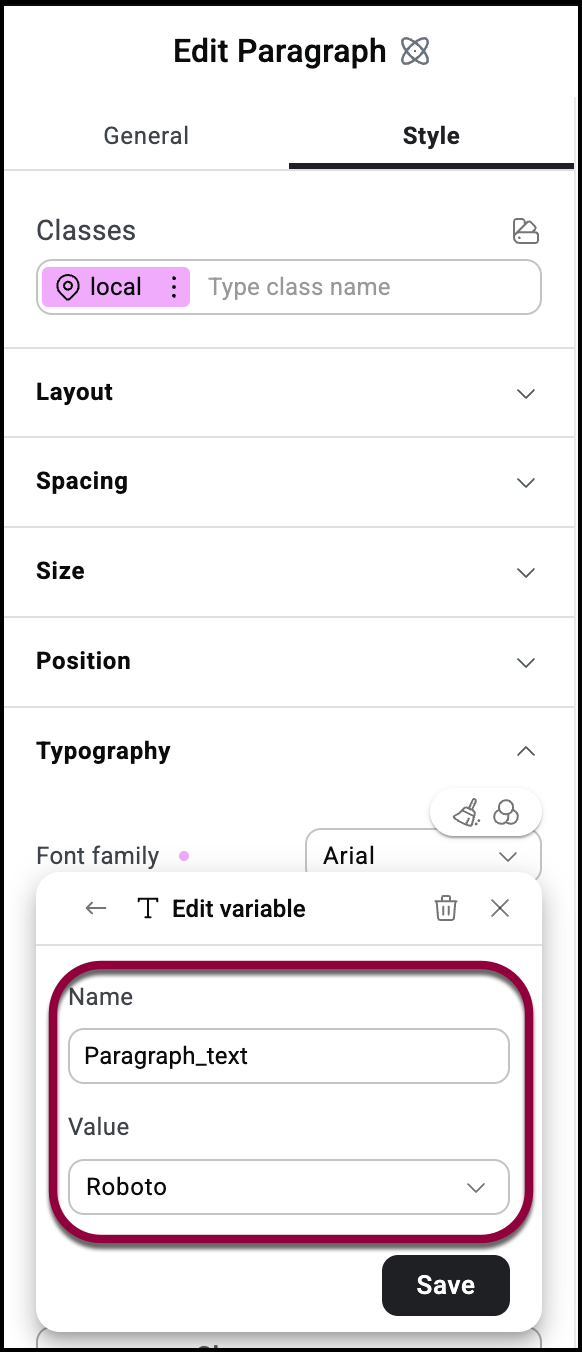
- Click Save.

Where the variable Paragraph_text is used in the website, the font will switch to Roboto.
Variables and classes
Classes combine a number of styles into a single class to help speed up site building. For more information on classes, see Classes in Elementor. Variables can be part of a class.
In the example below, we’ll create a class which includes a variable.
- Open the Elementor Editor.
- Create a variable called Paragraph_font with the Font family Roboto. See Create a variable above for details.
- Drag a Heading element to the canvas.
- In the Style section of the element, Create a class Heading_txt. See Classes in Elementor for details.
Make sure you’re editing the Heading_txt class.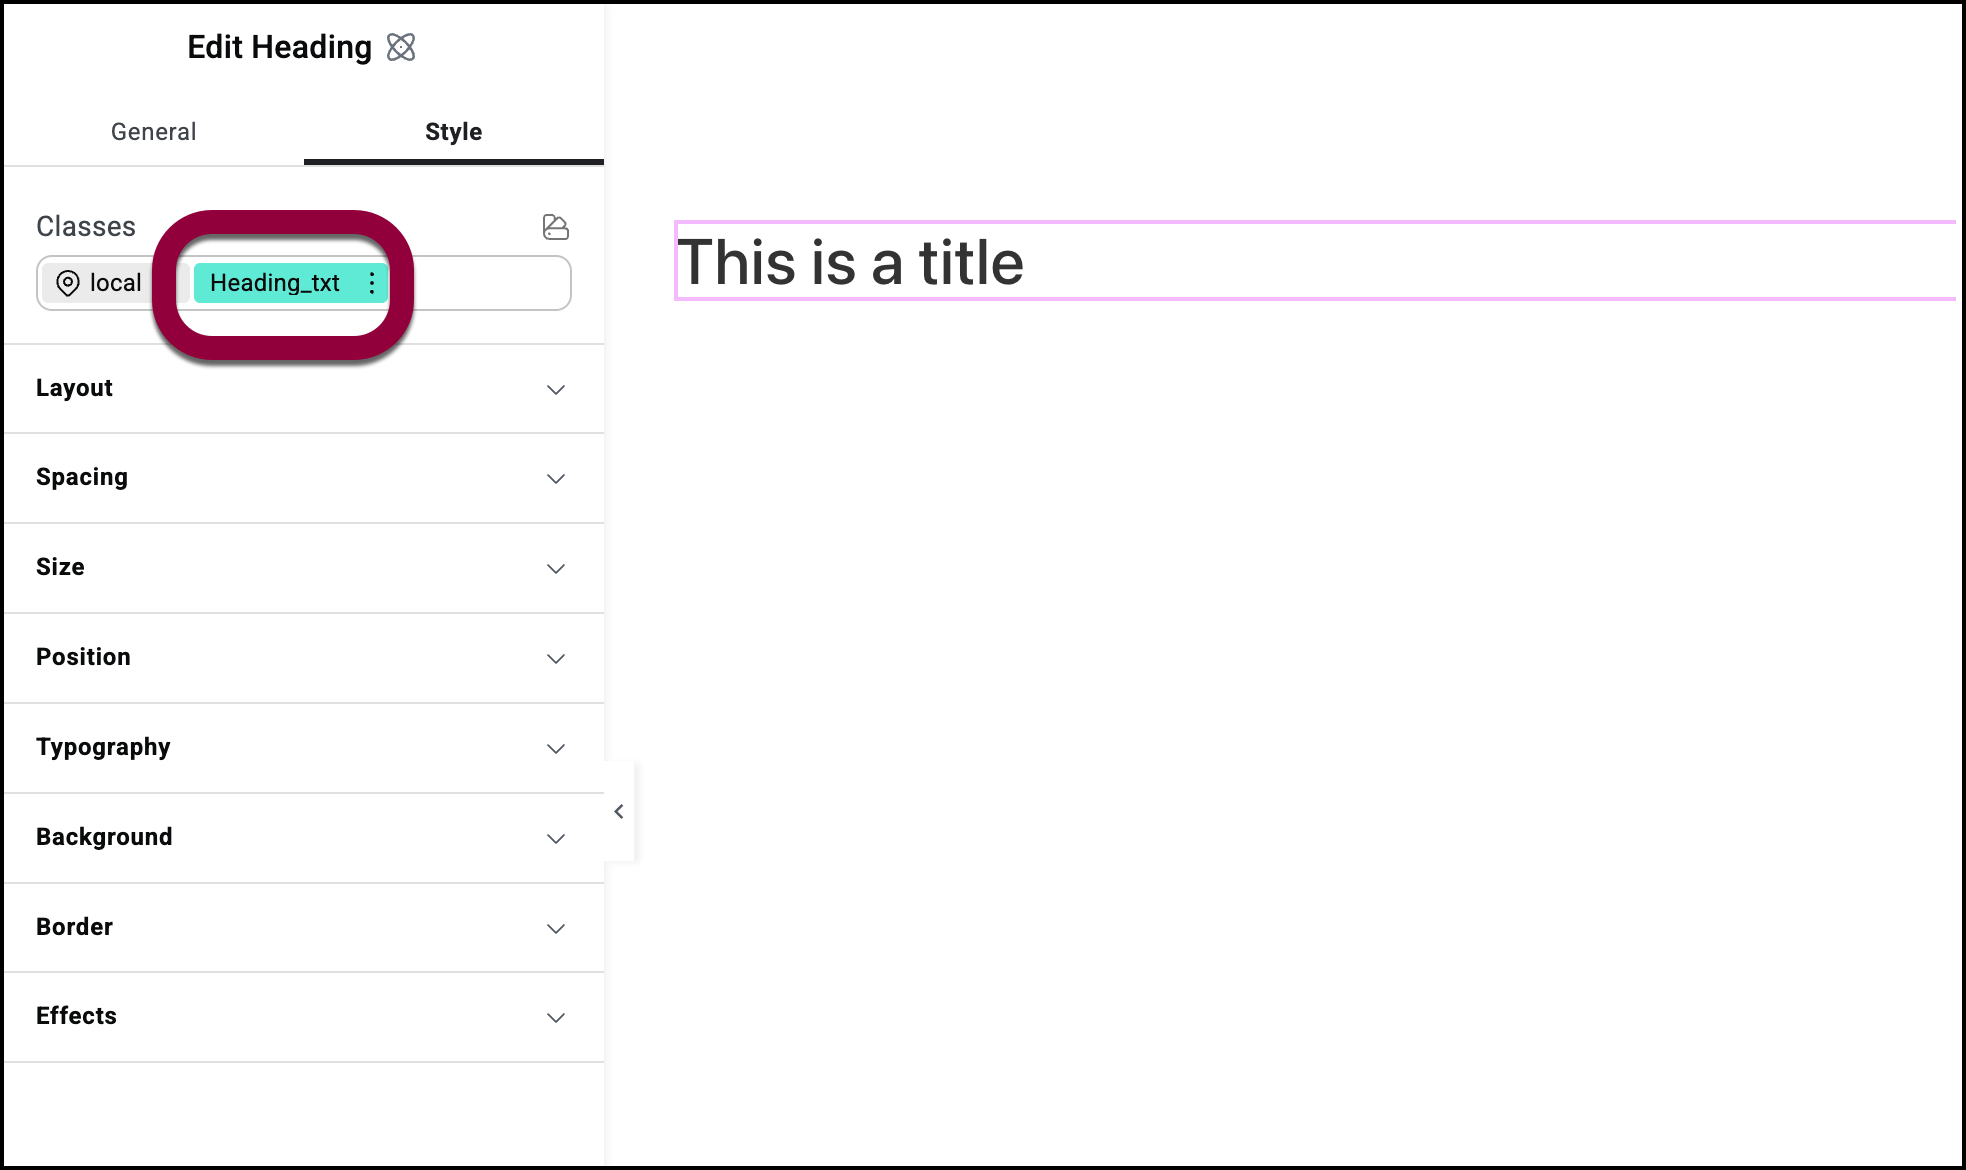
- Open the Typography field.
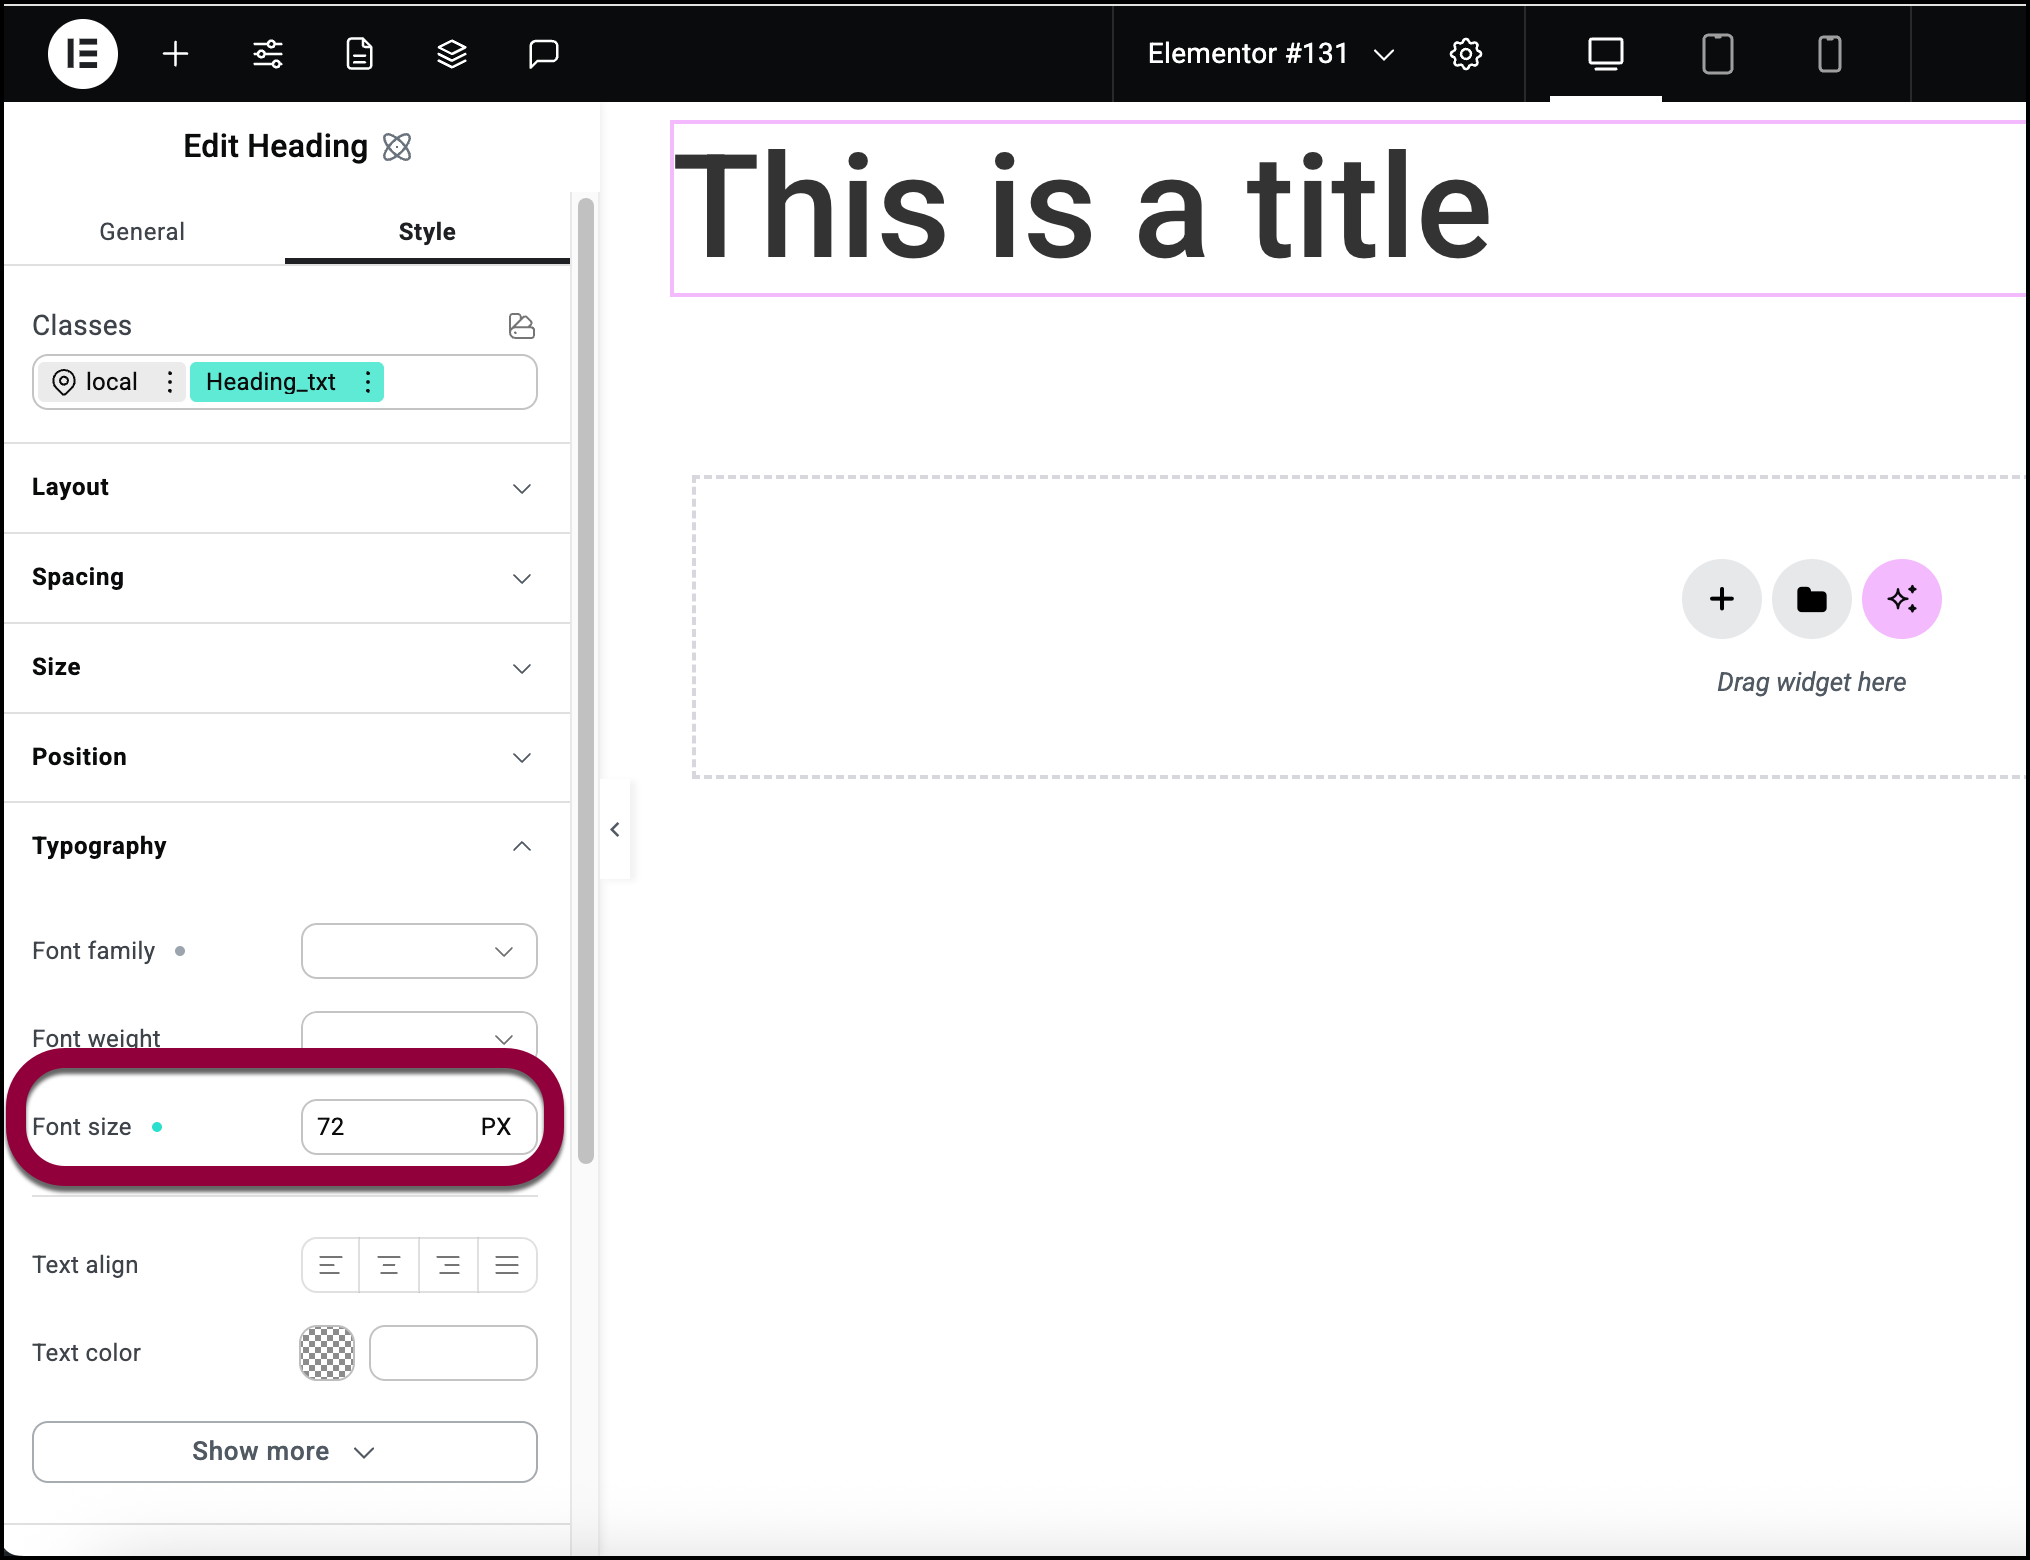
- Set the font size to 72 PX.
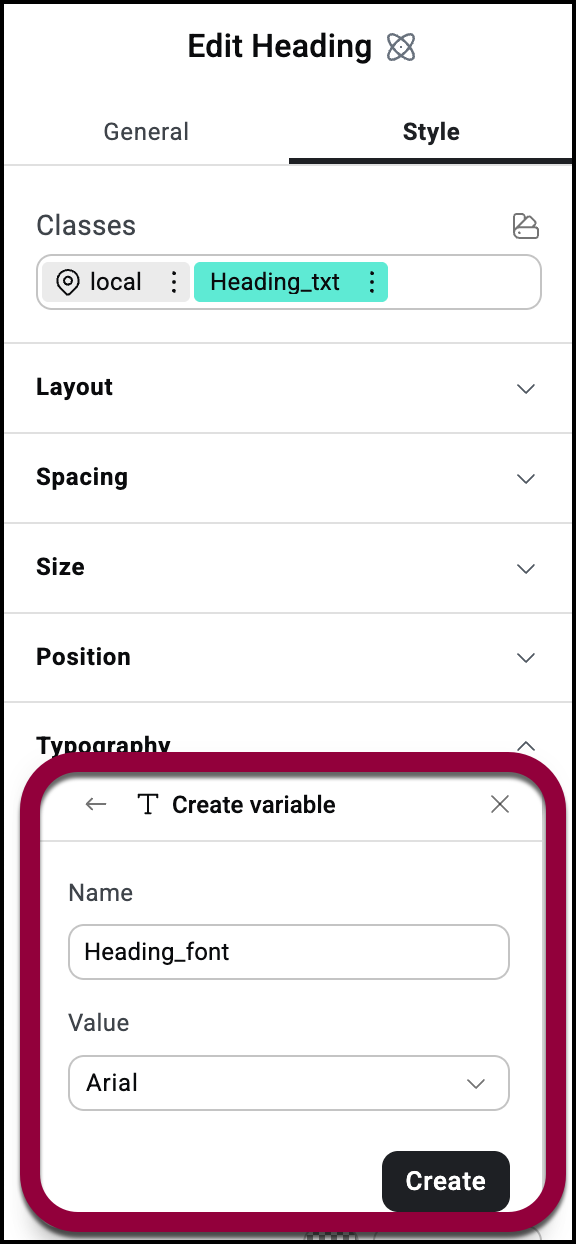
- In Font family, click the variable icon and create a variable called Heading_font and set the Font family to Arial.
- Add a second Heading under the first and give it the class Heading_txt.
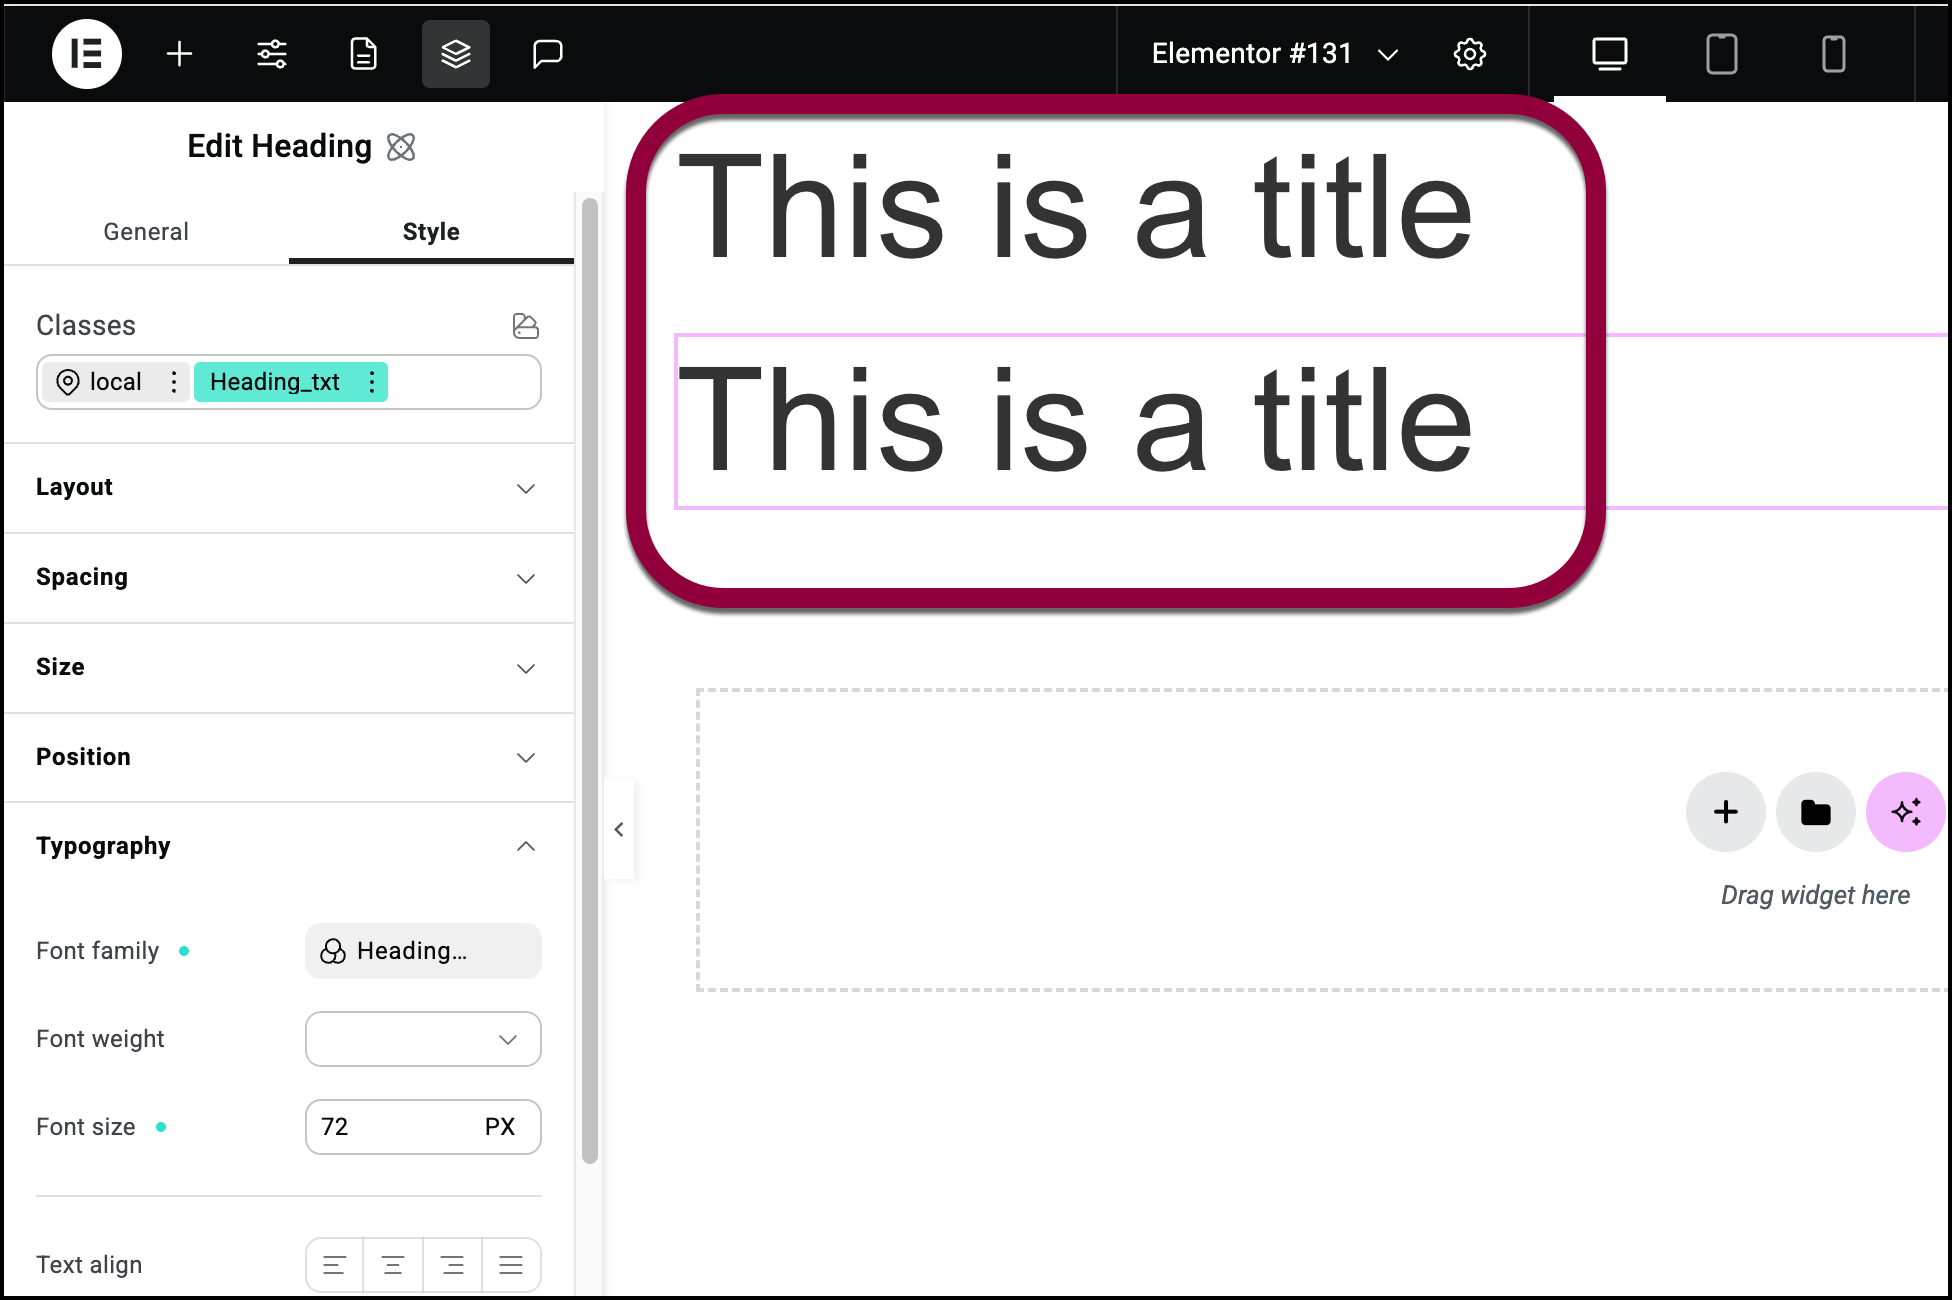
Both Headings should appear with a 72 PX Arial font. - In the second heading, click the Heading_txt class so that you’re editing this class. and switch the Font family to the Paragraph_txt variable.
Both headings should now display the Roboto font since the Paragraph_txt variable is part of the Heading_txt class.