The Web Accessibility plugin installs a widget on your site that allows users to customize your site for their needs.
Install Web Accessibility
Web Accessibility is a WordPress plugin and is installed from WP Admin.
To install Web Accessibility:
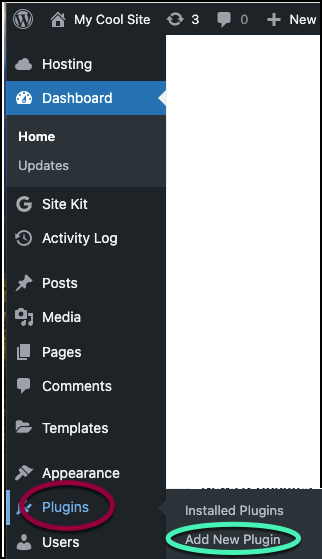
- From WP Admin, navigate to Plugins>Add new plugins.
The plugin directory appears.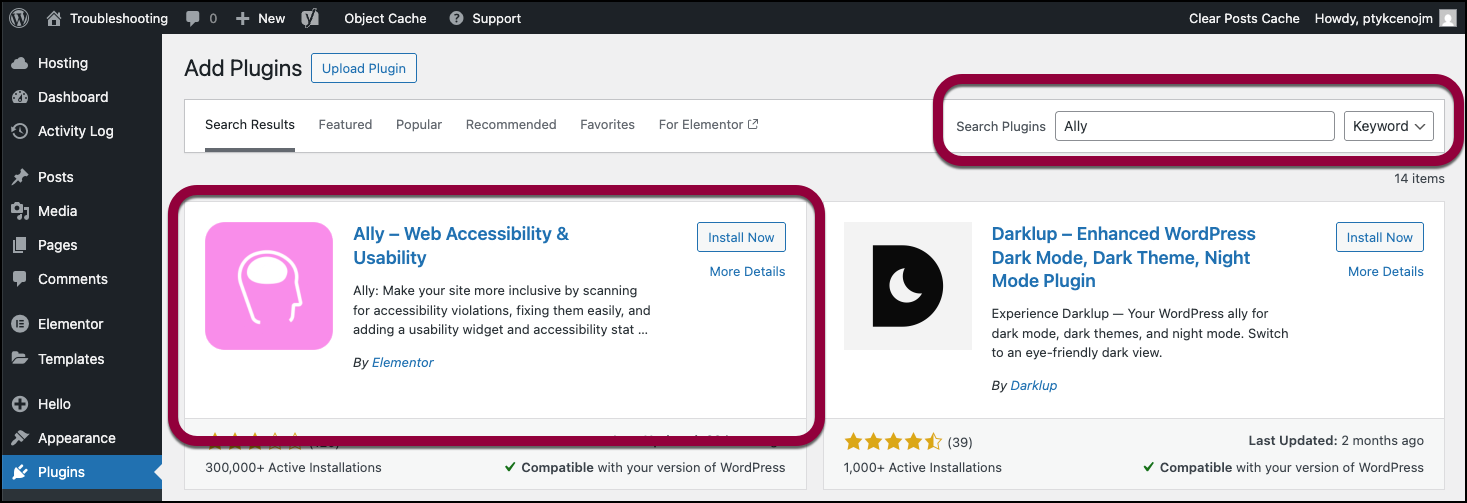
- In the search box, enter Ally.
- Locate Ally by Elementor.
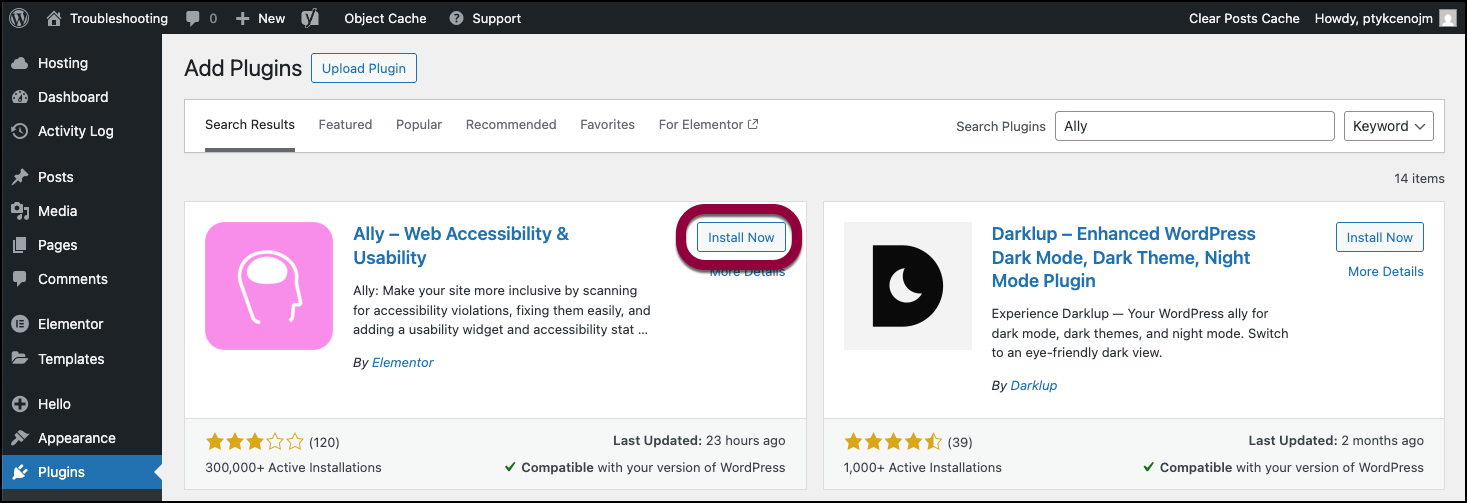
- In the Ally plugin card, click Install Now.
- After the plugin is installed, click Activate.
Web Accessibility is installed on your site and can now be found in the WP Admin panel.
Note
Ally does not scan or crawl your site unless you activate a scan. For details, see Scan Your Pages for Accessibility Issues.
Now you need to connect the plugin to your account.
Connect Web Accessibility
Before using Web Accessibility, you need to create and connect to your account.
To create and connect to your account:
- Go to your WP Admin.
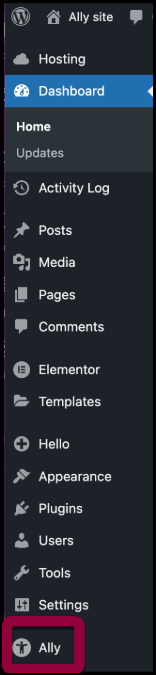
- Navigate to Ally.
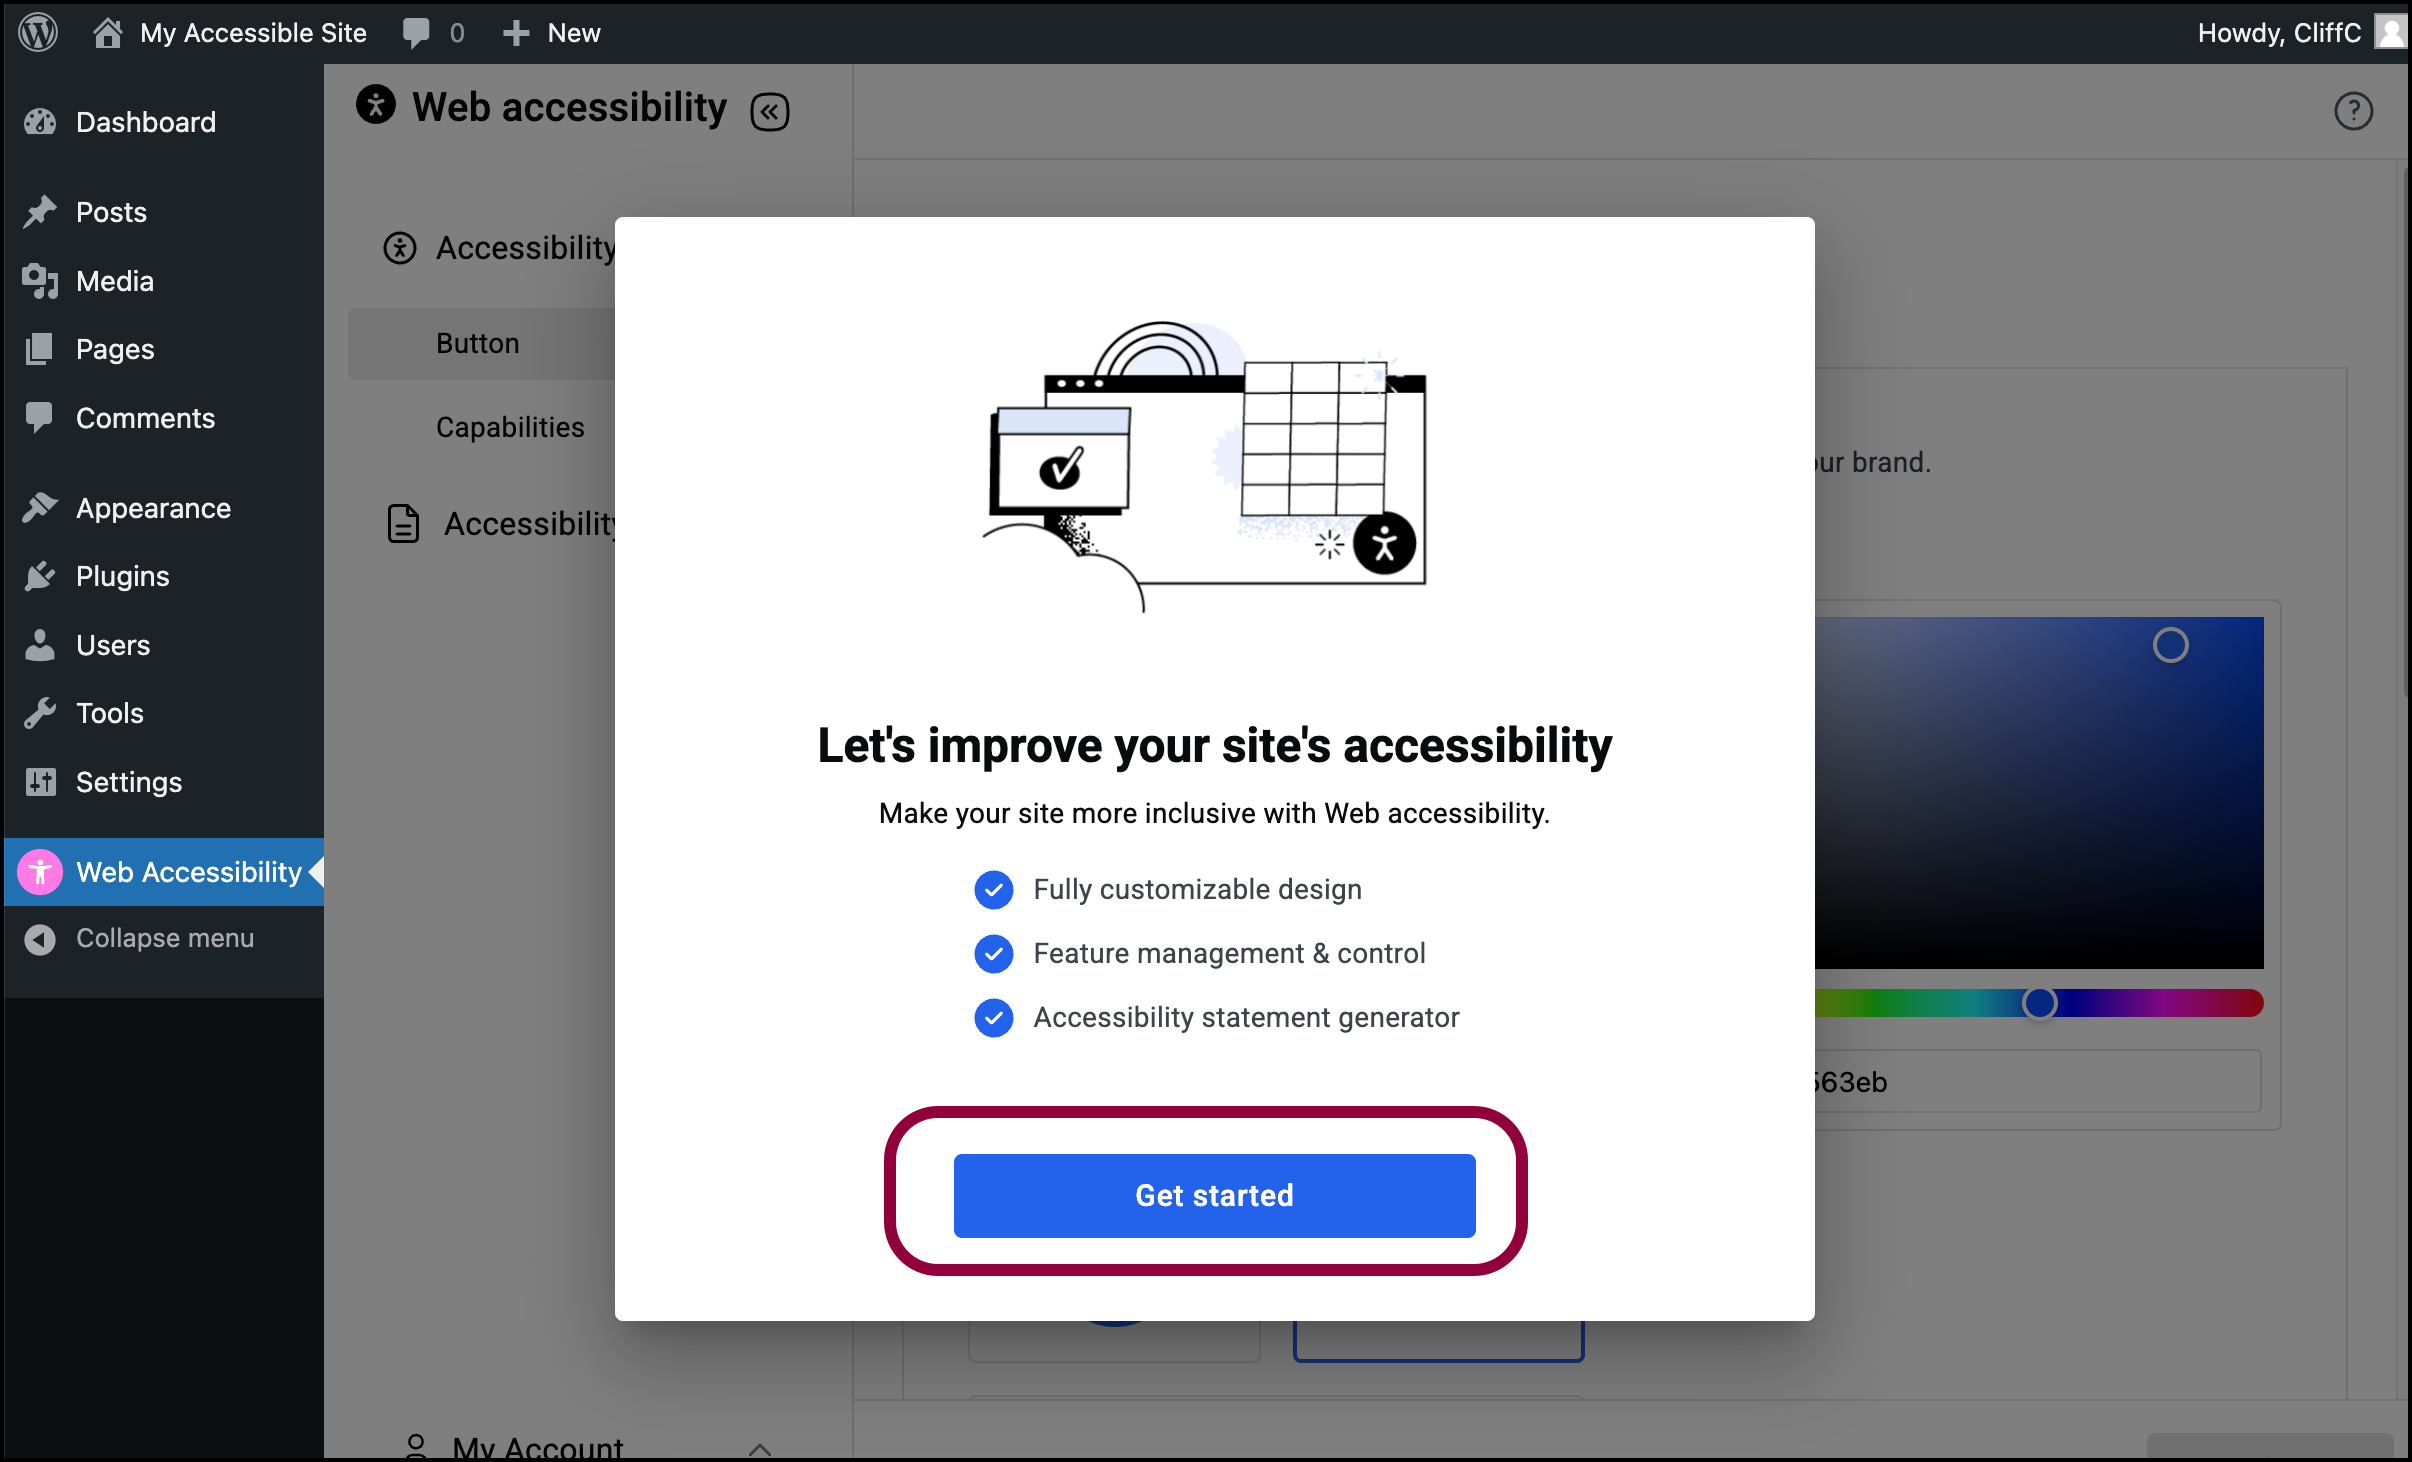
- Click Get Started.
If you do not have an Elementor account, you’ll need to create one. A wizard will walk you through the process. For details, see Create an account. - Confirm that you’re connecting to the correct account. If the correct account does not appear, click Switch User and connect to the correct account.
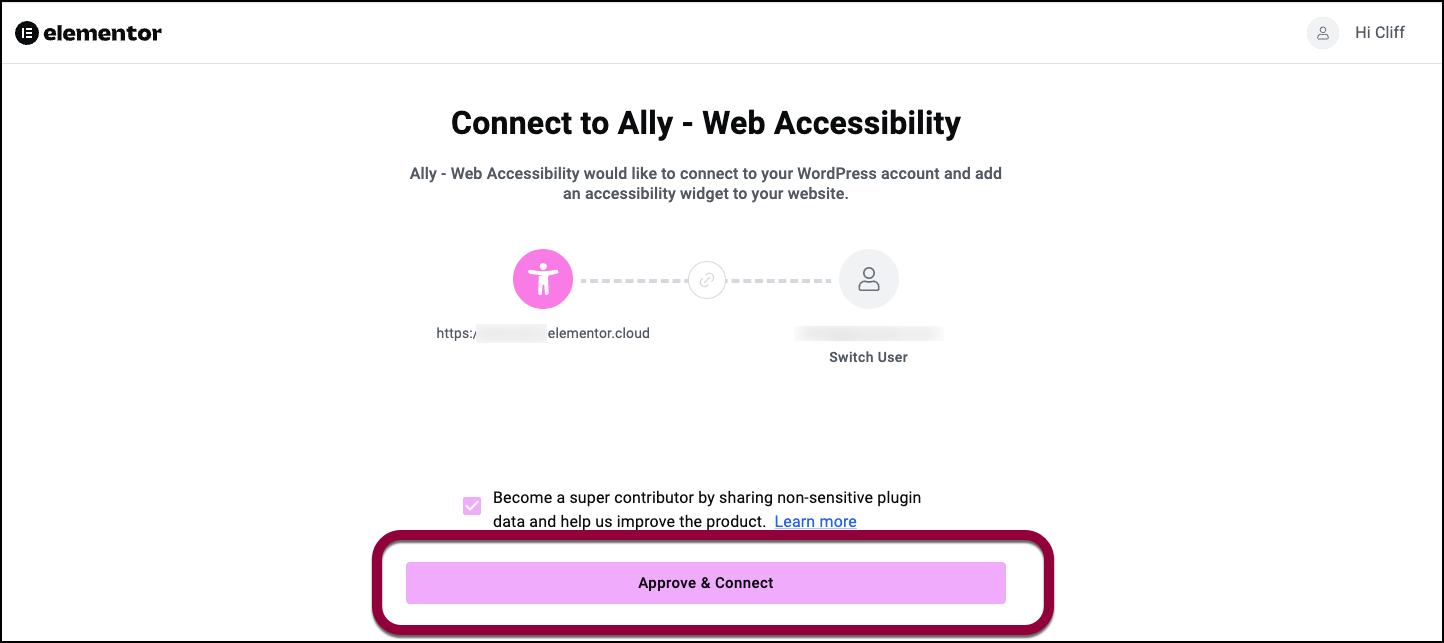
- Click Approve & Connect.
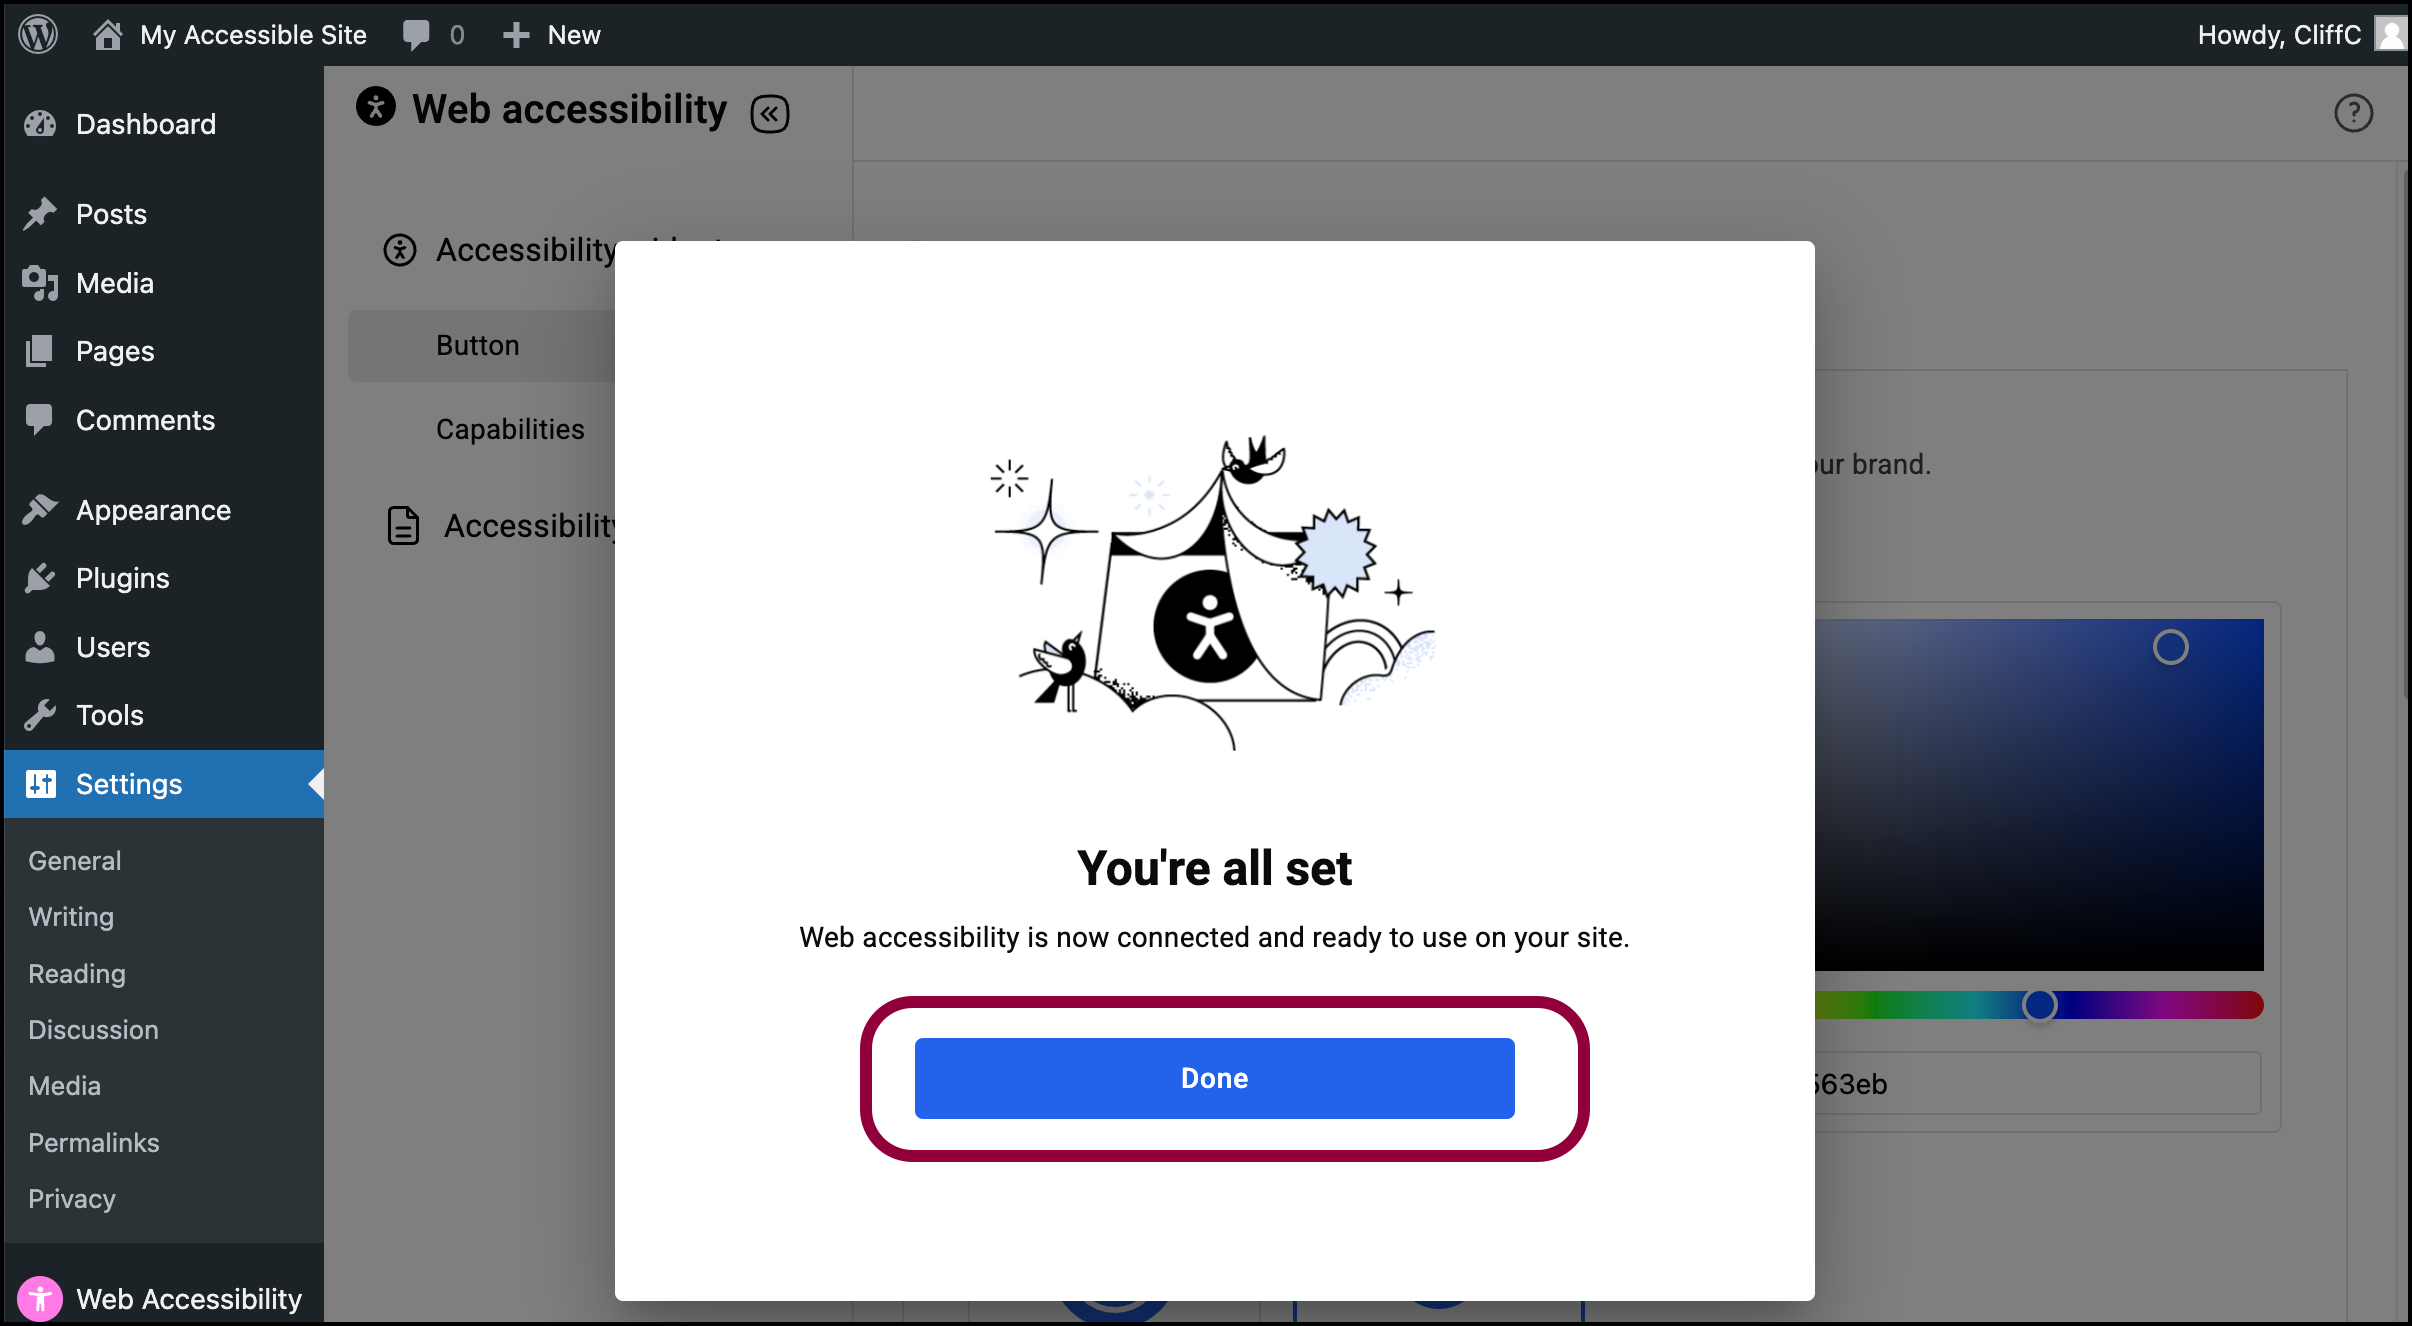
- Click Done.
Ally is connected to your account.