Blogs are an important part of many websites, even those that aren’t blog focused. For example, an online clothing store may want to incorporate a fashion blog. This blog can be used to help market store products and, if your information is interesting enough to attract interest, it can help boost your SEO.
The blog page of your site is generally one page with a collection of blog posts. For more information about creating the individual posts, see What are pages and posts?, and Create a Single Post Template, This article will assume you have several existing blog posts.
- Create a new page.NoteYou can design your blog page using all the design tools in the Elementor Editor but to keep things simple, the example below only details how to add an archive of blog posts to your page.
- Add a Loop Grid widget to the canvas. For more information, see Build a loop grid. NoteYou can use the Archive Posts widget or Posts widget to create a blog page, but we’ll use the Loop Grid widget as it offers more flexibility.

- Click Create a template.
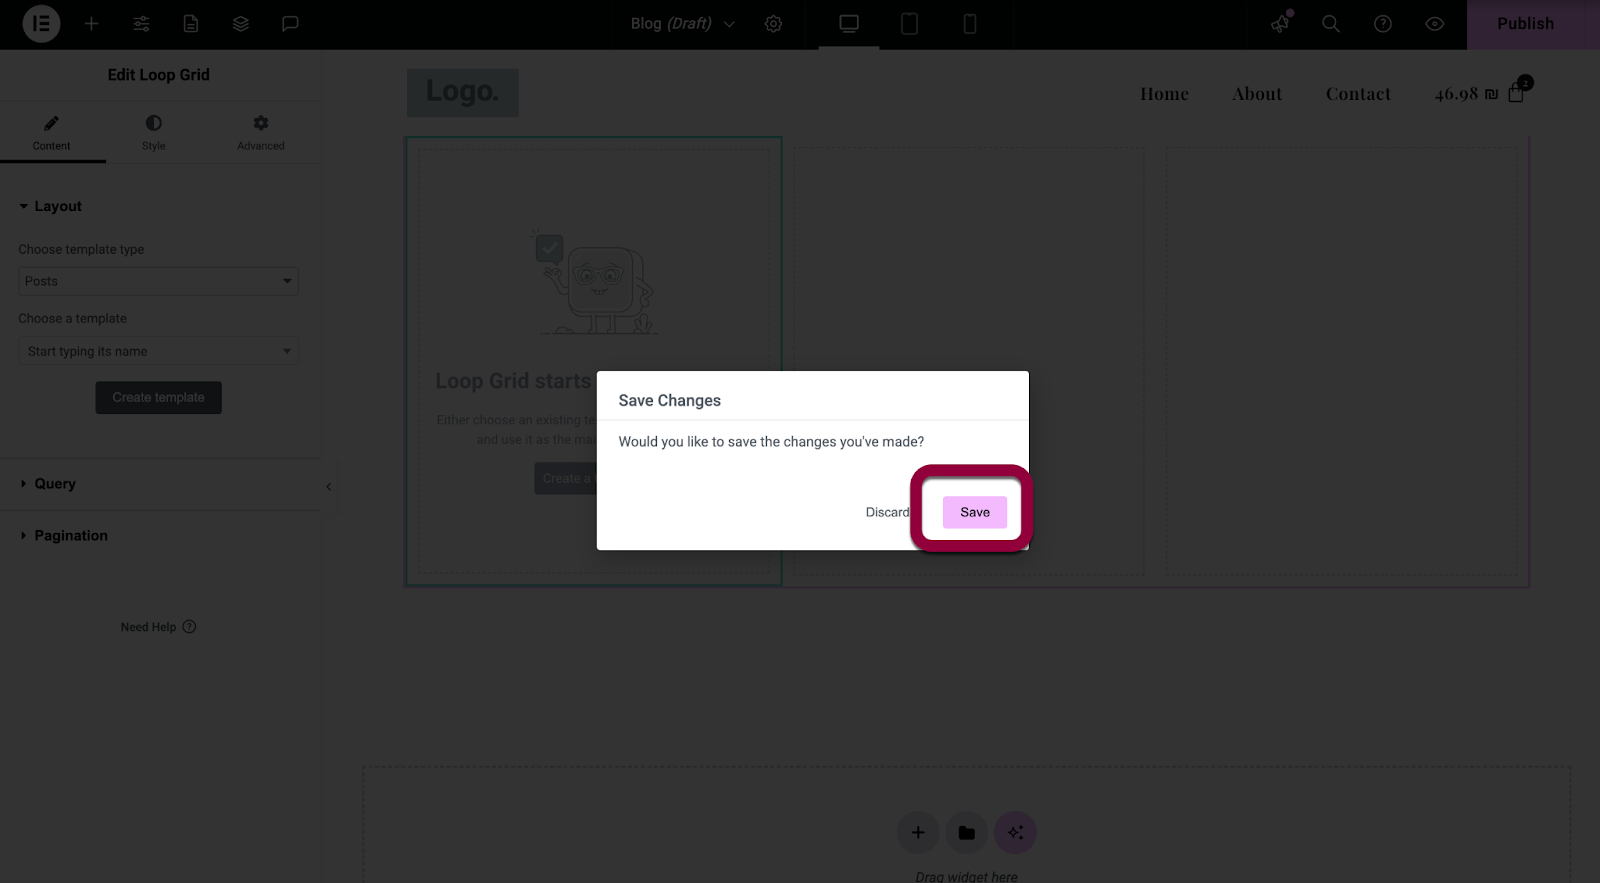
- In the popup window, click Save.
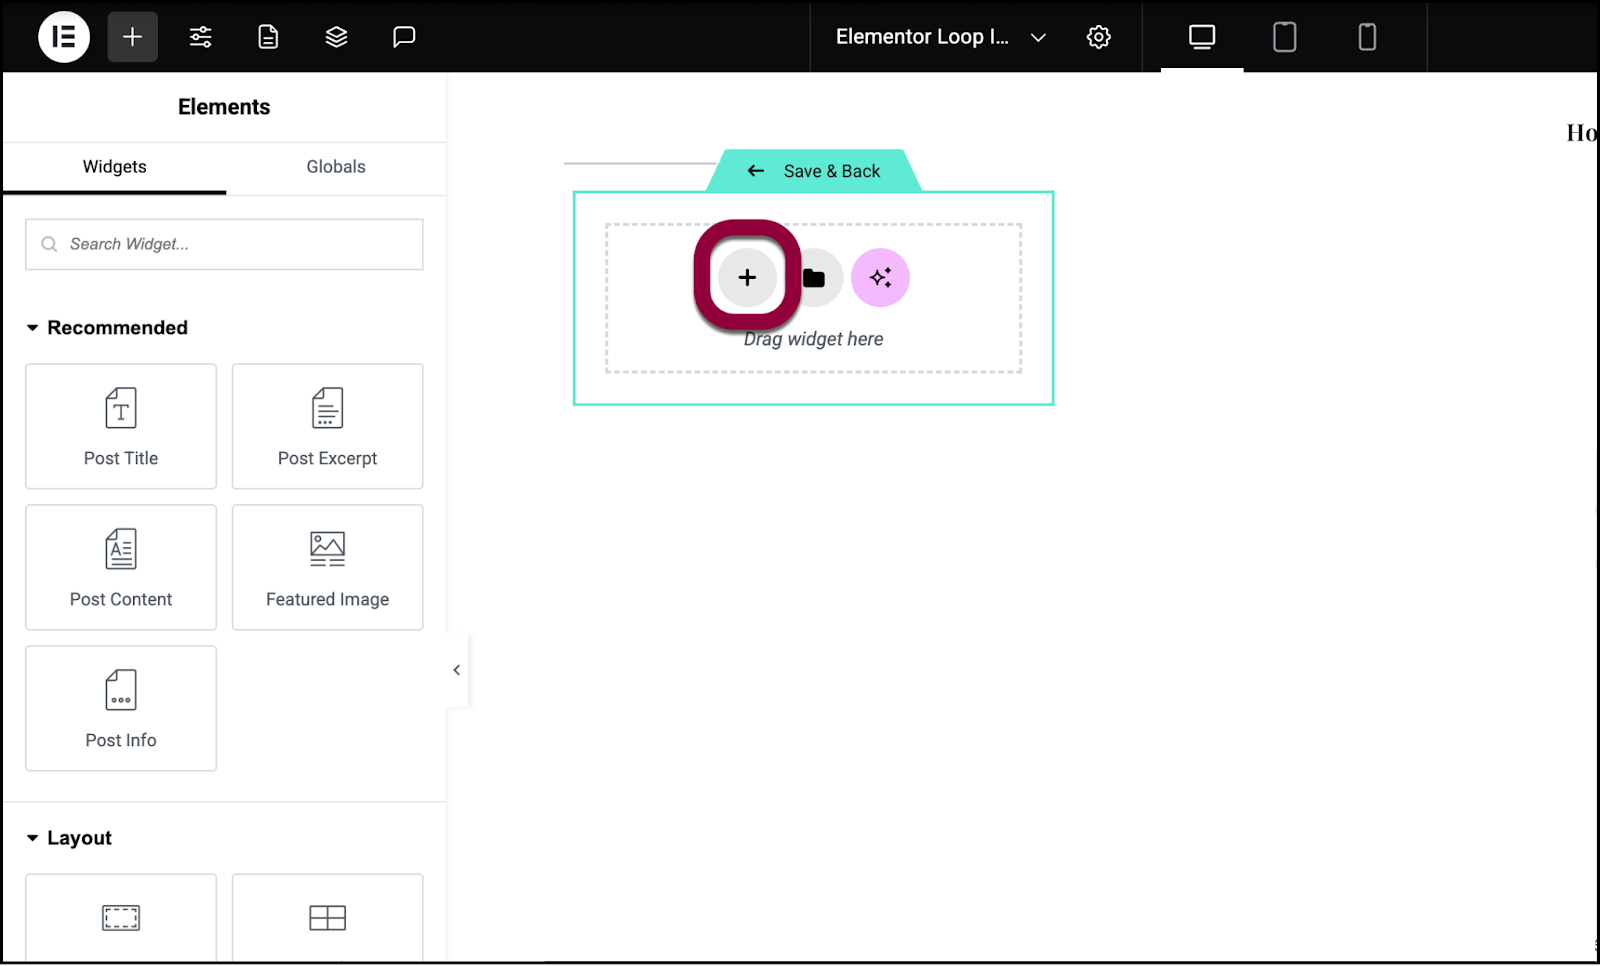
- On the canvas, click the + sign.
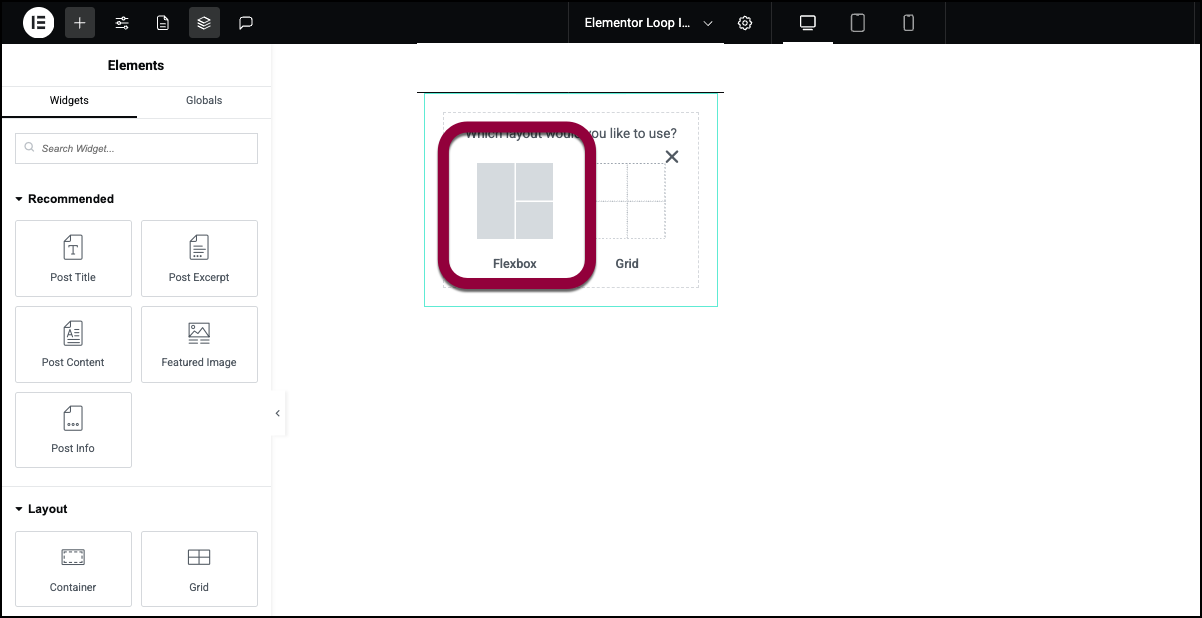
- Choose Flexbox.
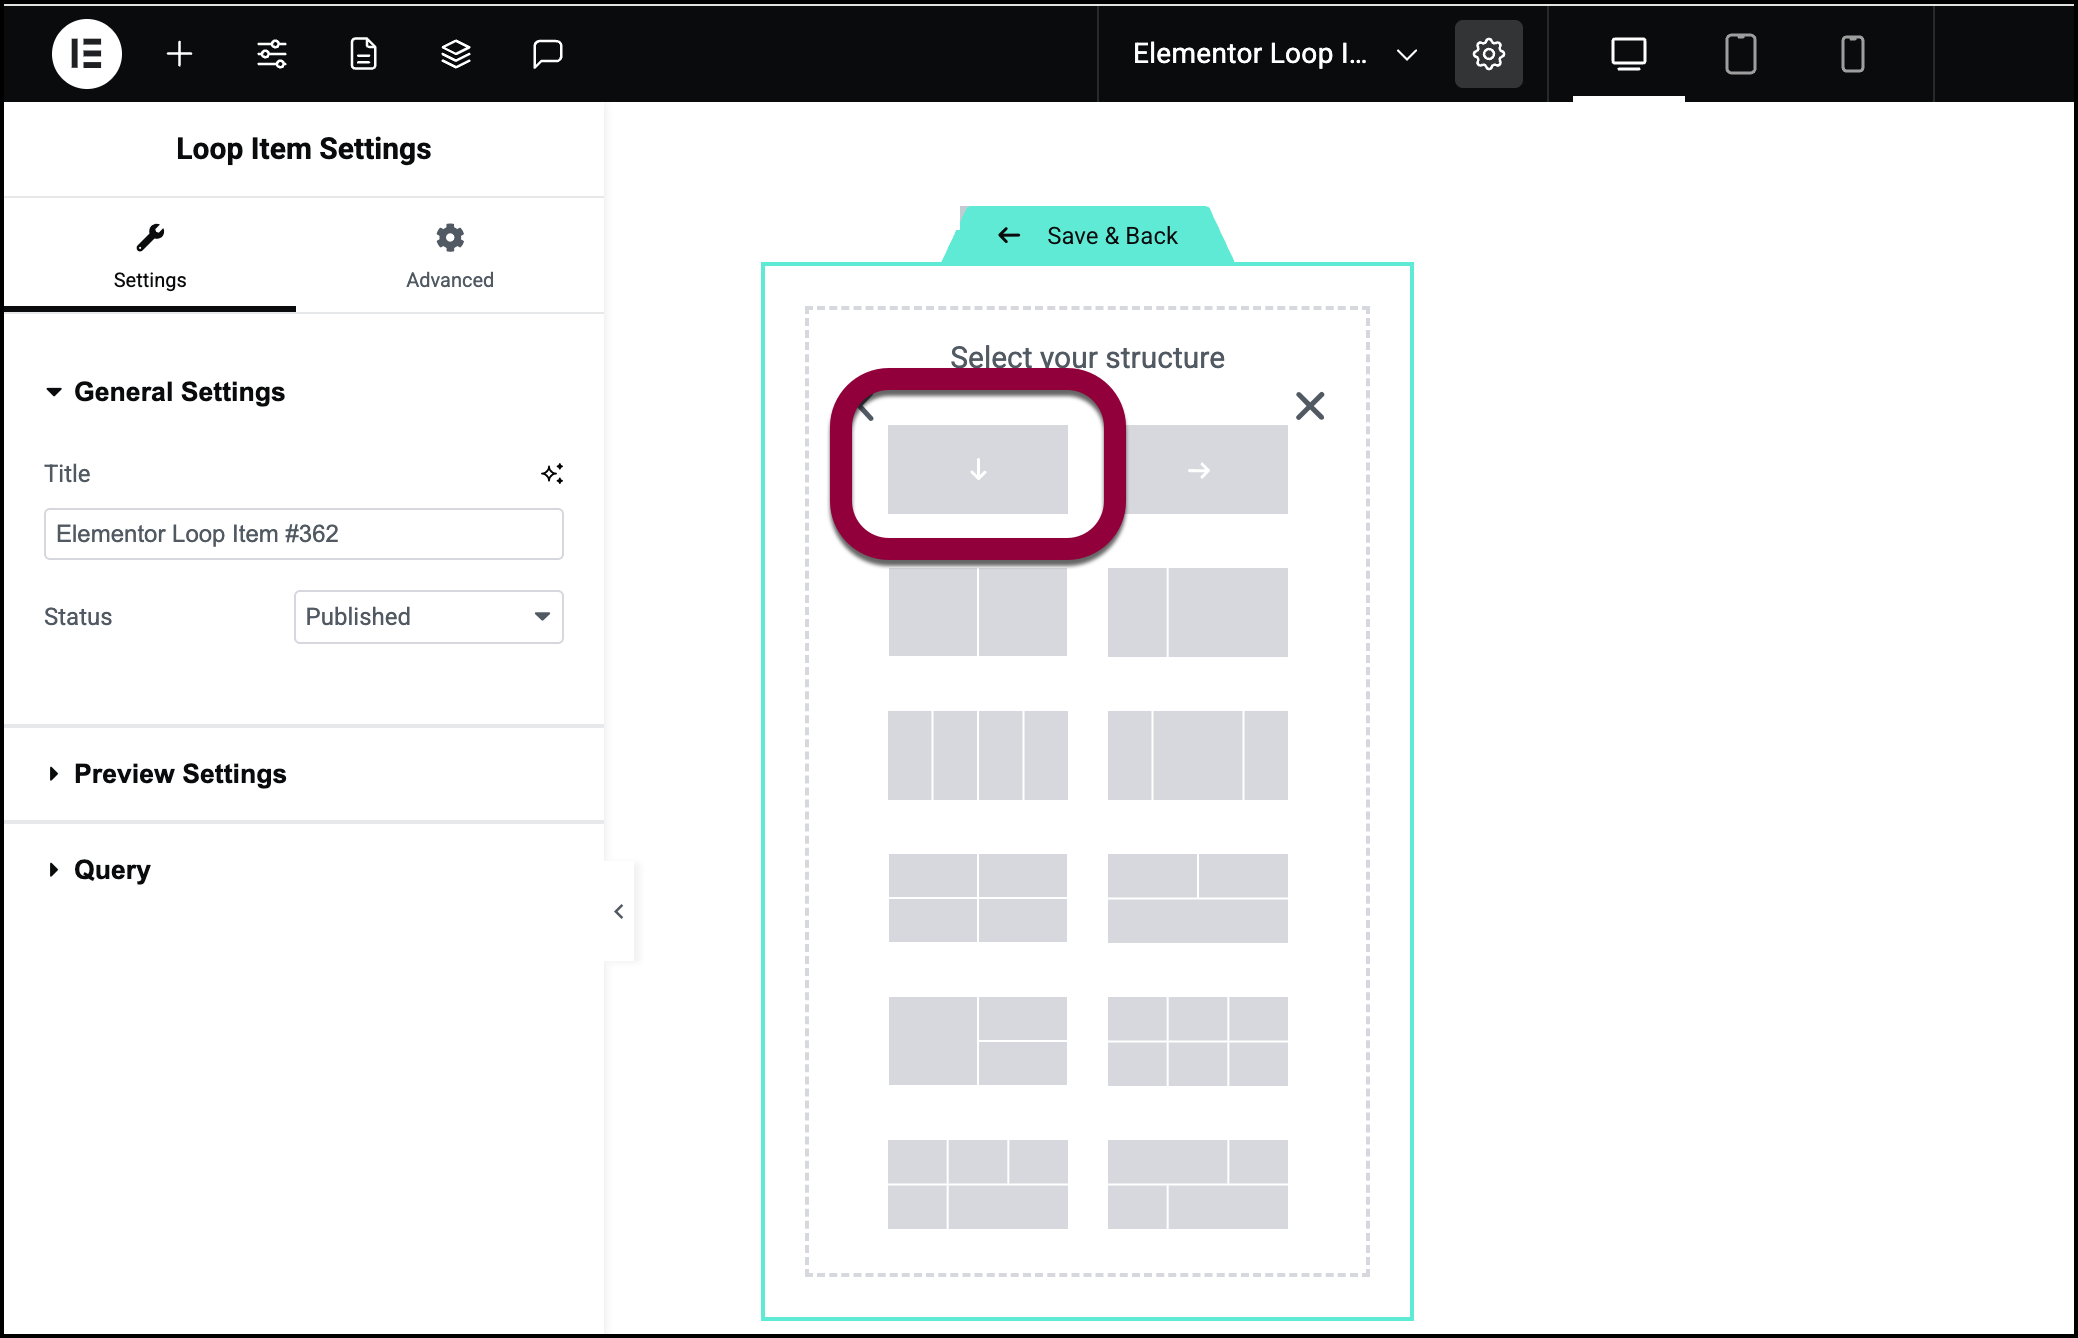
- Select one container.
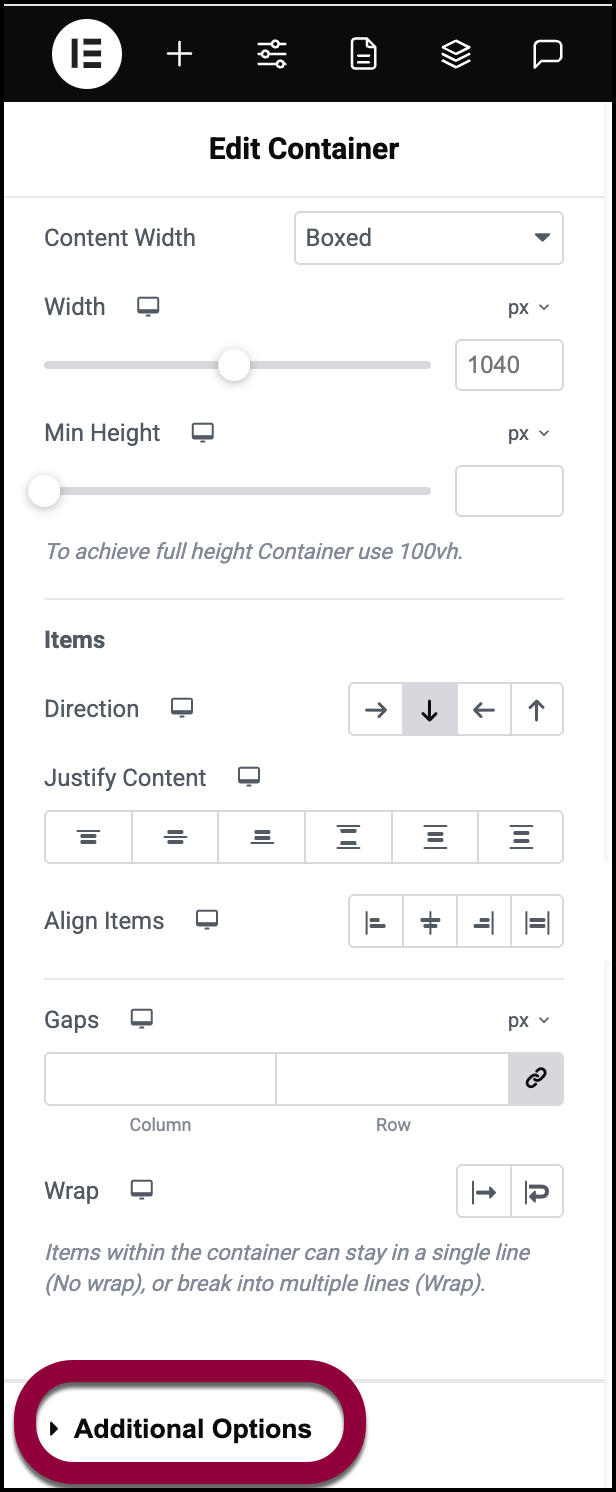
- In the panel, open the Additional Options field.
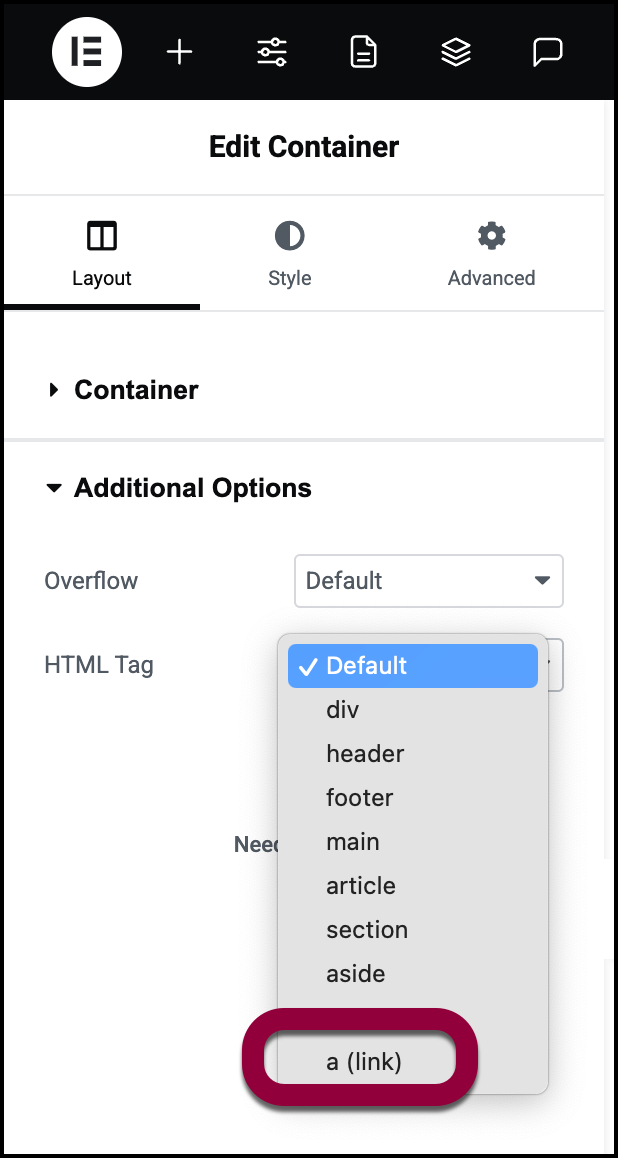
- Use the HTML Tag dropdown to select a (link).
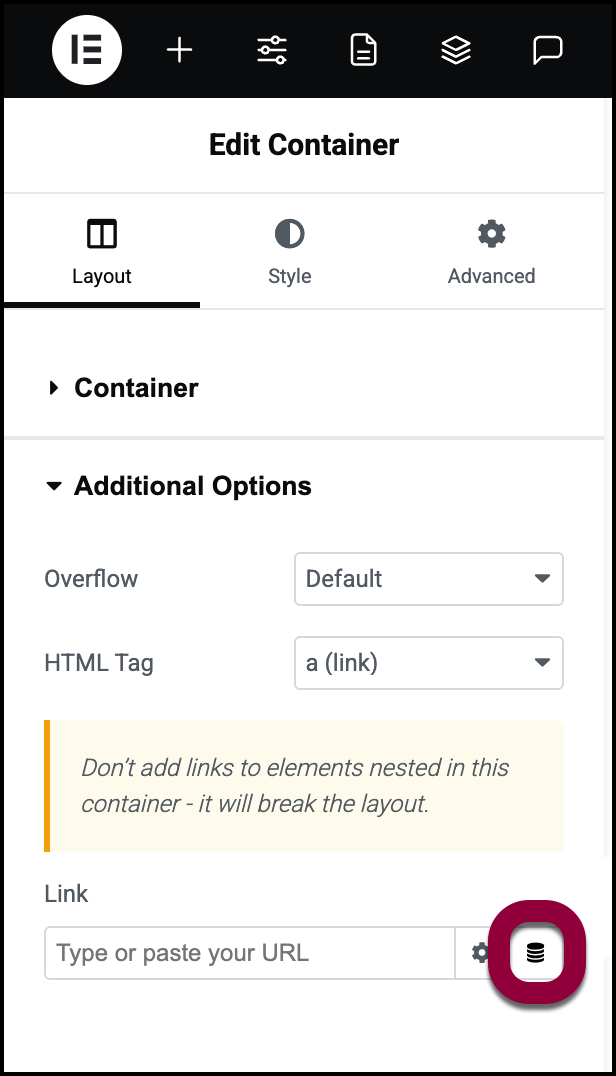
- Click the dynamic tag icon.
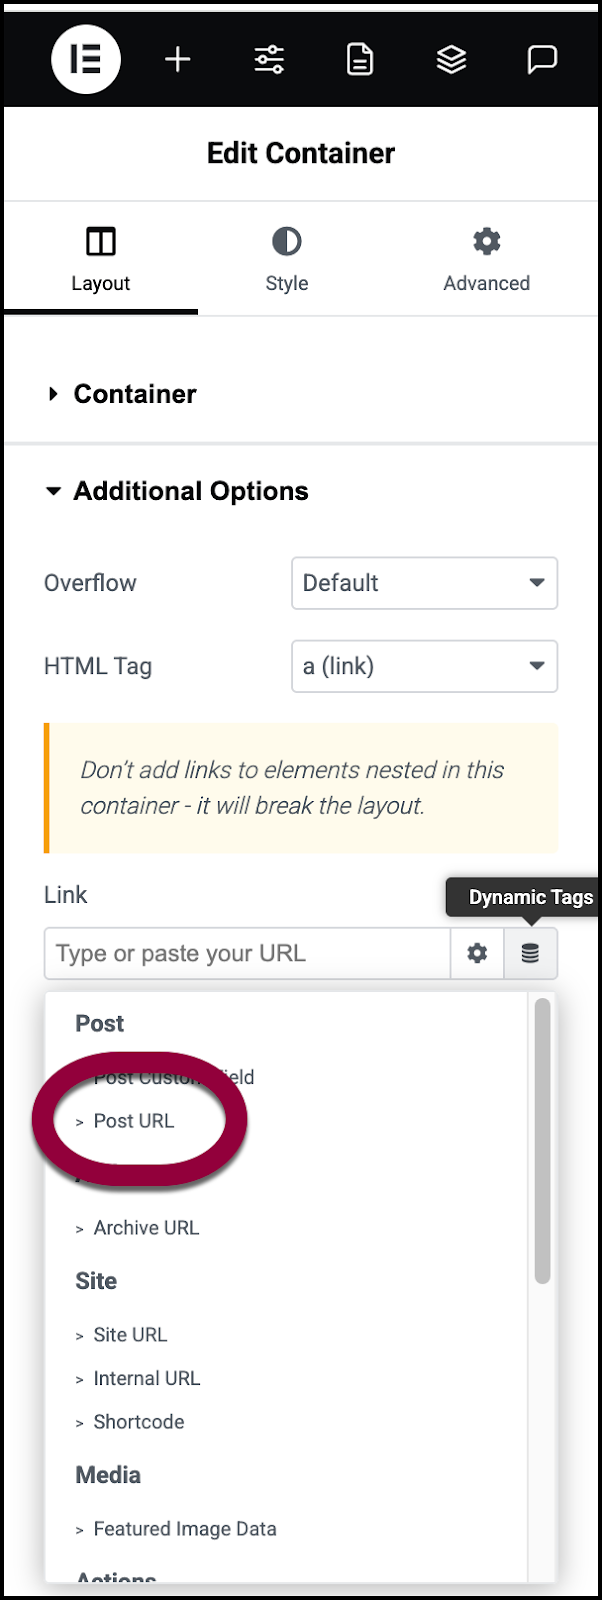
- Choose Post URL from the dynamic tag list.
Adding this URL makes the container clickable – clicking the container will take visitors to the full blog post. Another option that let visitors access the full blog post would be to add a button. For example, a button that says Read More and links the post. However, you cannot make both the container and a button inside clickable. For details, see Nested Links.
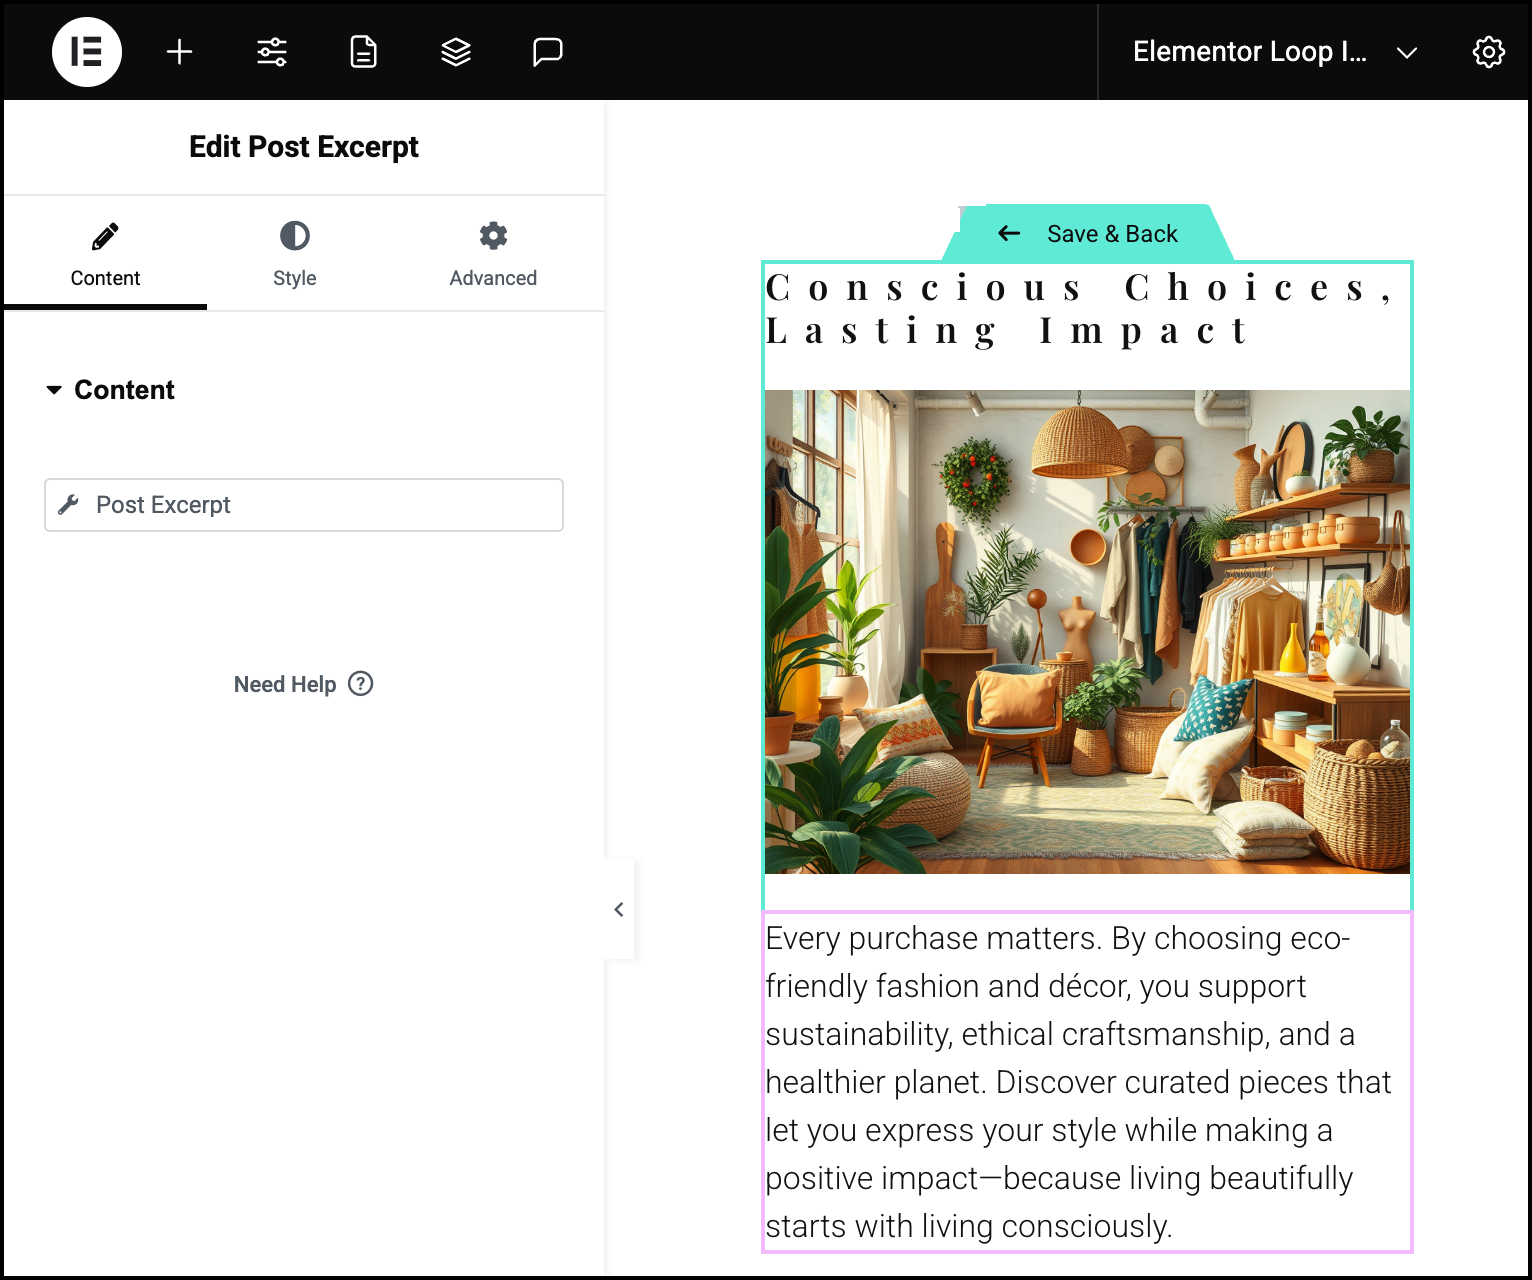
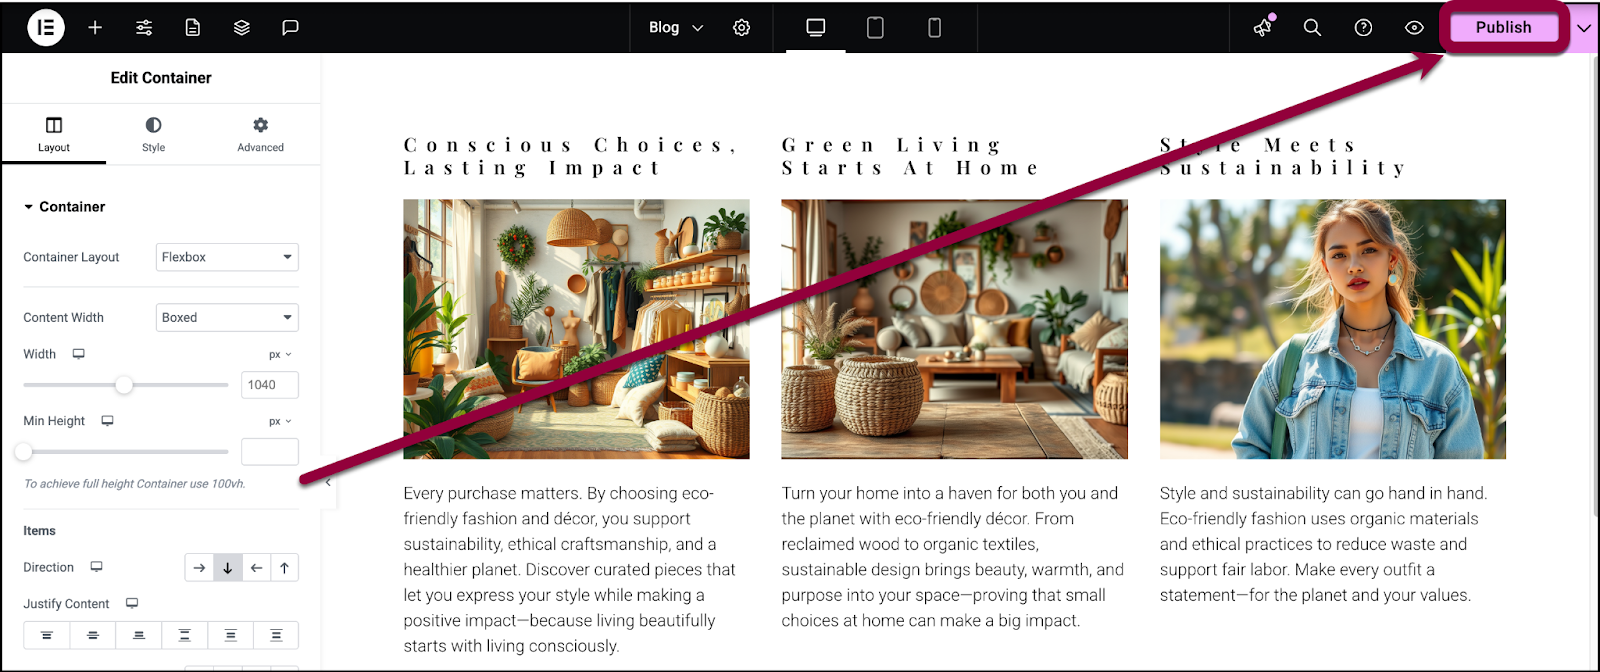
For this example, our blog page will display the blog posts title, featured image and excerpt.
- Drag a Post Title, Featured Image and Post Excerpt widget into the Loop Grid’s container. Adjust any style settings to fit your design.
 Since the widgets in the loop grid can vary in height, you may want to set the minimum height of the widgets to accommodate the height of the tallest items. This will give all the entries a more uniform look.
- Click the page settings icon.
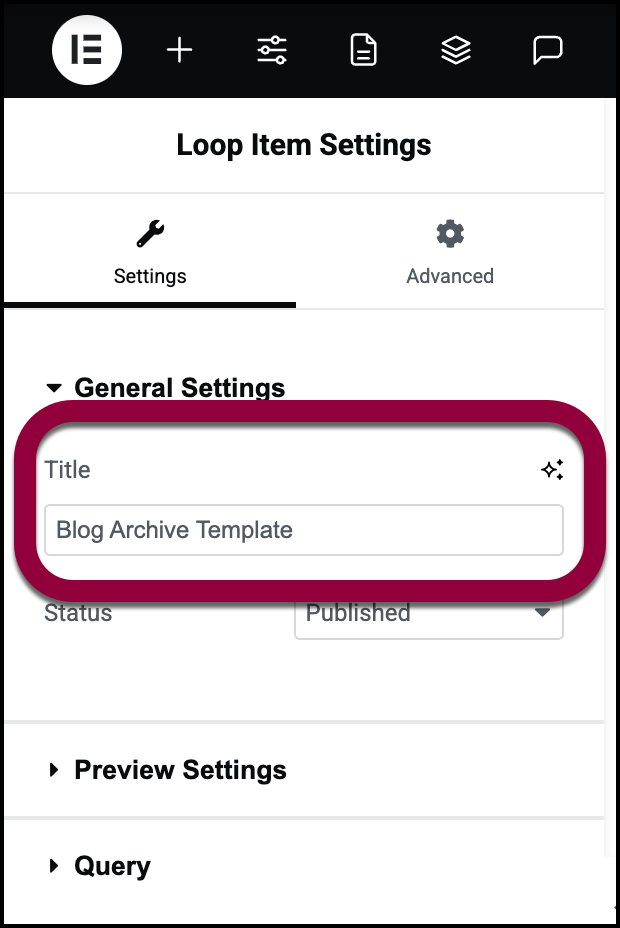
- In the panel, name your loop grid.
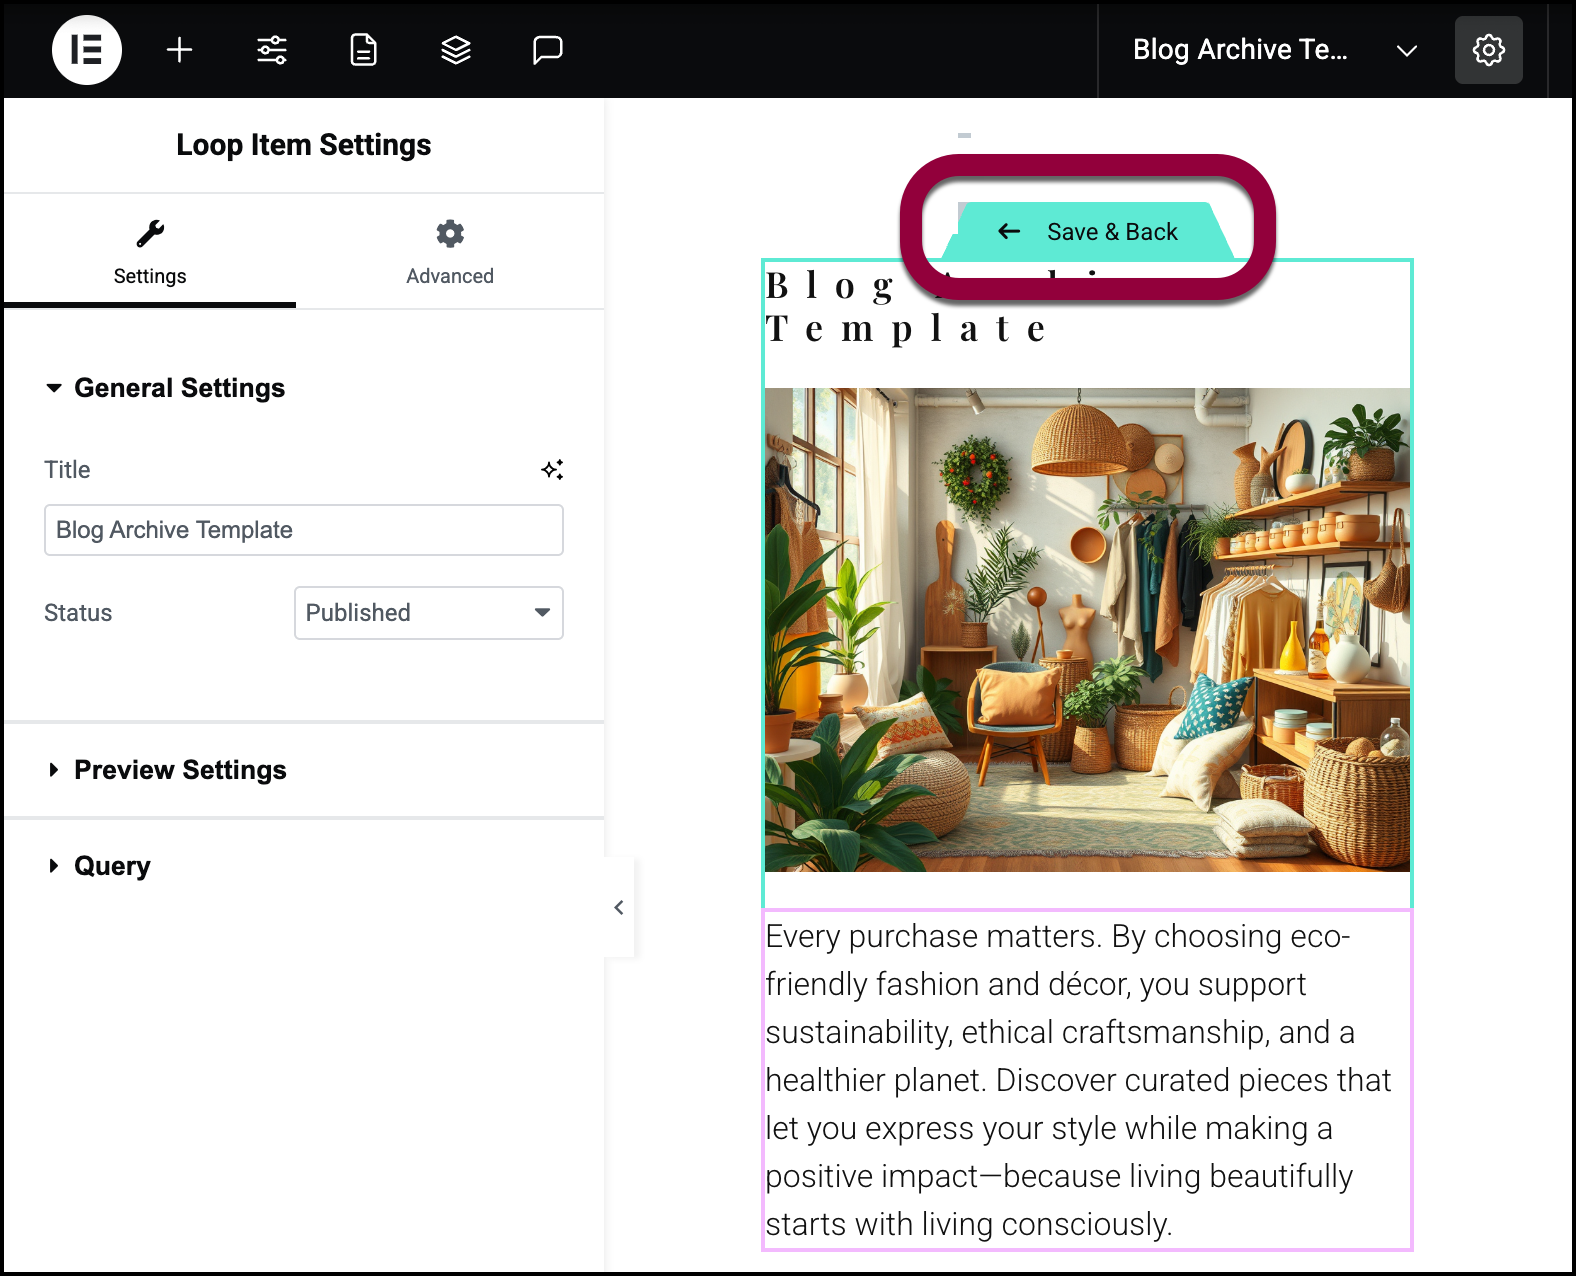
- Click Save & Back.
- Click Publish.
Your blog page now displays all your blog posts.
For details about all the layout and styling options you have for the loop grid, see Loop Grid widget.
Divide your blog by category
In the above example, we created a page to display all your blog items, but let’s say you want visitors to be able to access your blogs by category. In the example below we’ll create a blog page that contains tabs displaying different sets of posts.
- Create a page in the Elementor Editor.
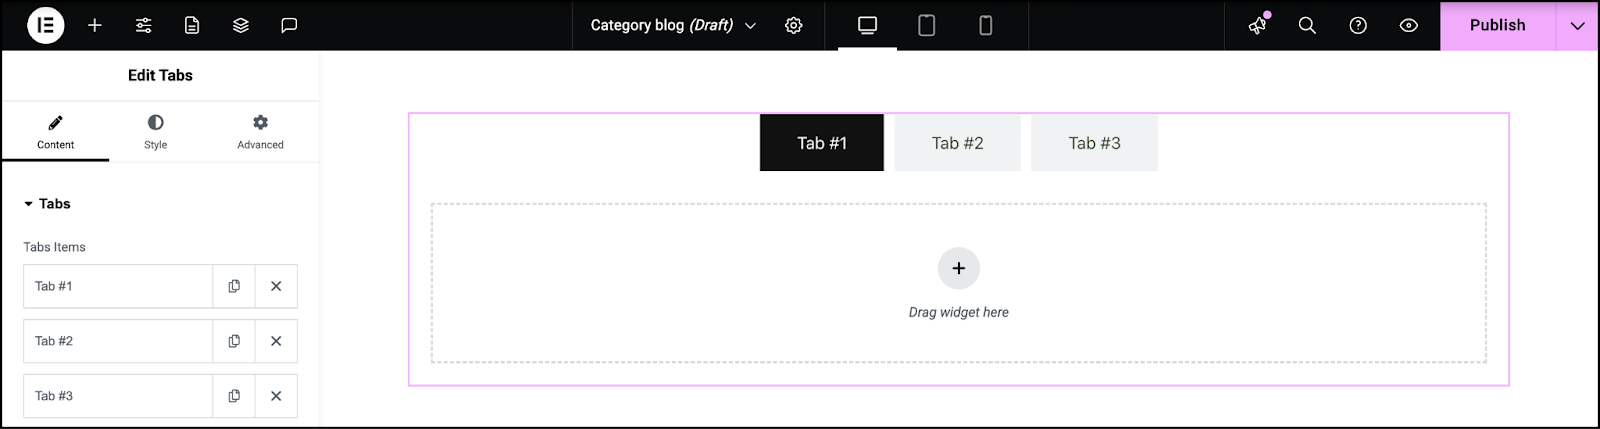
- Drag a Tabs widget to the canvas. For details see Tabs widget.
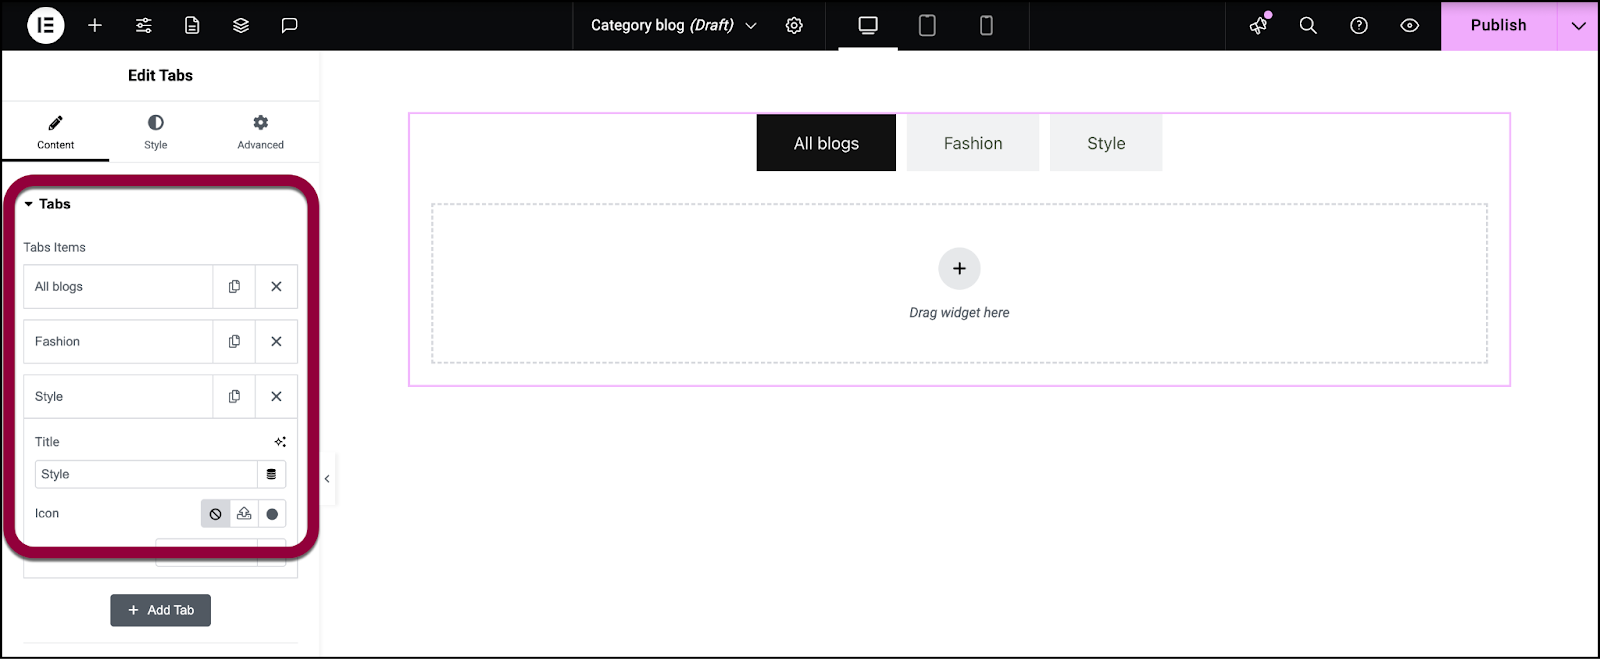
- In the panel, name the tabs. The first one should be called All blogs and the rest after category names.
- Drag a Loop Grid widget into the first tab.
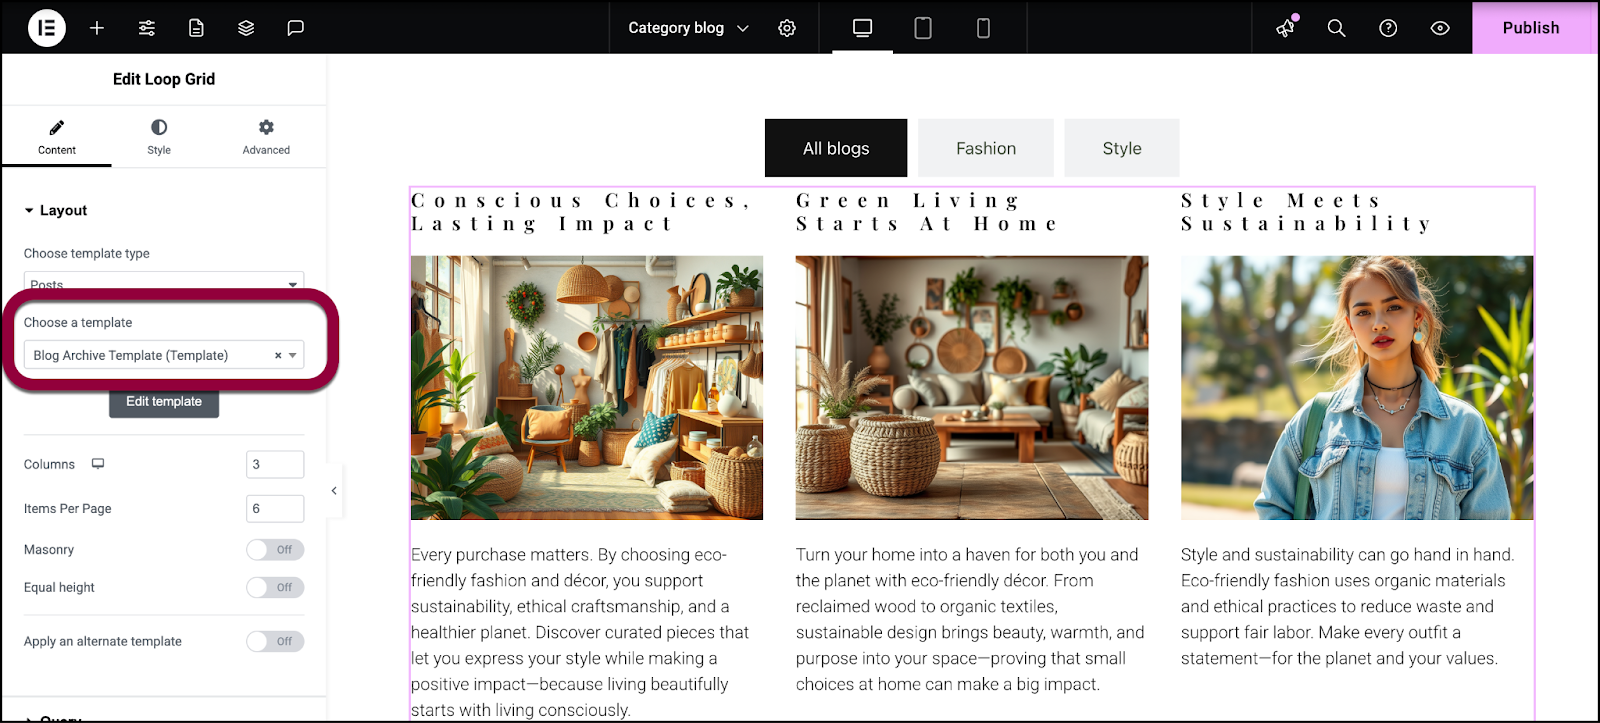
- In the panel, enter the template name of the template you created above.
- Add the same loop grid to the second tab.
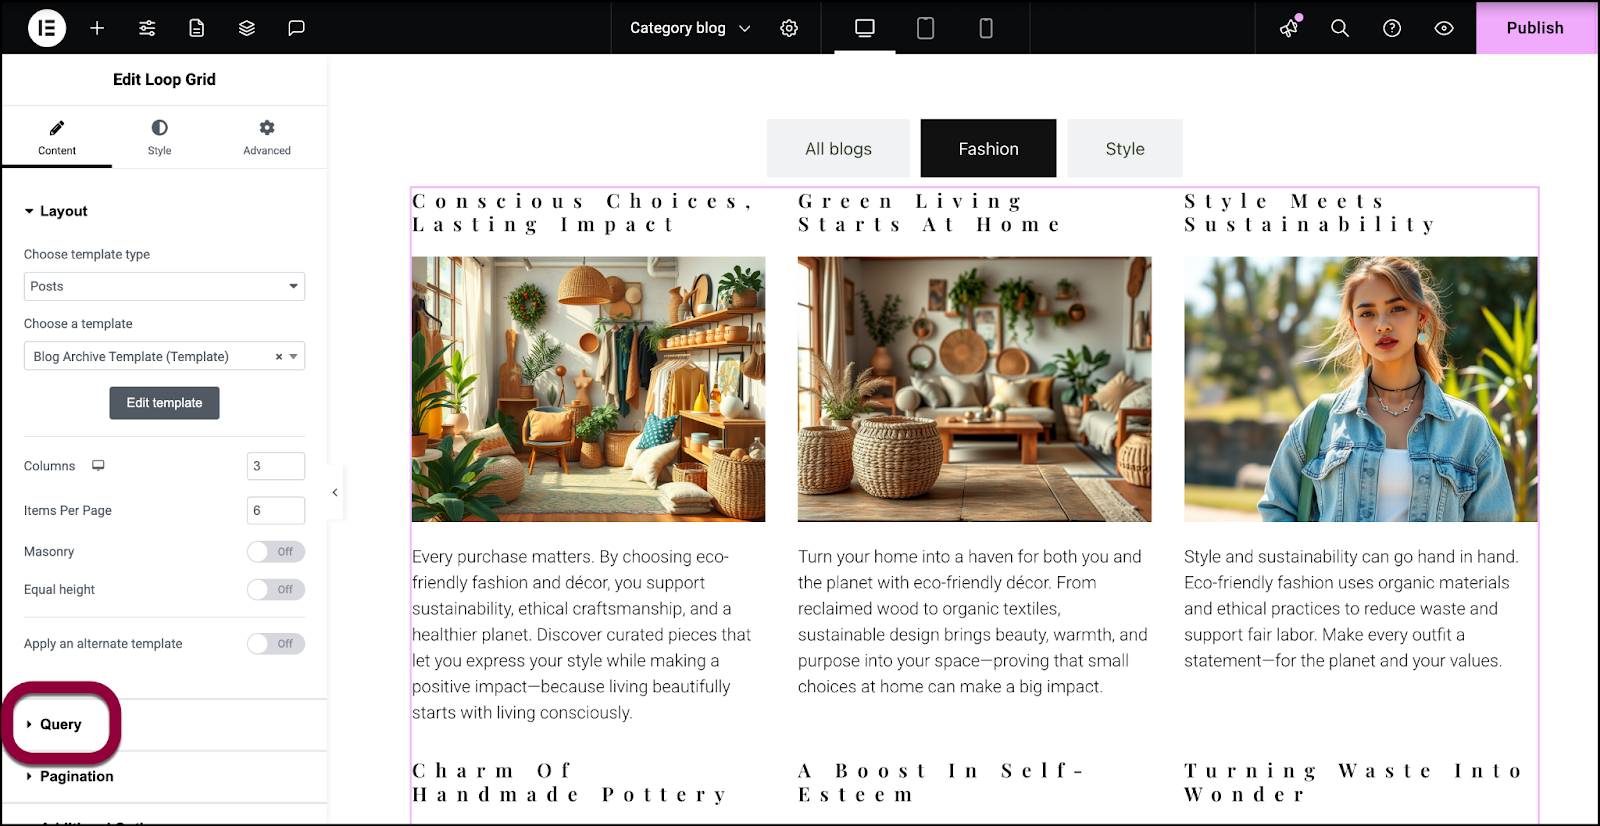
- In the panel, open the Query field.
Queries allow you to filter the data displayed in a loop grid.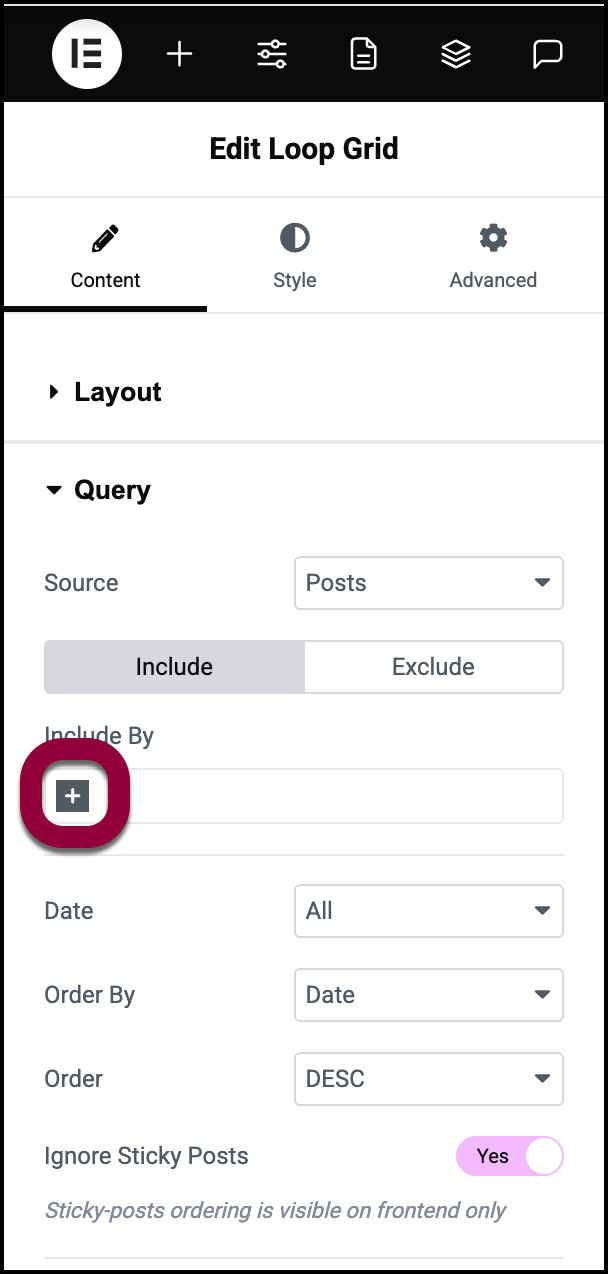
- In the Include by field click the + sign.
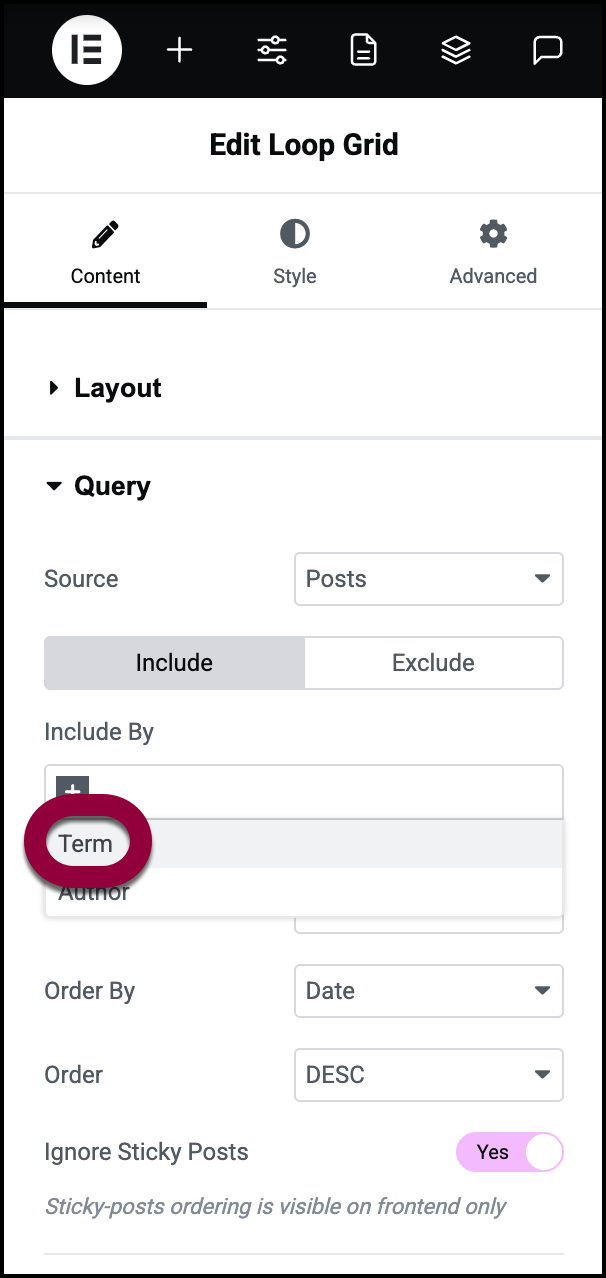
- Select Term.
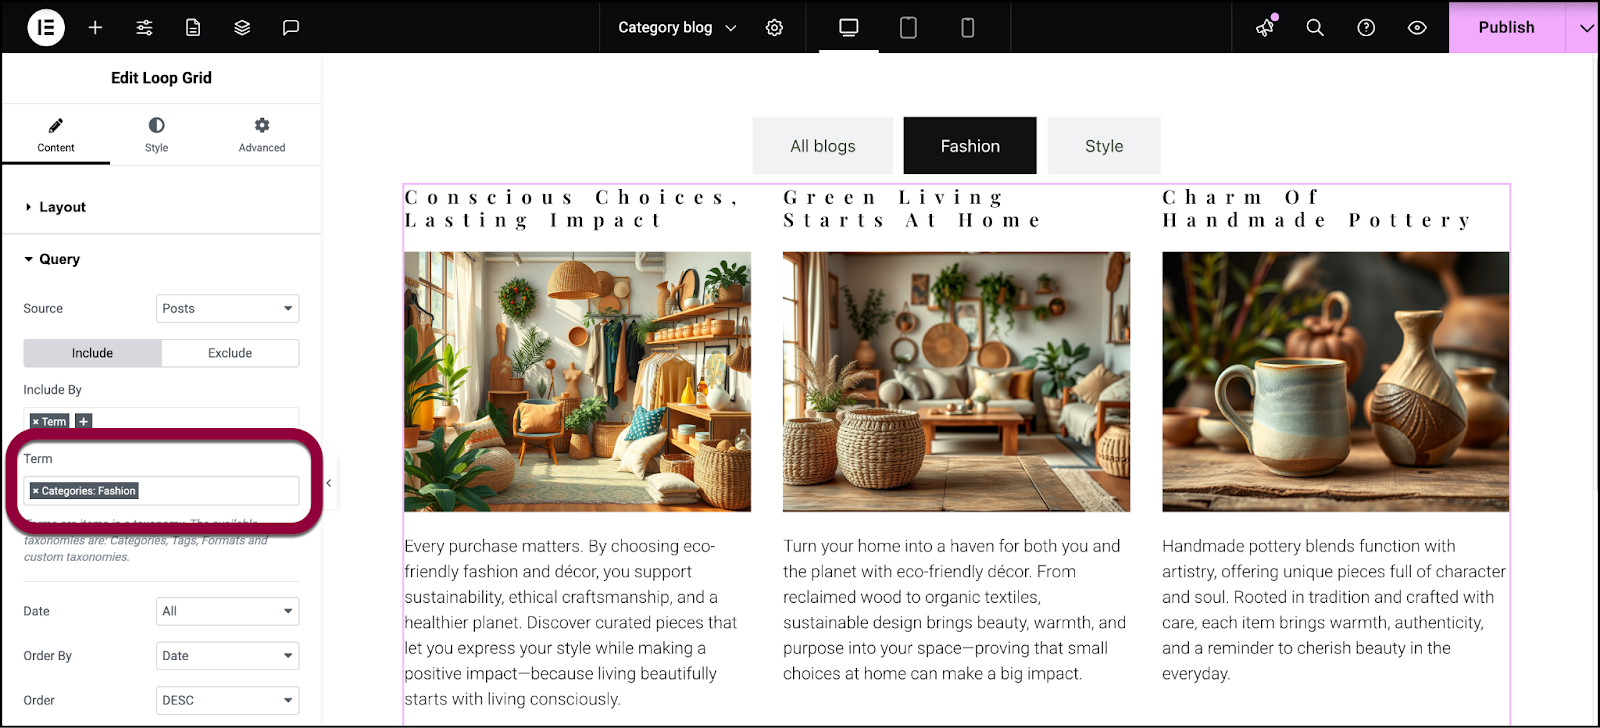
- In the Term field, enter a category name.
- Do this for all the categories.
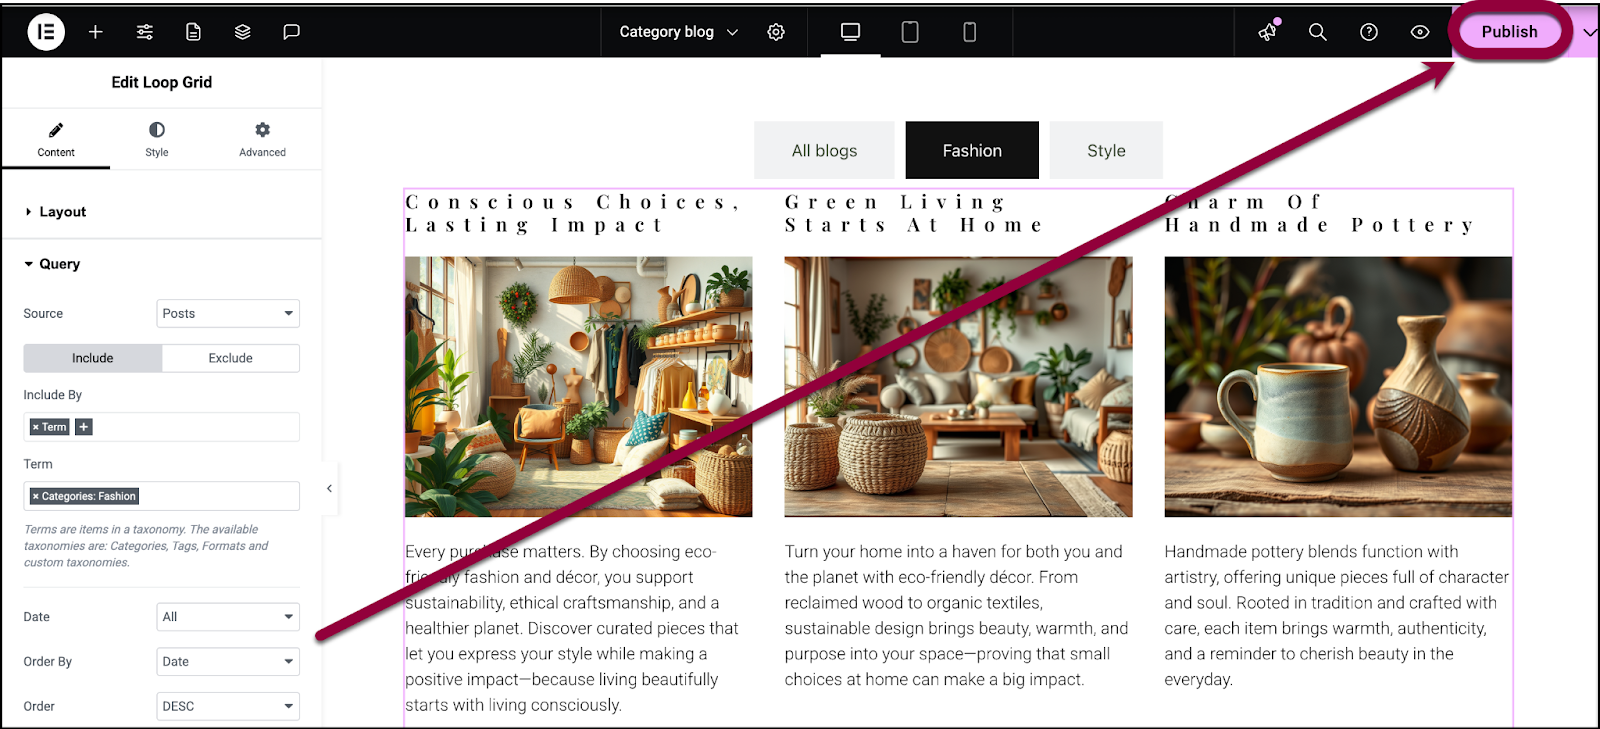
- Click Publish.
Each tab will display only the blog posts from the selected category.