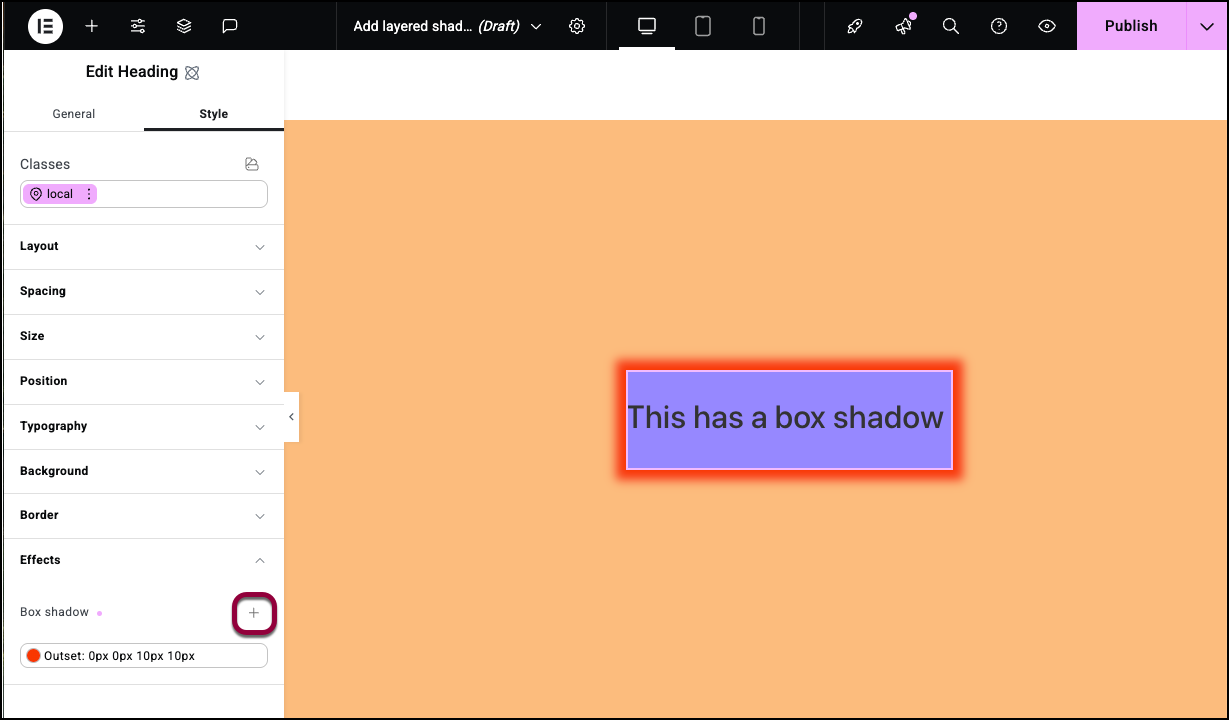
Adding a box shadow to your element can give it depth and allows the element to stand out on the page. For a more in depth look at shadows, see What is Shadow, Text Shadow and Boxed Shadow?
Add a box shadow to an element
To add a border:
- Open the Elementor Editor.
- Add an element to the canvas.
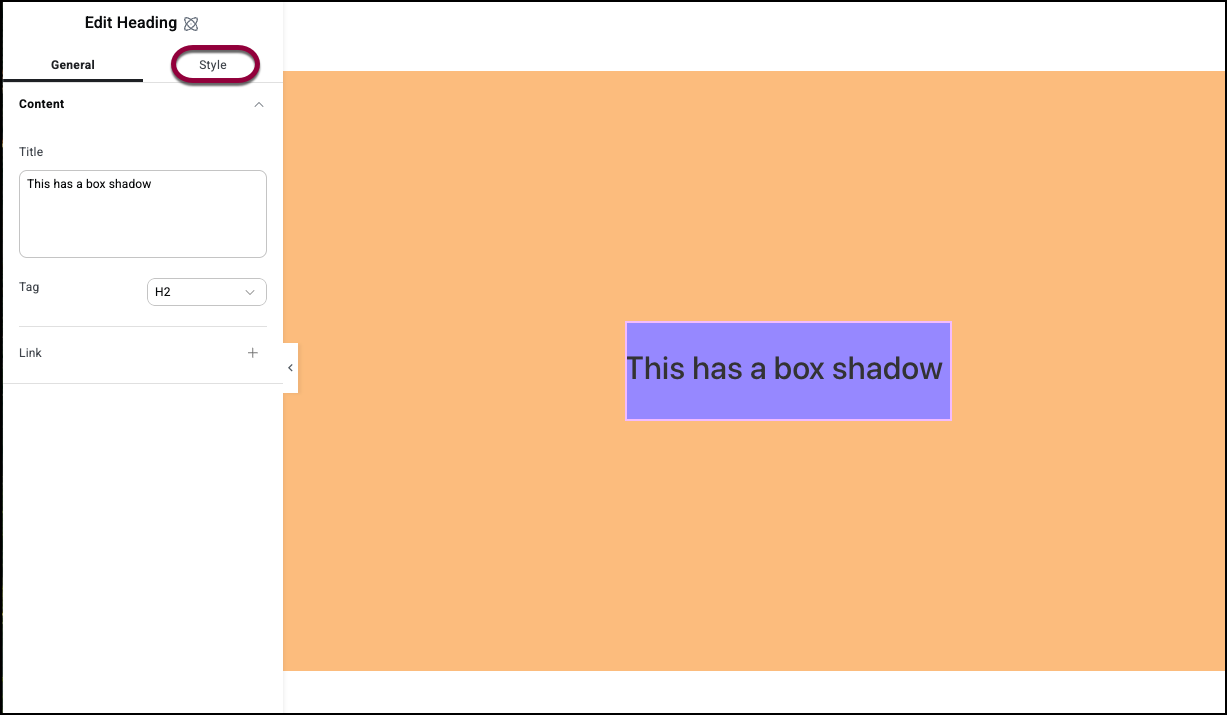
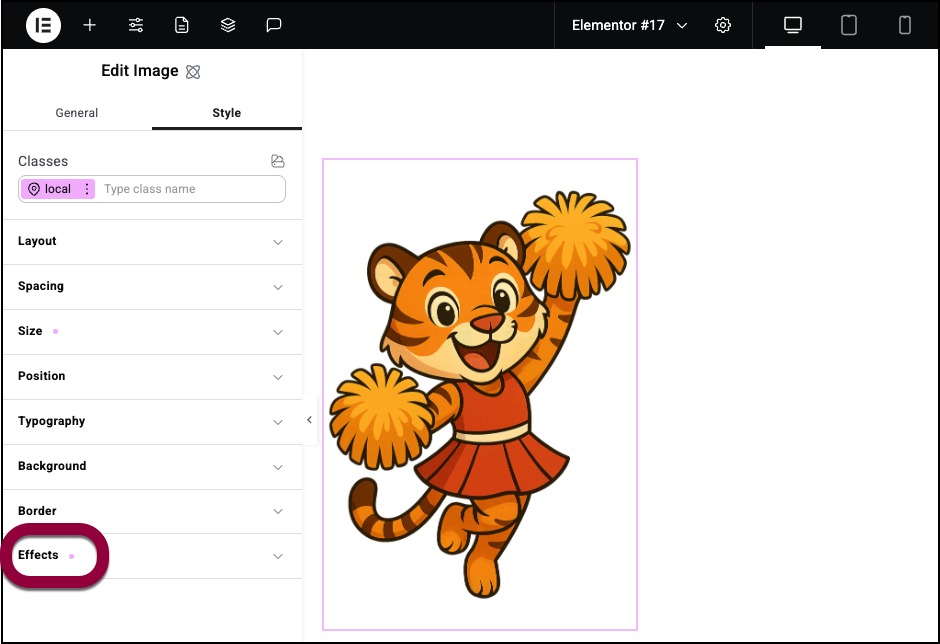
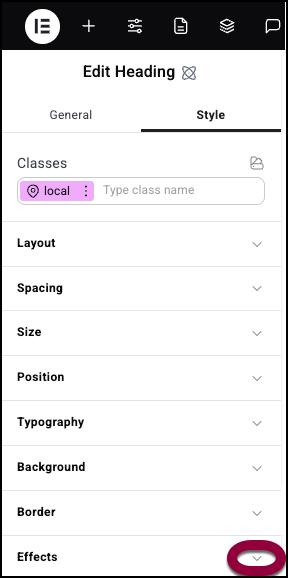
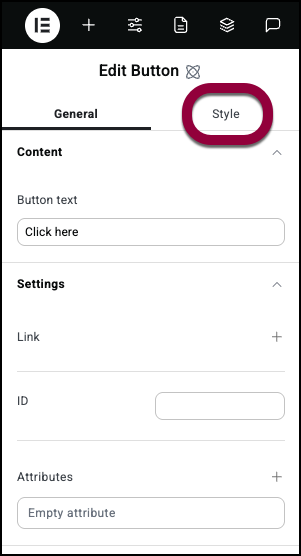
- Click the Style tab.
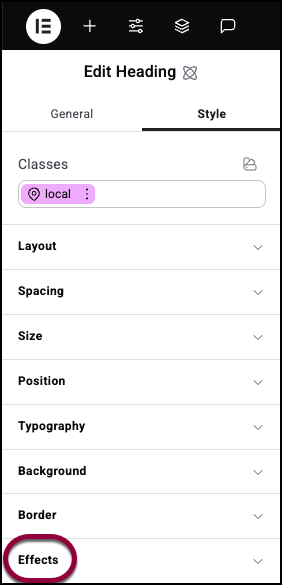
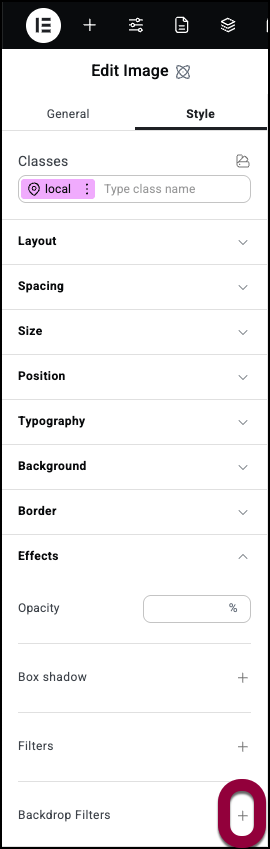
- Open the Effects field.
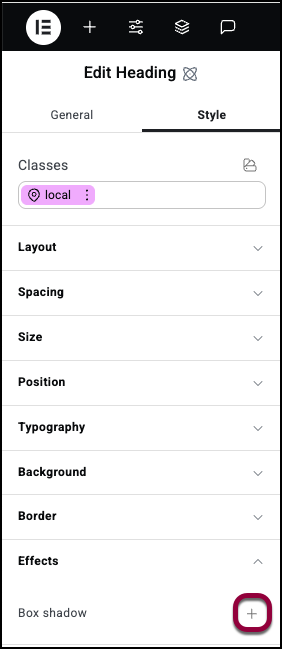
- To add a shadow, click the plus sign next to Box shadow.
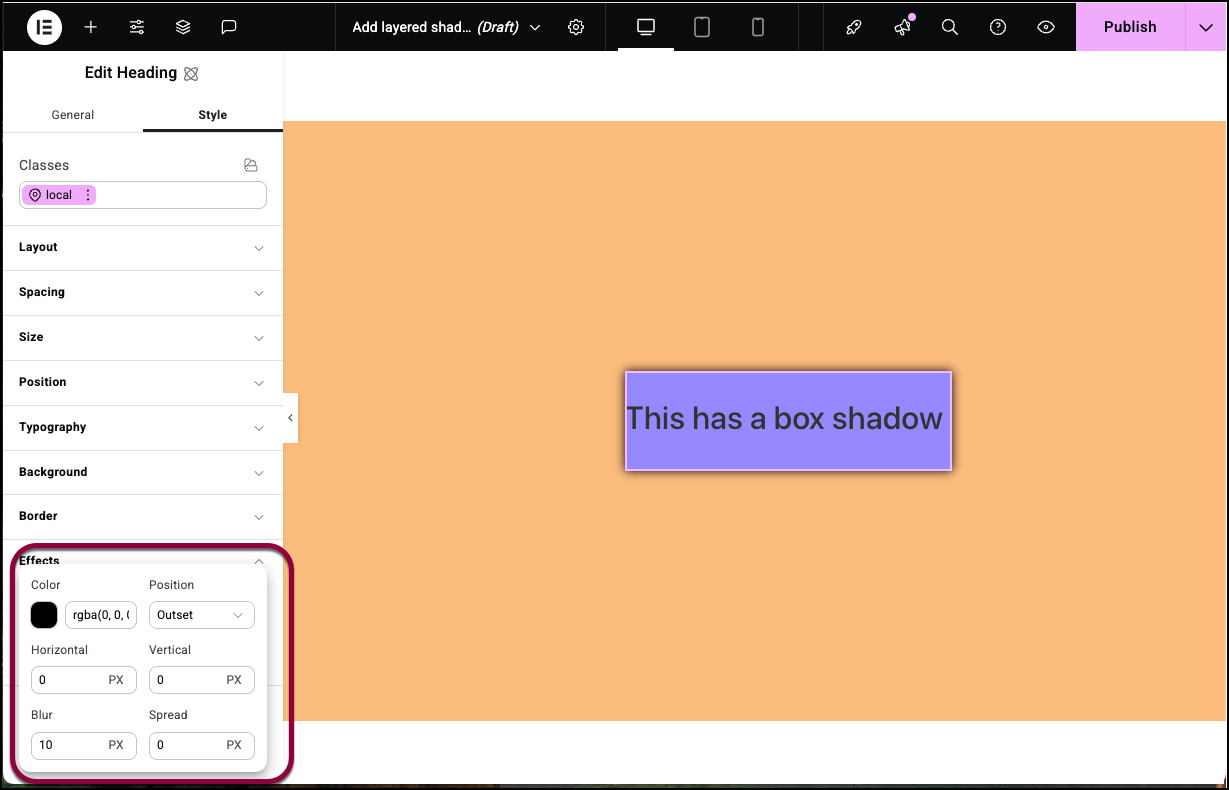
- You then have the following options:
- Color: Set a color for the shadow. For details, see Use the color picker.
- Position: There are two types of box shadow:
- Outset: the shadow starts at the element border and flows outward.
- Inset: The shadow starts at the element border and flows inward.
- Horizontal and Vertical: You can achieve interesting effects by changing the position of the shadow. Use the number fields to move the shadow right and left (Horizontal) or up and down (Vertical).
- Blur and Spread: The shadow effect is caused by starting with a solid color and then increasingly blurring the color.
- Blur: Expands the area covered by the blurred color.
- Spread: Expands the area covered by the solid color.
Add layers to your box shadow
After creating a box shadow, you can add more depth or create unique effects by adding more layers to the shadow.
To add a layer to a box shadow:
- Select an element with a box shadow and open the Effects field.
- Click the plus sign by Box shadow.
The box shadow options window appears.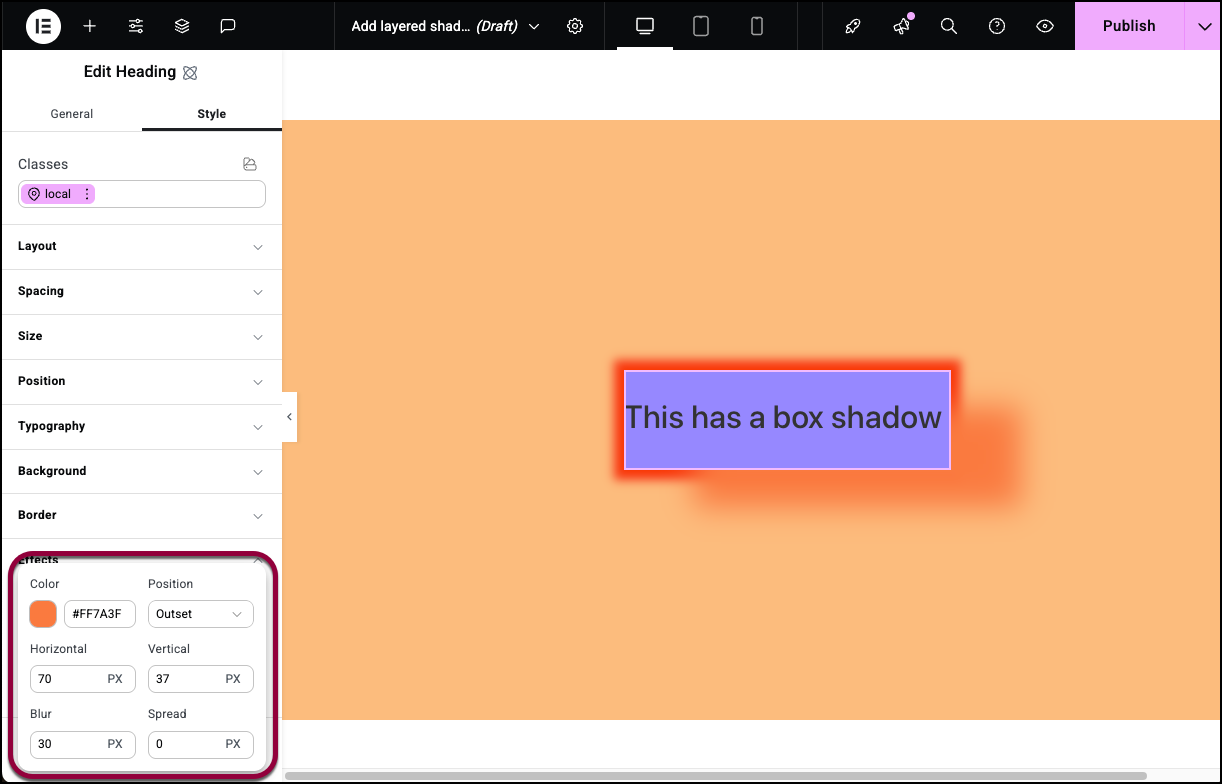
- Set the box shadow options and click outside the box to close the window.
You created a second layer of box shadow.
Add opacity to your element
Opacity refers to the transparency level of an element, determining how much of the background is visible through it. Lowering the opacity makes the element more transparent.
To set opacity:
- Add an element to the canvas.
- Click the Style tab.
- Open the Effects field.

- Increase the Opacity.

In this example, we’ll set the opacity to 40%.
Filters
Filters are graphics effects you can apply to your V4 elements. There are eight different filters you can apply:
- Blur: Applies a soft focus effect by blurring elements based on pixel radius.
- Brightness: Adjusts the brightness of an element by modifying its light intensity.
- Contrast: Enhances or reduces image and element color contrast for better visual distinction.
- Hue Rotate: Adjusts colors by rotating their hue around the spectrum.
- Saturate: Adjusts image or element colors by increasing or decreasing their color intensity.
- Grayscale: Converts an element’s colors to shades of gray. It desaturates the image based on a percentage value
- Invert: inverts the colors of an element—turning light colors dark, and dark colors light.
- Sepia: Applies a brownish tone to an element, which mimics the look of old photographs.
- Drop shadow: Applies a shadow effect to the content, and only the content of the element.
To apply a filter:
- Select an element on the canvas.
- Click the Style tab.
- Open the Effects section.
- Use the dropdown menu to add a filter.
In this case, we’ll add a Drop shadow.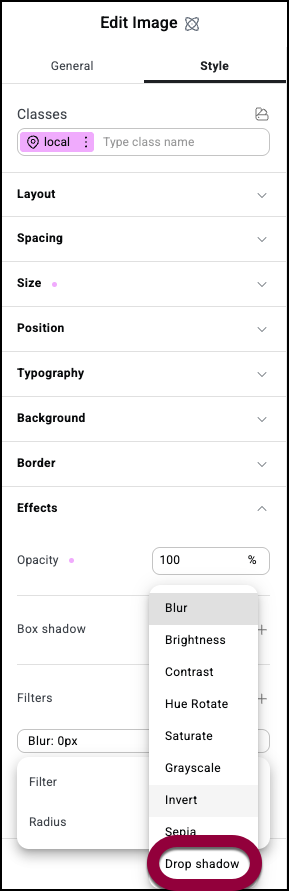
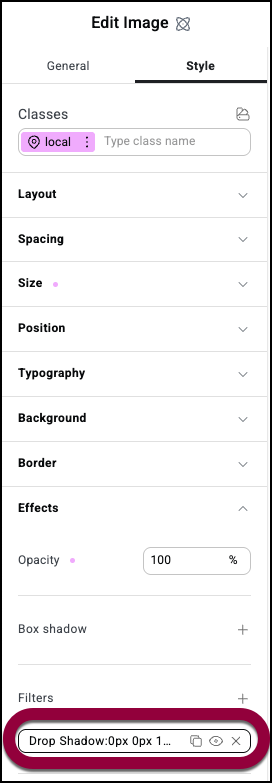
- Fill in the options for the filter.
 NoteEach filter has its own set of options.
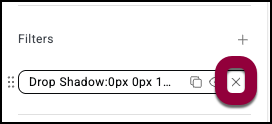
To delete a filter:
- Select an element on the canvas.
- Click the Style tab.
Click the Style tab. - Open the Effects section.
- In the Filters section, hover over the filter you want to delete.
- Click the X icon to delete the filter.
 NoteYou can apply multiple filters to an element to create unique effects.
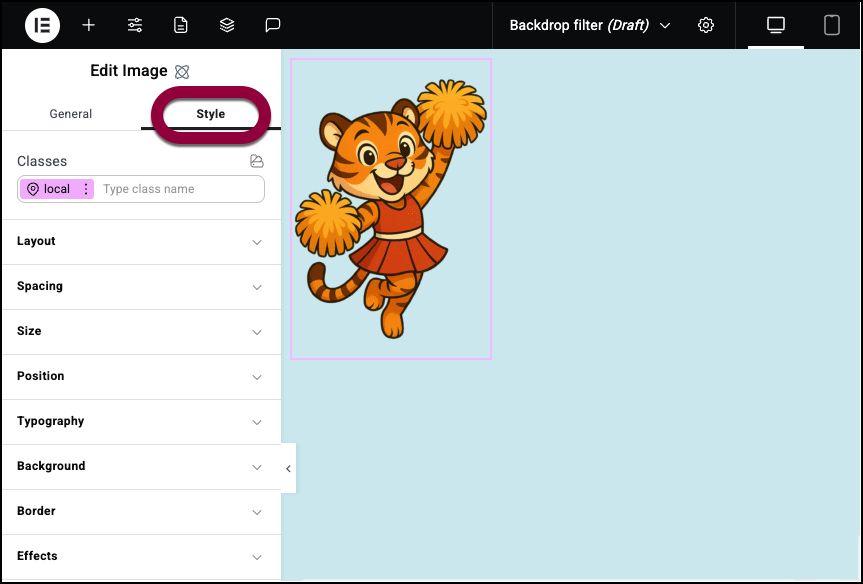
Backdrop filters
Filters are graphics effects you can apply to your V4 elements. There are eight different filters you can apply:
- Blur: Applies a soft focus effect by blurring elements based on pixel radius.
- Brightness: Adjusts the brightness of an element by modifying its light intensity.
- Contrast: Enhances or reduces image and element color contrast for better visual distinction.
- Hue Rotate: Adjusts colors by rotating their hue around the spectrum.
- Saturate: Adjusts image or element colors by increasing or decreasing their color intensity.
- Grayscale: Converts an element’s colors to shades of gray. It desaturates the image based on a percentage value
- Invert: inverts the colors of an element—turning light colors dark, and dark colors light.
- Sepia: Applies a brownish tone to an element, which mimics the look of old photographs.
- Drop shadow: Applies a shadow effect to the content, and only the content of the element.
To apply a filter:
- Select an element on the canvas.
- Click the Style tab.
- Open the Effects field.
- Click the plus sign by Backdrop Filters.
- Select an effect from the dropdown menu.
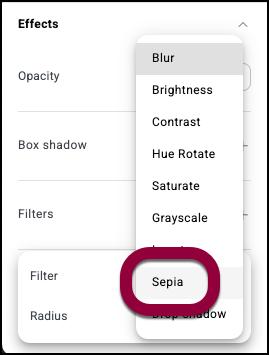
In this example, we’ll select a Sepia effect. - Add a value for the effect.
In this example, we’ll make it 100%.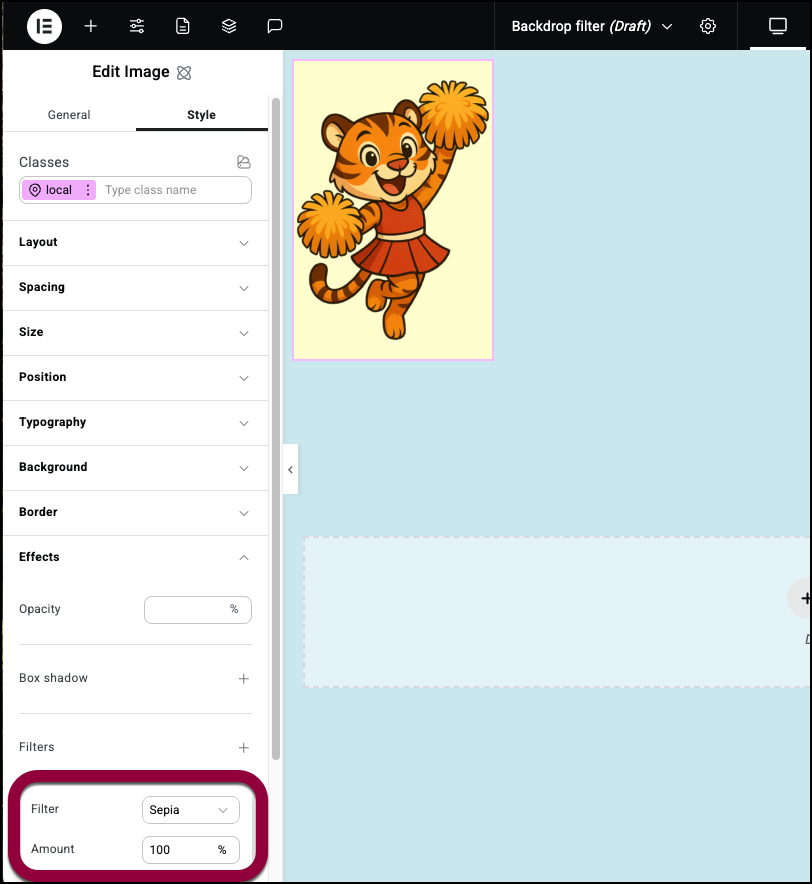
The sepia effect applies to the element background.NoteYou can apply multiple filters to an element to create unique effects.
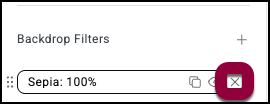
To delete a Backdrop filter:
- Select an element on the canvas.
- Click the Style tab.
- Open the Effects section.
- In the Backdrop Filters section, hover over the filter you want to delete.
- Click the X icon to delete the filter.
Example of an interesting effect using Backdrop filters
Filters can be used to create interesting effects for your webpage. In the example below, we create a Heading element that blurs images as they pass under the heading. Add a page.
- Add a Heading element to the top of the page.
- Center the text of the Heading element. For details see Style tab – Layout for details.
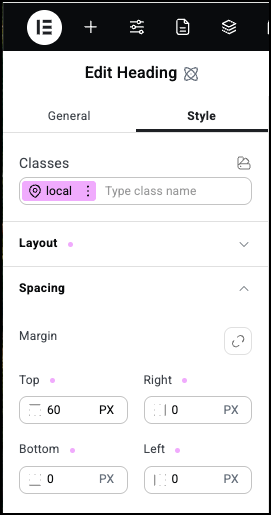
- Add a 60 PX top margin to the Heading element. For details, see Style tab – Spacing.
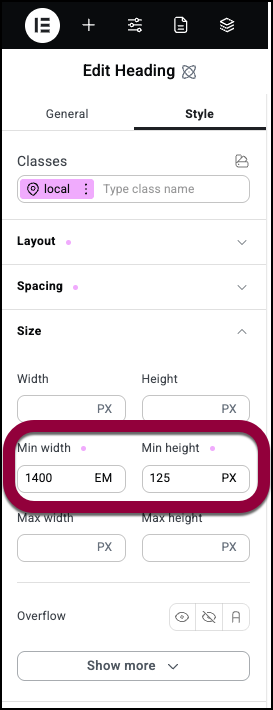
- Set the width of the Heading element to 1400 PX and the height to 125 PX. See Style tab – Size for details.
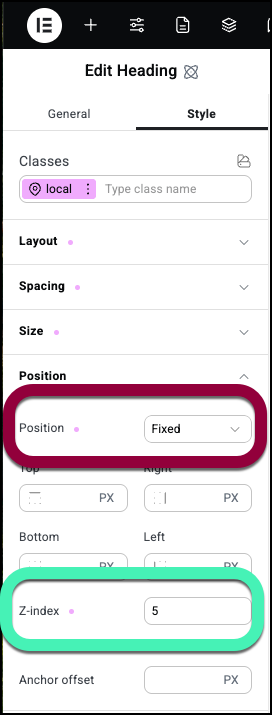
- Set the position to Fixed with a Z-index of 5. See Style tab – Position and Use Z-Index for details.
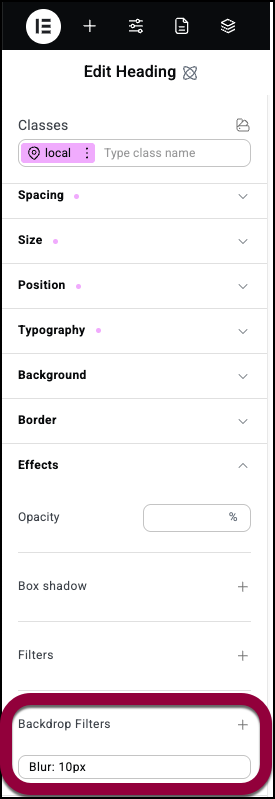
- In the Effects section, add a Backdrop Filter of Blur: 10px.
- Add an image or images below the headline.
As visitors scroll down the page, the images will pass “under” the headline and become blurry.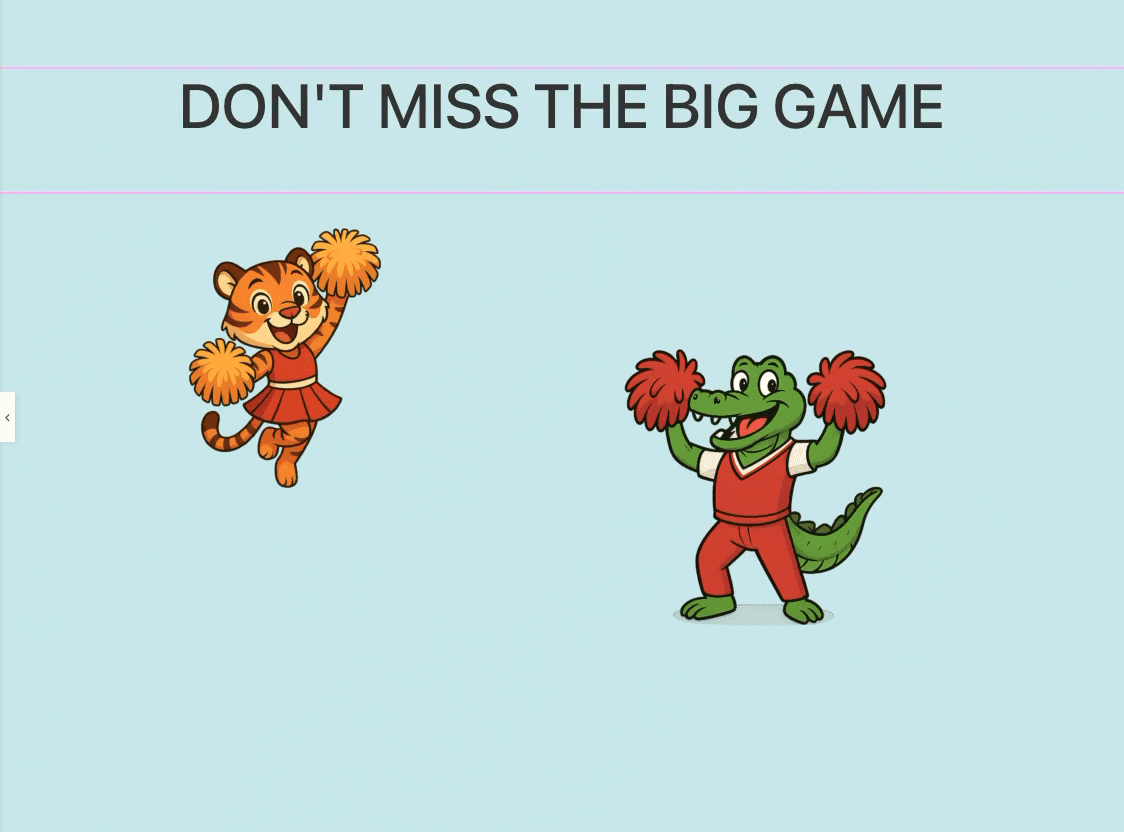
Transform
Transform changes an element by adjusting up to four aspects:
- Move: Shifts an element’s position on a page. This is generally used as a hover effect.
- Scale: Resizes the element horizontally, vertically or both without effecting the original layout space. This is generally used as a hover effect.
- Rotate: Spins an element around a specific point. Rotate is used as both as a stationary and hover effect.
- Skew: Slants an element along the X, Y or Z axis, distorting the shape. Skew is used as both as a stationary and hover effect.
Add a stationary transform effect
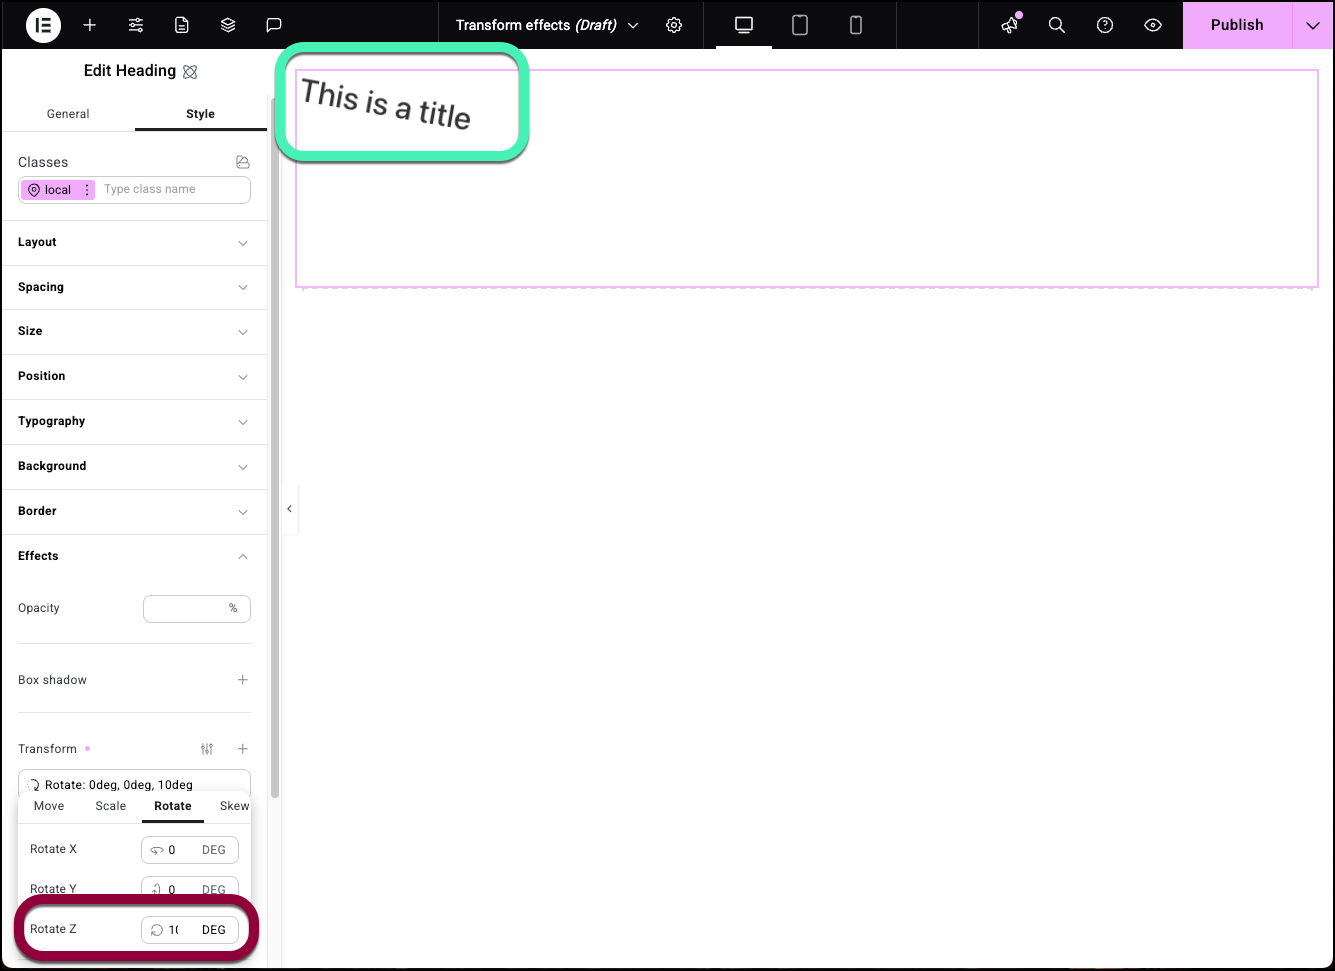
- Add a heading to the canvas.
- Click the Style tab.
- Open the Effects field.
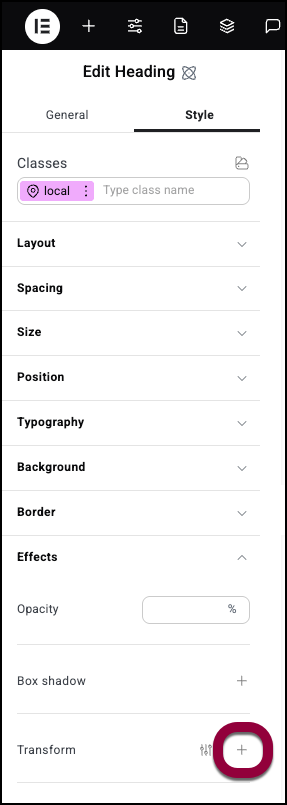
- Click the plus symbol next to Transform.
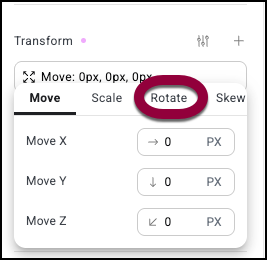
- Select the Rotate tab.
- Enter 10 in the Z axis.
To delete a Transform effect:
- Select an element on the canvas.
- Open the Effects section.
- In the Transform section, hover over the transform effect you want to delete.
- Click the X icon to delete the transform effect.
Add transform to a hover effect
- Add a heading element to the canvas.
- Click the Style tab.
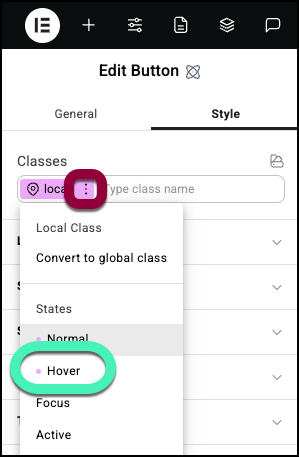
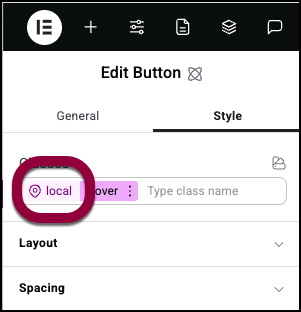
- In the Classes field, click the ellipses by local and select hover.
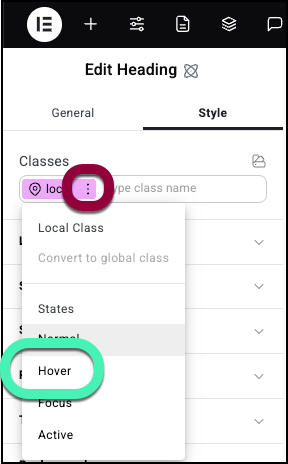
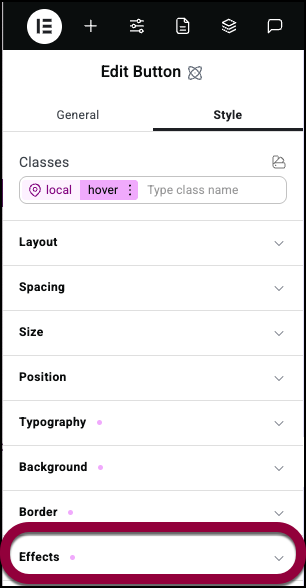
You are now setting how the element will look when visitors hover over it. - Open the Effects field.
- Click the plus sign by Transform.
- Enter 5 in Move X and -5 in Move Y.
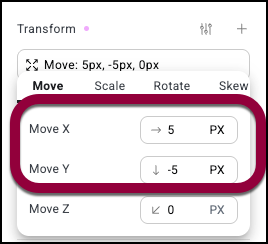
Hovering over the heading will move it.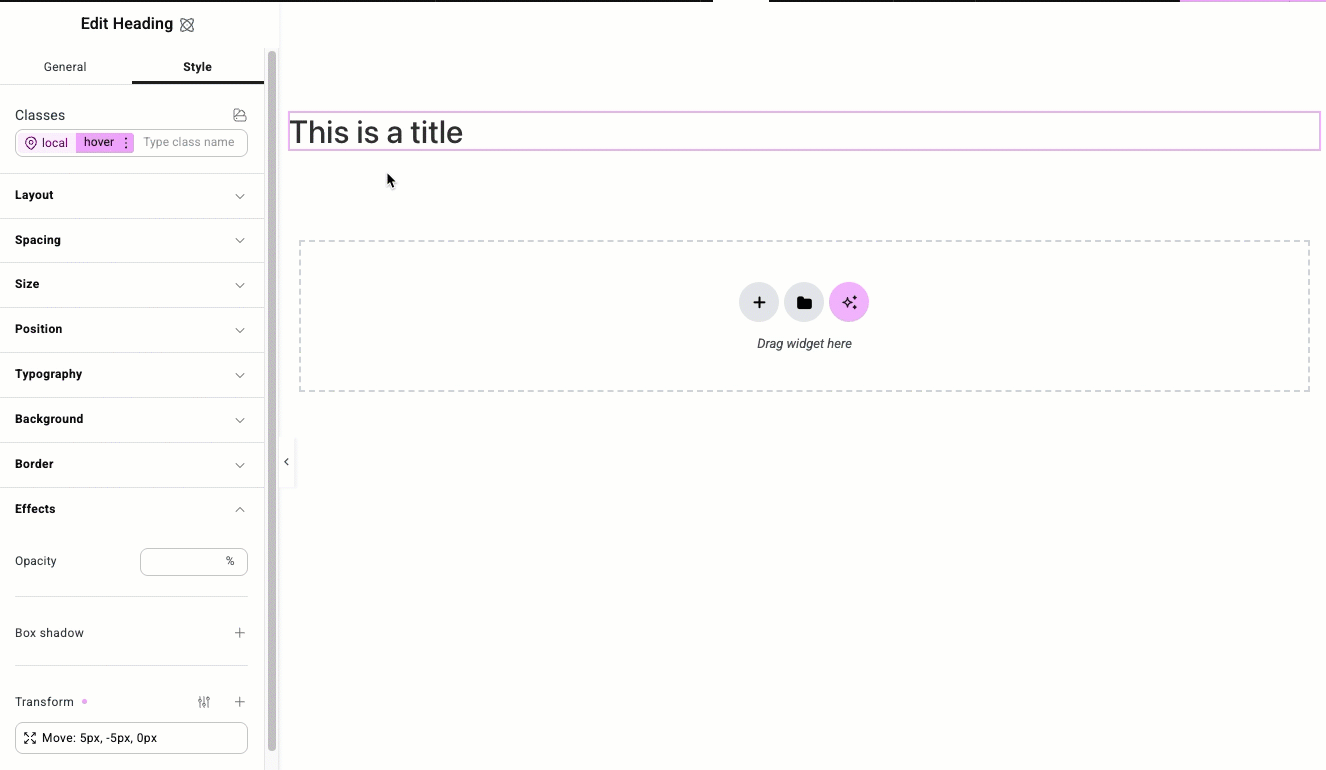
Transition
Transitions controls how much time it take for an element to move from its normal state to its hover state. For example, if you have a button turns red when visitors hover over it, the transition setting determines how long it take for the button to turn red. Elementor Pro users can set different transition times for different effects. The example below shows how you can stagger effects to create interesting animations.
Use transition times to create animations
- Create a button.
- Click the Style tab.
- In the Classes section, click the ellipses by the local class and select Hover.
You are now setting how the element will look when visitors hover over it. - In this example, we’ll have the colors change and add a box shadow when users hover over it. For details, see the articles on Style tab – Typography, Style tab – Background, Style tab – Border and Style tab – Effects.
- In the Classes section, click local to return to editing the regular local class.
- Open the Effects section.
- Click the plus sign by Transition.
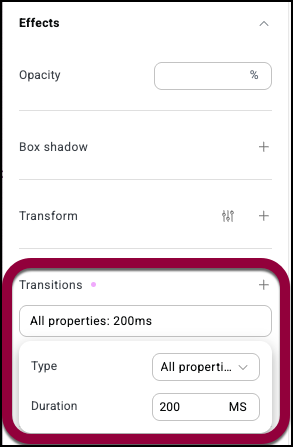
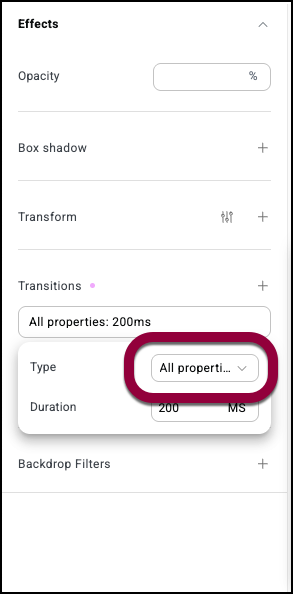
By default all properties transition simultaneously at 200 milliseconds (MS). All users can adjust the transition time, Pro users can adjust the transition times for individual properties.
For Pro users: - Click the All Properties dropdown menu.
The Transition Property window opens.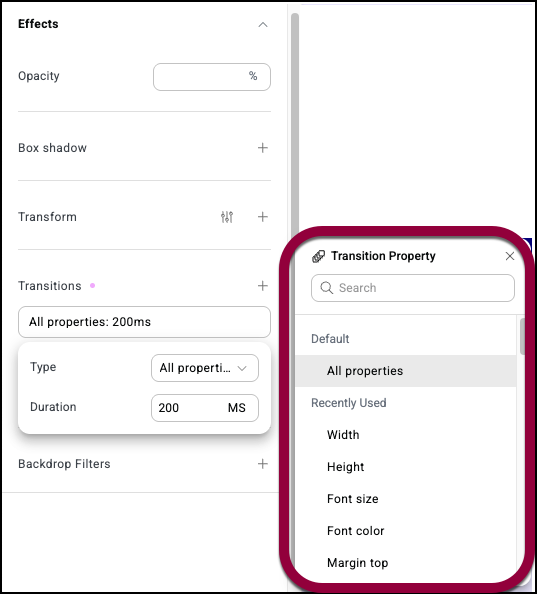
- Select Font Color from the list.
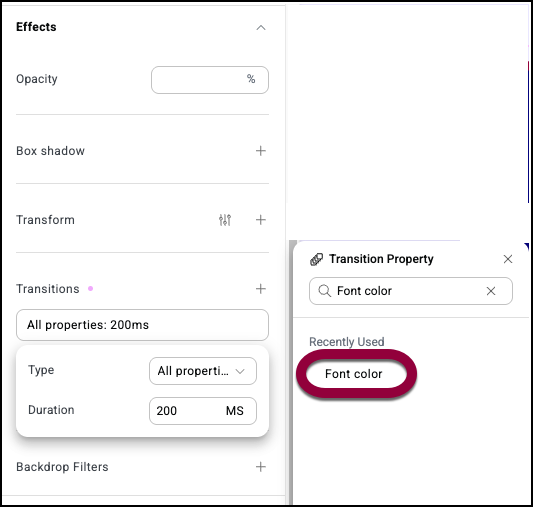
For Duration, put 0 MS. Transition Property show a list of all the properties you can set a transition property for. Recently set properties appear at the beginning of the list. If you have trouble locating a property, enter its name in the Search box.Note
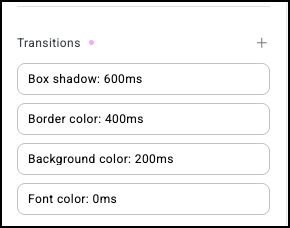
You should see the following results:

Delete a Transition
To delete a Transition:
- Select an element on the canvas.
- Open the Effects section.
- In the Transition section, hover over the transition you want to delete.
- Click the X icon to delete the transition.