
This guide provides a comprehensive overview of how to protect the images on your site. We’ll explore various methods, from simple deterrents to more technical solutions. We’ll also cover the actionable steps you can take if you find your images have been stolen, ensuring you’re equipped to handle the situation effectively.
Understanding Image Theft and Its Impact
Before diving into protection strategies, it’s important to understand what constitutes image theft and how it can affect your website and business.
Image theft occurs when someone uses your images on their own website or for other purposes without your permission or proper licensing. This can range from a blogger using your photo in a post without attribution to a competitor using your product images to sell their own goods.
The impact of image theft can be significant:
- Brand Dilution: Your unique visual identity gets weakened when your images appear on other, potentially low-quality, websites.
- SEO Damage: If another site uses your image and gets indexed by Google first, it can sometimes outrank your original image, leading to a loss of organic traffic. Duplicate content issues can also arise.
- Loss of Revenue: If you’re a photographer, artist, or sell stock photos, unauthorized use directly translates to lost income. For ecommerce sites, competitors using your product photos can steal potential customers.
- Resource Drain: Discovering and dealing with image theft consumes valuable time and resources that could be better spent on growing your business.
Given these risks, taking proactive steps to protect your images is a critical part of a professional web creator’s workflow.
Proactive Strategies to Protect Your Website Images
Preventing image theft entirely is challenging, but you can implement several layers of protection to deter thieves and make it more difficult for them to misuse your visual content.
Legal and Visible Deterrents
The first line of defense involves making it clear that your images are protected and that you take copyright seriously.
1. Add a Copyright Notice
A copyright notice is a simple yet effective way to assert ownership of your content. Typically placed in the footer of your website, it informs visitors that the content, including images, is your intellectual property.
A standard copyright notice includes:
- The copyright symbol (©), the word “Copyright,” or the abbreviation “Copr.”
- The year of first publication.
- The name of the copyright owner.
Example: © 2025 Your Company Name. All Rights Reserved.
While a copyright notice isn’t legally required for protection (copyright is automatic upon creation of the work), it serves as a clear, visible deterrent.
With a tool like Elementor’s Theme Builder, you can create a global footer for your entire website. This ensures your copyright notice appears on every page, providing consistent protection without having to manually add it everywhere. You can design and style the footer to match your brand, making the notice an integrated part of your site’s design.

2. Create a Terms of Use Page
A “Terms of Use” or “Terms and Conditions” page is a legal agreement between you and your site visitors. This is the place to explicitly state your policy on image usage. You can detail what is and isn’t allowed, whether you permit use with attribution, and the consequences of unauthorized use.
Link to this page from your website’s footer, next to your copyright notice. This not only strengthens your legal position but also acts as a reference point for anyone unsure about your image policies.
3. Watermark Your Images
Watermarking involves overlaying a logo, text, or a unique pattern onto your images. This is one of the most common methods of protection, especially for photographers and artists.
Best Practices for Watermarking:
- Subtlety is Key: A massive, opaque watermark can distract from the image itself. Aim for a semi-transparent mark that is visible but doesn’t ruin the viewing experience.
- Strategic Placement: Place the watermark in a location that’s difficult to crop out without significantly altering the image. The center or overlapping a key part of the image is often more effective than a corner.
- Consistency: Use a consistent watermark design and placement across all your images to build brand recognition.
While a determined thief can sometimes remove a watermark with advanced editing software, the effort required is a significant deterrent for most.
Technical and Structural Protections
Beyond legal notices, you can implement technical measures on your website to make it harder for users to download your images.
1. Disable Right-Click Functionality
One of the simplest ways people save images is by right-clicking and selecting “Save Image As.” You can disable this functionality using JavaScript.
However, this method has its drawbacks. It can frustrate legitimate users who may want to right-click for other reasons (like opening a link in a new tab). Also, tech-savvy users can easily bypass this by inspecting the page source or taking a screenshot. For this reason, it’s often seen as a low-level deterrent that can negatively impact user experience.
If you choose to implement this, you can add a custom code snippet to your site. Within Elementor, for example, you can use the Custom Code feature (part of Elementor Pro) to add JavaScript snippets that apply to your entire site or specific pages, giving you control over where this script runs.
2. Use Elementor’s Built-in Protections
For those building websites with Elementor, there are built-in features that can help. The Image widget, for example, has an option in its advanced settings to prevent right-clicking on that specific image, offering a more targeted approach than a site-wide script.
Additionally, Elementor’s Hotlink Protection feature, available through Elementor Hosting, prevents other websites from embedding your images directly on their pages. Hotlinking consumes your server’s bandwidth without providing any benefit to you. When enabled, anyone trying to hotlink your images will see a broken image icon instead.
3. Break Images into Smaller Pieces
This is a more creative, albeit complex, method. It involves slicing your image into multiple smaller tiles and then reassembling them on your webpage using HTML or CSS. For someone trying to right-click and save, they would only be able to save one small tile at a time, not the complete image.
This technique requires more technical setup and can be cumbersome to manage, especially for a site with many images. It’s generally reserved for high-value images where the effort is justified.
4. Disable Hotlinking at the Server Level</h4>
Hotlinking, or “inline linking,” is when another website displays an image from your site by linking directly to its URL on your server. This steals your bandwidth, as your server has to load the image every time a visitor views it on the thief’s website.
You can prevent this by adding a few lines of code to your .htaccess file on an Apache server. This file is located in the root directory of your WordPress installation.
Here’s a sample code snippet you can adapt:
Code snippet
RewriteEngine on
RewriteCond %{HTTP_REFERER} !^$
RewriteCond %{HTTP_REFERER} !^http(s)?://(www\.)?yourdomain.com [NC]
RewriteRule \.(jpg|jpeg|png|gif)$ – [NC,F,L]
This code blocks other sites from displaying your images, but it allows your own site to display them. Make sure to replace yourdomain.com with your actual domain name.
For those using Elementor Hosting, this process is simplified. Elementor’s hosting solutions are built on a performance-focused infrastructure that includes enterprise-grade security features like anti-DDoS and a Web Application Firewall (WAF). Hotlink protection can often be enabled through the hosting dashboard, providing a user-friendly way to secure your assets without editing server files directly.

Workflow and Asset Management
How you manage your images before and after uploading them can also play a role in their protection.
1. Add Copyright Information to Image Metadata</h4>
Most image editing software (like Adobe Photoshop or Lightroom) allows you to add information to a file’s metadata, also known as EXIF data. You can embed your name, website, and copyright information directly into the image file.
While this data can be stripped out, many casual thieves won’t bother. If your image is found elsewhere, you can use the embedded metadata as proof of ownership.
2. Upload Images at a Lower Resolution
High-resolution images are great for print but are often overkill for web use. They also make for more valuable targets for thieves. By uploading images at a resolution that is optimized for the web (e.g., 72 or 96 DPI, and sized appropriately for the container they’ll be in), you make them less appealing for unauthorized commercial use, especially for print.
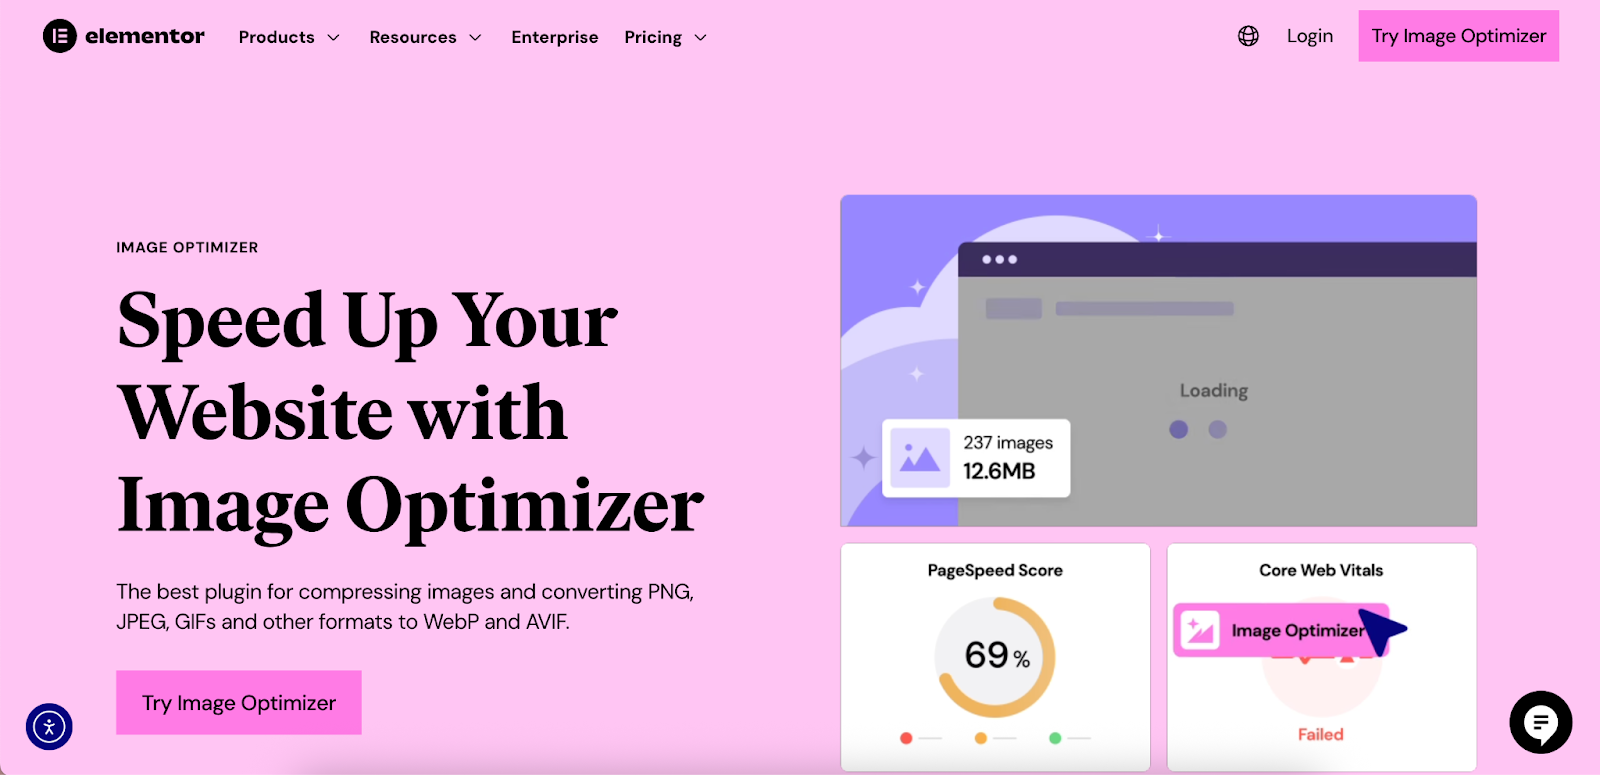
Plugins like Image Optimizer by Elementor can help with this. It automatically compresses and resizes images upon upload, ensuring they are web-ready and lightweight. This not only helps with site performance but also reduces the quality of the image for anyone trying to steal it for high-resolution purposes. The plugin supports next-gen formats like WebP and AVIF, which further optimize images for speed while maintaining visual quality.
3. Don’t Use Predictable File Names
Naming your images descriptively is good for SEO (e.g., blue-suede-shoes.jpg). However, if a thief discovers your naming convention, they might be able to guess the URLs of other images on your site. While not a foolproof method, slightly varying your naming patterns can add a small hurdle.
What to Do When You Find Your Images Have Been Stolen
Despite your best efforts, you may still find that your images have been stolen. When this happens, it’s important to act methodically and professionally.
Step 1: Document Everything
Before you take any action, gather evidence.
- Take Screenshots: Capture dated screenshots of the infringing website showing your image in use. Make sure the URL is visible in the screenshot.
- Save the Page: Use your browser to save a complete copy of the webpage as an HTML file.
- Check the Source Code: View the page’s source code to see how they are using the image. Are they hotlinking it from your server, or did they re-upload it?
- Use the Wayback Machine: Check if the Internet Archive’s Wayback Machine has a snapshot of the page. This can be useful if the thief removes the image after you contact them.
This documentation will be crucial if you need to escalate the issue.
Step 2: Assess the Situation and Choose Your Approach
Not all instances of image theft are malicious. Sometimes, a blogger or a fan might use your image without understanding copyright law. Your response should vary depending on the context.
- Is it an honest mistake? If a small blog or a fan site has used your image, they may be unaware of any wrongdoing.
- Is it a commercial entity? If a business or competitor is using your image, especially for financial gain, the situation is more serious.
- Are they giving you credit? If they’ve used your image but linked back to your site, you might decide that the backlink is valuable enough to let it slide. You could also contact them to ask for a specific anchor text or a more prominent credit.
Based on this assessment, you can decide on your next move.
Step 3: Contact the Website Owner
For non-malicious or minor infringements, a polite email is often all that’s needed.
- Find Contact Information: Look for a “Contact Us” page, an email address in the footer, or social media profiles. If you can’t find anything, you can use a WHOIS lookup tool to find the domain registrar’s contact information, though this is often private.
- Draft a Professional Email: Your email should be firm but not aggressive. State who you are, provide a link to your original image, and a link to the page where they are using it. Clearly state what you want them to do:
- Remove the image immediately.
- Provide proper attribution (if you’re open to this).
- Pay a licensing fee (if applicable).
Give them a reasonable deadline to respond (e.g., 48-72 hours). Keep a copy of the email for your records.
Step 4: Send a Formal Cease and Desist Letter
If the website owner doesn’t respond or refuses to comply, the next step is a more formal “Cease and Desist” letter. This is a legal document that demands the recipient stop the infringing activity.
You can find many templates for Cease and Desist letters online. It should include all the evidence you’ve gathered and clearly state the legal basis for your claim. While you can send this yourself, having a lawyer draft and send it can carry more weight.
Step 5: File a DMCA Takedown Notice
The Digital Millennium Copyright Act (DMCA) is a US copyright law that provides a mechanism for copyright holders to have infringing content removed from websites.
A DMCA takedown notice can be sent to the website’s hosting provider.
- Identify the Hosting Provider: Use a tool like whoishostingthis.com to find out who hosts the infringing website.
- Find Their DMCA Agent: Most hosting companies have a dedicated DMCA agent or an online form for submitting complaints. This information is usually in their legal or terms of service section.
- Submit the Notice: Your notice must contain specific information, including:
- Your contact information.
- A description of the copyrighted work.
- The URL of the infringing content.
- A statement that you have a good faith belief that the use is not authorized.
- A statement, under penalty of perjury, that the information is accurate and you are the copyright owner.
- Your electronic or physical signature.
Hosting companies are legally obligated to respond to valid DMCA notices by removing the content. This is a very powerful tool and often the most effective way to handle uncooperative infringers.
Step 6: Report to Search Engines
You can also report the infringing URL to search engines like Google. Google has a form for removing content from its search results based on copyright infringement. This won’t remove the image from the website itself, but it will prevent it from appearing in Google’s search results, cutting off a major source of traffic for the infringing page.
Step 7: Consider Legal Action
As a final resort, you can consider legal action. Suing for copyright infringement can be expensive and time-consuming, so this step is typically reserved for cases of significant financial loss or blatant, repeated infringement by a commercial entity.
If you have registered your copyright with the U.S. Copyright Office before the infringement occurred (or within three months of publication), you may be eligible to recover statutory damages and attorney’s fees, which can make legal action more viable.
Consult with an intellectual property lawyer to understand your options and the potential costs and benefits.
Tools to Help You Detect Image Theft
Manually searching for your images online is nearly impossible. Thankfully, there are tools that can automate the process.
- Google Images: You can perform a reverse image search on Google Images. Upload one of your photos or paste its URL, and Google will show you where else that image appears online.
- TinEye: This is a dedicated reverse image search engine that is very effective at finding exact and even modified copies of your images.
- Pixsy: A service designed for creators, Pixsy monitors the web for uses of your images and helps you manage takedown notices and even recover licensing fees.
Regularly checking for unauthorized use of your images should be a part of your website maintenance routine.
Conclusion: A Multi-Layered Approach to Image Protection
Protecting your website’s images requires a combination of legal, technical, and workflow-based strategies. While no single method is foolproof, implementing multiple layers of protection significantly reduces your risk and provides you with a clear path to resolution if theft does occur.
Start by making your ownership clear with copyright notices and a terms of use page. Use watermarks on high-value images and employ technical deterrents like disabling hotlinking. Optimize your workflow by adding metadata to your files and uploading web-optimized versions of your images. Tools like the Elementor Editor and its ecosystem of features, including the Theme Builder, Custom Code capabilities, and integrated solutions like Elementor Hosting and Image Optimizer , can streamline many of these protective measures, allowing you to build them directly into your web creation process.

Finally, be prepared to act decisively if you discover your images have been stolen. Document everything, contact the site owner, and don’t hesitate to use formal channels like DMCA takedowns to enforce your rights. By taking a proactive and informed approach, you can safeguard your visual assets, protect your brand, and ensure your creative work receives the respect it deserves.


