
However, before you can start designing pages and writing content, you need to get WordPress installed. For newcomers, this initial step can seem intimidating. With terms like “hosting,” “FTP,” and “databases” floating around, it’s easy to feel overwhelmed.
This tutorial is here to cut through the confusion. We’ll provide clear, step-by-step instructions for every major WordPress installation method. Whether you prefer a simple one-click solution or want to get your hands dirty with a manual setup, this guide has you covered. By the end, you’ll have a fresh WordPress site ready for you to shape into your vision.
Before You Begin: Key Prerequisites for Installing WordPress
Before we dive into the installation process, there are two fundamental components every website needs: a domain name and a web hosting plan. Think of your domain name as your website’s street address and web hosting as the plot of land where you’ll build your house.
Choosing a Domain Name
A domain name is the unique address users type into their browser to find your site (e.g., yourwebsite.com). It’s a critical part of your brand identity, so it’s worth taking a moment to choose a good one.
What makes a great domain name?
- Brandable: It should be unique and memorable, reflecting your brand or the topic of your website.
- Easy to Type and Say: Avoid complex spellings, hyphens, and numbers if possible. This makes it easier for people to share your site through word-of-mouth.
- Concise: Shorter domains are generally easier to remember and type.
- Uses the Right Extension: The .com extension is the most recognized and trusted, but other extensions like .org, .net, or country-specific ones (.co.uk, .ca) can also work depending on your audience and purpose.
Once you have a name in mind, you’ll need to register it through a domain registrar. Many hosting providers offer a free domain name for the first year when you sign up for a hosting plan, which can simplify the process.
Selecting a Web Hosting Provider
Web hosting is the service that stores your website’s files (code, images, content) and makes them accessible to visitors on the internet. A reliable hosting provider is the foundation of a successful website, directly impacting its speed, security, and uptime.
Types of WordPress Hosting
Hosting comes in several varieties, each suited for different needs and budgets.
- Shared Hosting: This is the most affordable option and is great for beginners. Your website shares server resources with other websites. It’s an excellent starting point for new blogs, portfolios, or small business sites.
- Managed WordPress Hosting: This is a specialized service where the provider handles all the technical aspects of running WordPress. This includes security, speed optimization, updates, and backups. It’s a fantastic choice for those who want a hands-off, high-performance experience.
- Virtual Private Server (VPS) Hosting: A VPS provides a dedicated portion of a server’s resources for your website. It offers more power and flexibility than shared hosting and is suitable for growing websites with increasing traffic.
- Dedicated Server: With a dedicated server, you rent an entire physical server for your website. This offers the highest level of performance and control but comes at a premium price. It’s typically reserved for very high-traffic websites and large enterprises.
What to Look for in a Hosting Provider
When evaluating hosting options, consider these key factors:
- Performance: Website speed is crucial for user experience and SEO. A study by Google found that the probability of a visitor bouncing increases by 32% as page load time goes from 1 to 3 seconds. Look for providers that use modern technology like SSD storage and a Content Delivery Network (CDN).
- Support: Especially for beginners, reliable support is a lifeline. Many hosting challenges involve technical issues that require expert help. Look for providers with 24/7 support from knowledgeable staff who understand WordPress.
- Security: A good host will provide essential security features like free SSL certificates (to enable HTTPS), regular malware scans, and automated daily backups.
- Scalability: Your hosting plan should be able to grow with your website. Ensure the provider makes it easy to upgrade your plan as your traffic and resource needs increase.
Introducing Elementor Hosting
For a solution that brings together performance, security, and expert support, Elementor Hosting is an ideal choice for web creators. It’s a managed hosting platform built on the best-in-class infrastructure of Google Cloud, ensuring your site has the power and reliability it needs.
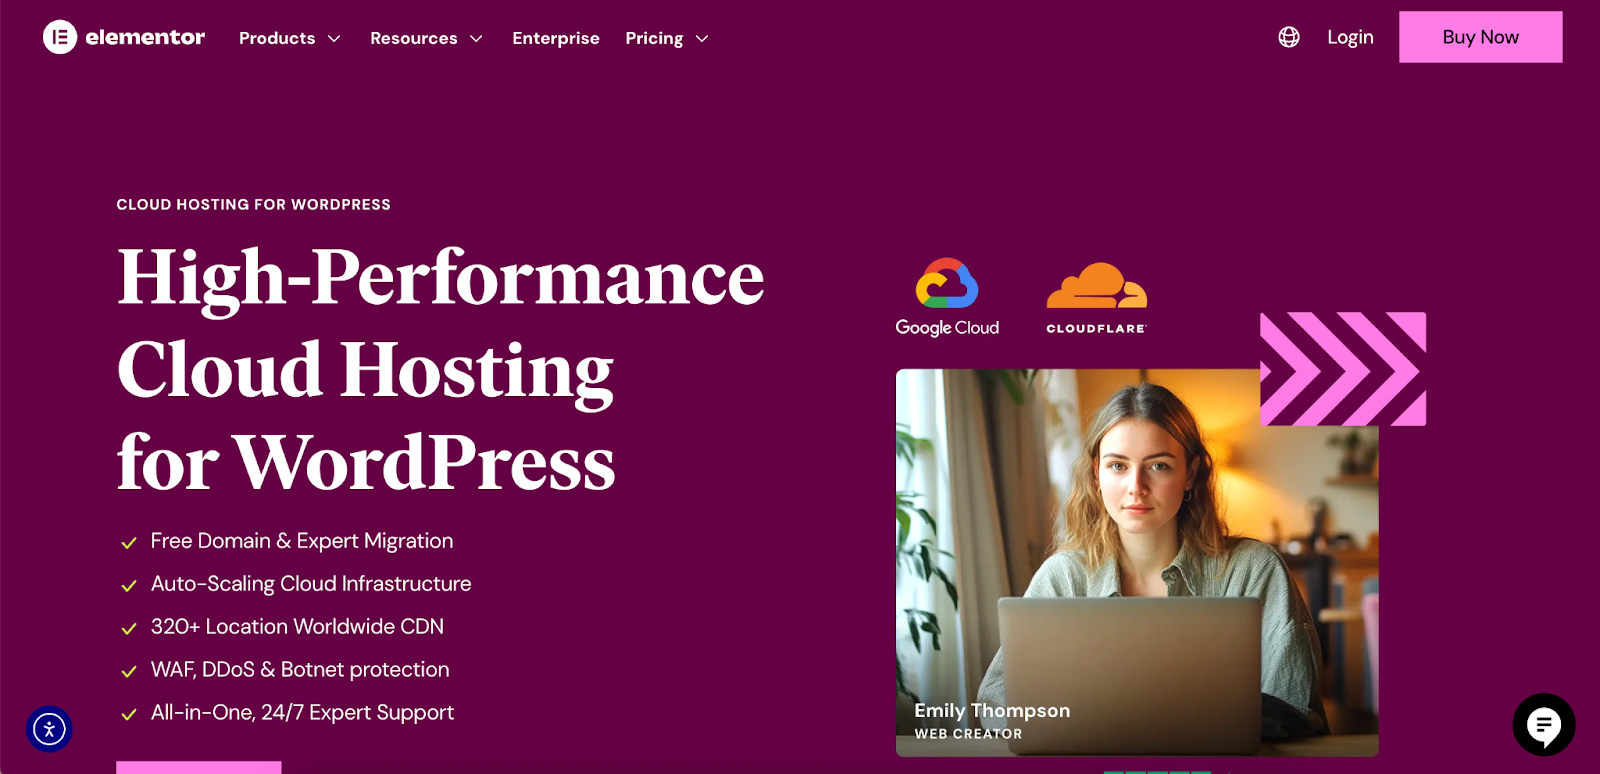
One of the primary benefits of Elementor Hosting is its auto-scaling capability, which automatically accommodates traffic spikes without slowing down your site. This gives you the confidence to scale your projects without worrying about performance bottlenecks. Furthermore, every plan includes enterprise-grade security features like a premium SSL certificate, a Web Application Firewall (WAF), and anti-DDoS protection.
Perhaps the most significant advantage is the
all-in-one support. Instead of dealing with separate support teams for your hosting and your website builder, Elementor Hosting provides a single point of contact with experts who understand both. This eliminates the common frustration of support teams blaming each other for issues, providing a smoother and more efficient resolution process.
Method 1: The One-Click Install (Easiest Method for Beginners)
The most popular and straightforward way to install WordPress is by using a “one-click installer” provided by your hosting company. Despite the name, it usually takes a few clicks, but it automates the entire process so you don’t have to handle files or databases manually.
Most hosting control panels, like cPanel, come with a software installer such as Softaculous, Fantastico, or QuickInstall. The following steps use Softaculous as an example, but the process is very similar across different tools.
Step-by-Step Guide Using a Common Control Panel
- Log in to Your Hosting Control Panel (cPanel): Your hosting provider will give you a direct link and login credentials for your control panel when you sign up.
- Find the WordPress Installer: Once logged in, look for a section named “Software” or “Scripts.” Here, you should find an icon for Softaculous or another WordPress installer.
- Select WordPress: Click on the WordPress icon. This will take you to an overview screen. Click the “Install Now” button to begin the setup.
- Configure Your Installation Settings: You will be presented with a form to fill out with your site’s details.
- Choose Protocol: Select https:// or https://www. It is crucial to use HTTPS for security. Your host should provide a free SSL certificate.
- Choose Domain: Select the domain name on which you want to install WordPress.
- In Directory: This field should be left empty if you want to install WordPress on your main domain (e.g., yourdomain.com). If you enter a name like “blog,” WordPress will be installed at yourdomain.com/blog.
- Site Settings: Enter your Site Name and Site Description. You can change these later.
- Admin Account: Create a strong username and password for your WordPress administrator account. Use something other than “admin” for better security. Enter your email address; this is important for password resets and notifications.
- Choose Language: Select your preferred language.
- Click “Install”: Once you’ve filled out the form, scroll to the bottom and click the “Install” button. Softaculous will now run the installation process in the background. It only takes a minute or two.
Once it’s finished, you’ll see a success message with a link to your new WordPress website and another link to your WordPress admin login page.
The Elementor Hosting Advantage: Pre-Installed and Optimized
With Elementor Hosting, this process is even simpler. Because it’s a dedicated solution for web creators, it removes these initial technical hurdles entirely. WordPress and the Elementor plugin come pre-installed, so you can skip the installation steps and jump straight into building your site. This streamlined setup is built on a platform optimized for Tier 1 performance, ensuring your site is fast and responsive from the very beginning.
Method 2: Manual WordPress Installation (The “Famous 5-Minute Install”)
While the one-click method is easier, manually installing WordPress gives you a better understanding of how the platform works. It also gives you more control over the setup. This process is often called the “Famous 5-Minute Install,” and while it might take a bit longer for first-timers, it’s a valuable skill to learn.
You’ll need an FTP client (like FileZilla or Cyberduck) to upload files to your server.
Step 1: Download the Latest Version of WordPress
First, head over to the official WordPress.org website and download the latest version of WordPress. The download will be a ZIP file. Once downloaded, unzip the file on your computer. This will create a folder named “wordpress” containing all the necessary files.
Step 2: Create a Database and User
WordPress stores all your content—posts, pages, settings—in a database. You need to create one for it to use.
- Log in to your hosting control panel (cPanel).
- Find the MySQL Databases icon and click it.
- Under the “Create New Database” section, give your database a name and click Create Database.
- Next, you need to create a database user. Scroll down to “MySQL Users” and create a new user with a unique username and a strong password. Click Create User.
- Finally, you need to grant the user permission to access the database. Scroll down to “Add User to Database.” Select the user and the database you just created, and click Add.
- On the next screen, check the box for All Privileges and click Make Changes.
Make sure to write down the database name, username, and password. You’ll need them in the next step.
Step 3: Configure the wp-config.php File
The wp-config.php file is one of the most important files in your WordPress installation. It contains your database connection details and other configuration settings.
- In the “wordpress” folder you unzipped earlier, find the file named wp-config-sample.php.
- Rename this file to wp-config.php.
- Open the new wp-config.php file in a plain text editor (like Notepad on Windows or TextEdit on Mac).
- You will need to replace the placeholder database information with the details you noted down earlier:
- define( ‘DB_NAME’, ‘database_name_here’ );
- define( ‘DB_USER’, ‘username_here’ );
- define( ‘DB_PASSWORD’, ‘password_here’ );
- Further down, you’ll find a section for “Authentication Unique Keys and Salts.” These are security keys that protect your site. Go to the official WordPress secret-key generator page, copy the unique keys it provides, and paste them into your wp-config.php file, replacing the placeholder lines.
- Save the wp-config.php file.
Step 4: Upload the WordPress Files to Your Server
Now it’s time to upload the files to your web server.
- Open your FTP client and connect to your hosting account. You’ll need your server’s FTP address, username, and password, which your host provides.
- Navigate to your website’s root directory. This is usually named public_html or www.
- In the local files panel of your FTP client, navigate to the “wordpress” folder on your computer.
- Select all the files inside the “wordpress” folder and drag them over to your server’s root directory. Do not upload the “wordpress” folder itself, only its contents.
The upload process can take several minutes, as there are many small files.
Step 5: Run the WordPress Installation Script
Once the upload is complete, you can run the WordPress installation script.
- Open your web browser and navigate to your domain name (e.g., http://yourdomain.com).
- You’ll be greeted by the WordPress welcome screen, where you’ll select your language.
- On the next screen, you’ll need to provide some information for your site:
- Site Title: The name of your website.
- Username: Your administrator username.
- Password: A strong password for your account.
- Your Email: Your primary email address.
- Click the Install WordPress button.
After a few moments, you’ll see a success screen. You can now click the “Log In” button to access your new WordPress dashboard.
Method 3: Installing WordPress on a Local Computer
Installing WordPress on your local computer is a great way to learn, test new themes and plugins, and develop websites in a private environment before moving them to a live server. Several free tools can create a local server environment on your machine.
Using LocalWP
Local (formerly Local by Flywheel) is a very popular and user-friendly tool for local WordPress development.
- Download and Install: Go to the Local website, download the application for your operating system (Windows, Mac, or Linux), and install it.
- Create a New Site: Open Local and click the “+” button to create a new site. Give your site a name.
- Choose Your Environment: You can use the “Preferred” setup or customize your environment by choosing specific versions of PHP, a web server (Nginx or Apache), and a database (MySQL).
- Set Up WordPress: Enter a WordPress username, password, and email address.
- Done! Local will set up the site for you. With a single click, you can open the site in your browser or access the WordPress admin dashboard.
Using Other Tools like XAMPP or MAMP
Tools like XAMPP and MAMP are also popular for creating local server environments. The process with these tools is more manual and similar to the manual installation on a live server: you have to start the Apache and MySQL servers, create a database using phpMyAdmin, and manually place the WordPress files in the correct folder (htdocs for XAMPP, htdocs for MAMP) before running the installation script in your browser.
Post-Installation Checklist: 7 Essential First Steps
Congratulations, you’ve successfully installed WordPress! But the work isn’t done yet. Here are seven essential steps to take right after installation to set your site up for success.
1. Log In and Explore the Dashboard
To log in to your site, go to yourdomain.com/wp-admin. Use the username and password you created during installation. Take a few minutes to familiarize yourself with the dashboard. The left-hand menu contains links to all the key areas: Posts, Pages, Media, Appearance, Plugins, Users, and Settings.
2. Configure General Settings
Navigate to Settings → General. Review and confirm the following:
- Site Title and Tagline: Make sure these accurately reflect your website.
- WordPress Address (URL) and Site Address (URL): These should be correct. Don’t change them unless you know what you’re doing.
- Administration Email Address: Ensure this is a valid email you have access to.
- Timezone, Date Format, and Time Format: Set these according to your location and preference.
3. Set Your Permalinks
Permalinks are the permanent URLs for your posts and pages. By default, WordPress uses a “Plain” structure (e.g., ?p=123), which is not ideal for SEO.
Go to Settings → Permalinks. Change the setting to Post name. This will create clean, readable URLs like yourdomain.com/sample-post/, which is better for both users and search engines.
4. Delete Default Content
A new WordPress installation comes with a “Hello World!” post, a “Sample Page,” and a “Hello Dolly” plugin. It’s best to delete these to start with a clean slate.
- Go to Posts and delete the “Hello World!” post.
- Go to Pages and delete the “Sample Page.”
- Go to Plugins and delete the “Hello Dolly” plugin.
5. Install a Theme
A theme controls the visual design of your website. While WordPress comes with a default theme, you’ll likely want to choose one that fits your brand.
Why Start with a Lightweight Theme like Hello?
For creators who want complete design freedom, starting with a minimal “blank canvas” theme is the best approach. The Hello Theme from Elementor is a perfect example. It’s a featherlight, barebones theme designed to be the ideal foundation for building your site with the Elementor Page Builder. Because it has almost no styling of its own, it won’t conflict with your designs, giving you maximum flexibility when using Elementor’s Theme Builder to create your header, footer, and other site parts. This approach helps you avoid the frustration of fighting with a pre-styled theme to achieve a custom, professional look.
6. Install Essential Plugins
Plugins extend the functionality of WordPress. Here are some key categories of plugins you should consider installing:
- Website Builder: To move beyond basic editing, a visual website builder is essential.
Elementor is an intuitive drag-and-drop builder that enables web creators to build any type of website visually. Its comprehensive features, including a powerful Theme Builder, over 100 widgets, and advanced responsive controls, give you complete control over your site’s design and layout without needing to write code. - SEO: An SEO plugin like Yoast SEO or Rank Math will help you optimize your content for search engines.
- Security: A security plugin like Wordfence or Sucuri will help protect your site from threats.
- Performance/Caching: A caching plugin like WP Rocket or W3 Total Cache will help speed up your website.
- Backups: A backup plugin like UpdraftPlus will create regular backups of your site.
- Image Optimization: Large images are a primary cause of slow websites. The Image Optimizer by Elementor plugin is an effortless way to compress images and improve your site’s performance. It automatically optimizes images upon upload, converts them to next-gen formats like WebP and AVIF, and can reduce image file sizes by an average of 60%, all without a noticeable loss in quality.
7. Set Up User Roles and Profiles
If you plan to have multiple people contributing to your site, you should familiarize yourself with WordPress’s user roles (Administrator, Editor, Author, Contributor, Subscriber). Each role has different permissions. You can manage users under the Users tab in the dashboard. Also, take a moment to complete your own profile by adding your name and a biographical description.
Troubleshooting Common Installation Issues
Sometimes, things don’t go as planned. Here are a few common issues you might encounter during a manual installation and how to fix them.
“Error Establishing a Database Connection”
This is a common error that means WordPress is unable to connect to your database.
- Check wp-config.php: The most common cause is incorrect database credentials in your wp-config.php file. Double-check the database name, username, and password for any typos.
- Contact Your Host: The issue could also be that your database server is down. Contact your hosting provider’s support team to check.
“White Screen of Death”
This is when you see a blank white screen when trying to access your site. It’s usually caused by a theme or plugin conflict. Since you’re just installing, it’s less likely, but if it happens after you’ve activated a plugin or theme, you can use FTP to navigate to the wp-content folder and rename the plugins folder to something like plugins_old. This will deactivate all plugins and should allow you to access your site.
“Headers Already Sent” Error
This error is often caused by extra spaces or blank lines before the opening <?php tag or after the closing ?> tag in your wp-config.php file. Open the file and ensure there are no spaces or lines before or after the code.
The Support Advantage
Troubleshooting technical problems highlights the value of quality customer support. When you’re stuck, having an expert to turn to is invaluable. This is another area where a solution like Elementor Hosting shines. With world-class, all-in-one support, you have a team of experts ready to help with any issue, whether it’s related to hosting, WordPress, or the Elementor builder itself.
Conclusion
Installing WordPress is the first exciting step in your web creation journey. As you’ve seen, there are multiple paths you can take, from the simplicity of a one-click install to the control of a manual setup. Whichever method you choose, the result is the same: a powerful, flexible platform ready for you to build upon.
By following the post-installation checklist and equipping your site with the right theme and plugins, you can set a strong foundation for a professional, high-performing website. Solutions from the Elementor ecosystem—like the lightning-fast Elementor Hosting, the flexible Hello Theme, and the powerful Elementor builder—work together to streamline your workflow from start to finish. They empower you to overcome common frustrations and bring your creative vision to life, helping you build a website that not only looks amazing but also achieves your goals.


