
This comprehensive guide will not only explain what the WordPress memory exhausted error is and its causes, but also provide several detailed, step-by-step methods to resolve it permanently. By understanding the root of the problem, you can implement a lasting solution, prevent it from recurring, and ensure your website operates with the stability and efficiency required to deliver a seamless user experience.
What Is the WordPress Memory Exhausted Error?
Every WordPress website, at its core, is a sophisticated application powered by the PHP programming language. This application runs on a web server, which, much like a personal computer, has a finite amount of resources, including physical memory (RAM). To maintain stability and prevent a single application from crashing the entire server, hosting environments allocate a specific portion of this memory to run the PHP scripts that make your website function.
WordPress itself includes a safeguard to manage this allocation. It sets a default memory limit to prevent runaway scripts from consuming all available server resources. The WordPress’ memory exhausted ‘error occurs when a WordPress plugin, theme, or custom script attempts to perform an operation that exceeds the predefined memory limit. When this threshold is breached, WordPress automatically terminates the script to protect the server environment and displays a fatal error.
You might see this error in a few different variations, but the message is typically direct:
Fatal error: Allowed memory size of 33554432 bytes exhausted (tried to allocate 2348617 bytes) in /home/username/public_html/site1/wp-includes/plugin.php on line xxx
Another common variation might look like this:
Fatal error: Out of memory (allocated 67108864) (tried to allocate 8192 bytes) in /home/username/public_html/wp-includes/some-file.php on line yyy
While the specific file paths, line numbers, and byte counts may differ, the core message remains the same: your website required more processing power to complete a task than it was allocated, and the operation failed.
What Are the Primary Causes of the Memory Exhausted Error?
Several factors, ranging from your choice of plugins to your hosting environment, can cause your website to exceed its memory limit. Pinpointing the cause is the first step toward implementing a permanent solution rather than a temporary patch.
- Inefficient Plugins or Themes: This is, by far, the most frequent culprit. A poorly coded plugin or theme can be incredibly resource-intensive. It might use inefficient database queries, load unnecessary scripts, or contain a “memory leak”—a bug that causes it to consume more and more memory over time without releasing it. Even a seemingly simple plugin can bring down a high-performance server if its code is not optimized.
- Complex Website Features: Websites are more dynamic than ever. Advanced functionalities, such as large-scale e-commerce stores with thousands of products, complex membership portals with tiered access levels, learning management systems (LMS), or sites with extensive, dynamically generated content, naturally require more memory to process requests and manage data effectively.
- High Traffic Spikes: A sudden surge in website traffic, whether from a successful marketing campaign or viral social media post, places a heavy load on your server. Each visitor triggers scripts that need to be executed. The more concurrent visitors you have, the more memory is required to serve them all. If the demand outstrips the supply, the server can easily become overwhelmed.
- Outdated PHP Version: PHP is the engine that powers WordPress. Like any software, it receives regular updates that introduce performance enhancements, security patches, and more efficient memory management. Running your site on an outdated version of PHP means you’re missing out on these optimizations, forcing your server to work harder and use more memory than necessary.
- Low Default Memory Limit: In some cases, the problem isn’t an issue with your website’s code but instead with the server’s configuration. WordPress sets a very conservative default memory limit (32MB for a single site). While many hosting providers increase this by default, some shared hosting environments may keep it low to manage resources across hundreds of sites on the same server. Your website may have outgrown this initial limit.
- Processing Large Media Files: Actions within the WordPress dashboard, such as uploading or processing large, high-resolution images or videos, can cause temporary memory spikes. If the allocated memory is insufficient to handle these files, the operation can fail and trigger an error.
How to Fix the WordPress Memory Exhausted Error: A Step-by-Step Guide
Fixing this error almost always involves increasing the amount of PHP memory available to your WordPress installation. We’ll explore four common methods below, ordered from the simplest and most common to the more advanced.
Important Precaution: Before you begin, create a full backup of your website. These methods involve editing core configuration files, and having a recent backup ensures you can restore your site immediately if you make a mistake.
1. Increase Memory Limit in wp-config.php (Recommended Method)
For the vast majority of users, the quickest and most reliable way to resolve the memory error is by editing the wp-config.php file. This is one of WordPress’s most important core files, containing your site’s base configuration details, including database connection information.
Step 1: Locate and Access Your wp-config.php File
You will need to connect to your server to access this file. You can do this in two primary ways:
- Using a File Manager: Log in to your hosting account’s control panel (this is often cPanel, Plesk, or a custom panel). Navigate to the File Manager. Your WordPress files are typically located in a folder named public_html or named after your domain. The wp-config.php file will be in this root directory.
- Using an FTP Client: If you prefer, you can connect to your server using an FTP (File Transfer Protocol) client like FileZilla. You’ll need your FTP credentials from your hosting provider. Once connected, navigate to your site’s root directory to find the file.
Step 2: Add the Memory Limit Definition
Right-click on the wp-config.php file and choose Edit. A text editor will open. Carefully scroll down to the bottom of the file until you see the line that says:
/* That’s all, stop editing! Happy publishing. */
Just above this line, add the following code snippet:
define( ‘WP_MEMORY_LIMIT’, ‘256M’ );
Code Explanation: This line of code is a PHP constant that directly tells WordPress to override its default memory limit and set a new one. 256M stands for 256 megabytes. This is a robust starting point for most modern websites, including many eCommerce stores. If you run a particularly resource-intensive site, you could set it higher (e.g., 512M), but it’s best to start with 256M and only increase it if necessary.
Step 3: Save, Upload, and Verify
Save the changes to the wp-config.php file. If you are using an FTP client, you will be prompted to re-upload the file to your server to overwrite the original. Once the file is saved, clear any caching on your site and open your website in a new browser tab to see if the error has been resolved.
2. Increase Memory Limit via the .htaccess File
If editing wp-config.php doesn’t resolve the issue, or if you are on a hosting setup where it’s not effective, the next method is to modify the .htaccess file. This is a powerful server configuration file located in the same WordPress root directory. It primarily handles URL rewriting for permalinks but can also be used to adjust various server settings, including the PHP memory limit.
Step 1: Locate and Edit Your .htaccess File
Using your hosting File Manager or an FTP client, find the .htaccess file in your site’s root folder. This file is often hidden by default for security reasons. If you cannot see it, look for a “Settings” or “Preferences” option in your File Manager and enable the option to Show Hidden Files (dotfiles).
Step 2: Add the Memory Limit Directive
Open the .htaccess file for editing. It’s best to add custom rules at the very bottom of the file, after the # END WordPress block. Add the following line:
php_value memory_limit 256M
Code Explanation: This directive instructs the Apache web server to change the value of the memory_limit configuration for PHP. This method works at the server level and can sometimes be more effective than the WP_MEMORY_LIMIT constant if the server configuration overrides WordPress settings.
Step 3: Save and Test
Save the file and upload it back to your server if prompted. Refresh your website to see if the memory error is gone. If this method causes a “500 Internal Server Error,” it means your server does not allow this directive to be set via .htaccess. In that case, remove the line you added and proceed to the next method.
3. Increase Memory Limit Using a php.ini File
If the first two methods fail, you may need to modify your server’s php.ini file. This is the primary server-level configuration file that governs how PHP behaves. Your access to this file depends entirely on your hosting environment.
- Shared Hosting: You typically cannot edit the global php.ini file. However, many shared hosts allow you to create a local php.ini file in your site’s root directory (public_html) to override specific settings.
- VPS or Dedicated Server: You will have root access and can edit the global php.ini file directly.
Step 1: Locate or Create the php.ini File
Check your WordPress root directory for an existing php.ini file. If it’s not there, you can create a new blank file and name it php.ini.
Step 2: Add the Memory Configuration
Open the file for editing and add the following line:
memory_limit = 256M
Code Explanation: This is the standard syntax for setting directives within a php.ini file. It directly sets the memory_limit for any PHP script running in that directory or its subdirectories.
Step 3: Save and Verify
Save the changes and upload the file. On some servers, especially a VPS, you may need to restart your web server (Apache or Nginx) for the changes to take effect. Check your website to see if the error is resolved.
4. Contact Your Hosting Provider for Assistance
If you have diligently tried all the methods above and the error persists, the issue is almost certainly a restriction at the server level. Many hosting providers, particularly on budget-friendly shared plans, impose a hard cap on the memory limit that cannot be overridden by user-level configuration files (wp-config.php, .htaccess, php.ini). This is done to ensure stability and fair resource distribution among all users on the server.
In this scenario, your most effective course of action is to contact your hosting provider’s support team. When you do, be prepared and clear:
- Explain that you are encountering the “WordPress memory exhausted error.”
- Inform them of the exact error message if you have it.
- Mention the specific troubleshooting steps you have already taken (e.g., “I have already tried setting WP_MEMORY_LIMIT to 256M in wp-config.php without success.”).
Here’s a template you can adapt:
“Hello Support Team,
I am experiencing a fatal error on my WordPress website, [YourDomain.com]. The error message is: ‘Fatal error: Allowed memory size of… exhausted’.
I have already attempted to resolve this by increasing the PHP memory limit to 256M by editing the wp-config.php file and the .htaccess file, but the error persists. This suggests the memory limit might be capped at the server level.
Could you please check my account’s PHP memory limit and increase it to 256M? Thank you for your assistance.”
A competent support team will be able to diagnose the issue and either increase the limit for you or clearly explain why it’s not possible, which usually means you need to upgrade to a more powerful hosting plan.
For web creators who prioritize stability and performance, choosing a managed hosting solution can prevent these issues entirely. A platform like Elementor Hosting is explicitly designed for WordPress and provides a pre-configured, performance-focused environment.
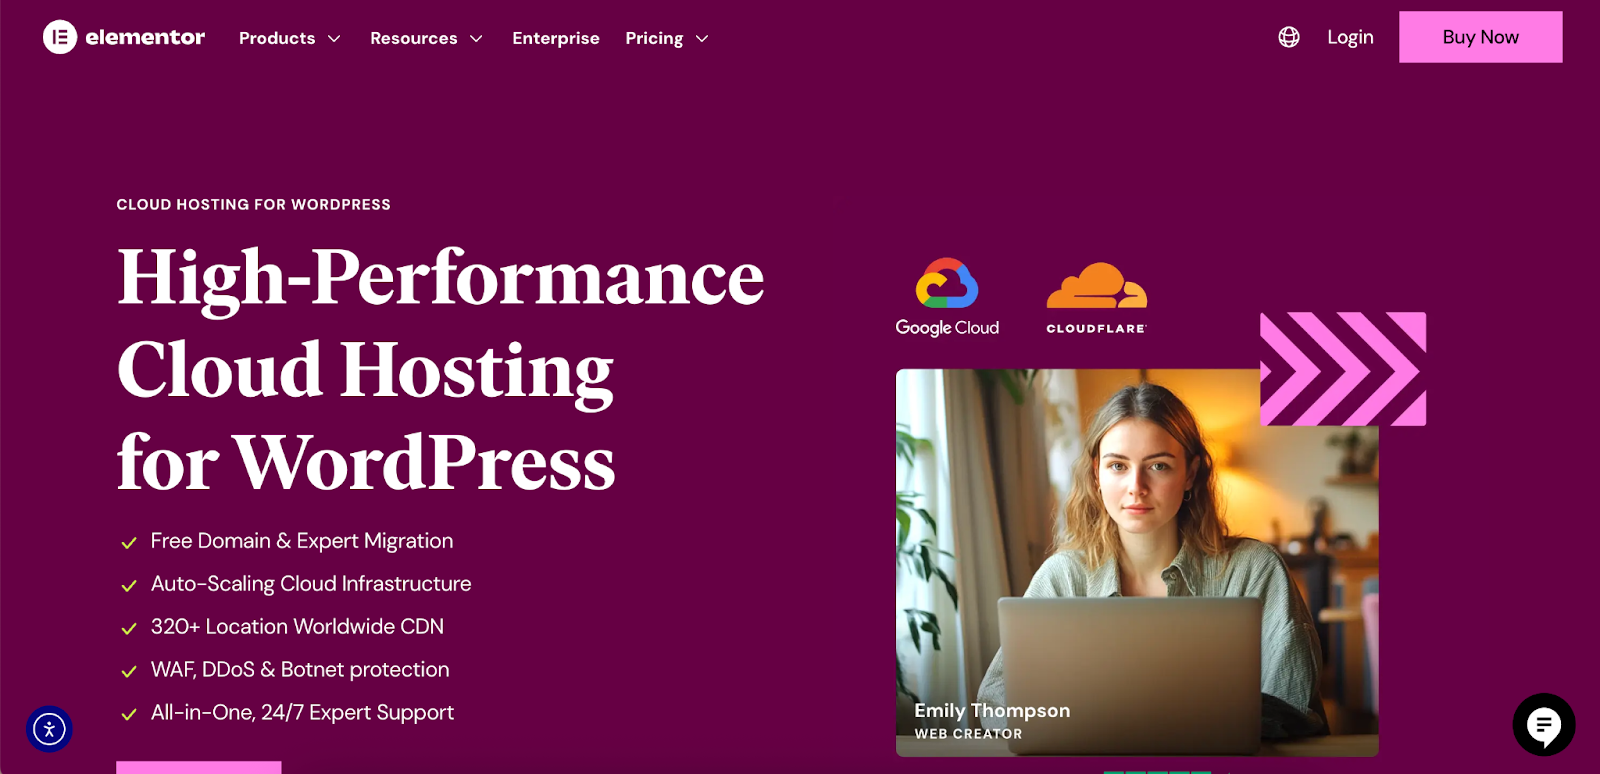
It’s built on a robust cloud infrastructure that offers auto-scaling, meaning it can accommodate traffic peaks and resource-intensive tasks without requiring manual adjustments to configuration files. The all-in-one support for both hosting and builder also significantly streamlines troubleshooting.
Proactive Troubleshooting: Finding the Root Cause of Memory Leaks
Increasing the memory limit is an effective fix, but it’s crucial to understand that it can also serve as a temporary solution to a deeper issue. If a poorly coded plugin or theme is the underlying problem, it may consume even the newly increased memory limit. Identifying and addressing the root cause is essential for the long-term health and stability of your website.
Using the Site Health Tool
WordPress includes a powerful built-in utility called Site Health.
- From your WordPress dashboard, navigate to Tools → Site Health.
- The Status page will run a series of tests and flag any critical issues, such as an outdated PHP version or performance problems.
- Click the Info tab. Here you will find an exhaustive report on your site’s configuration. Expand the Server dropdown to check the actual PHP memory limit your site is running with. This confirms whether your file edits were successful.
The Plugin Deactivation Method: A Deeper Dive
This classic troubleshooting technique is the most reliable way to identify a faulty plugin. For a live site, it’s highly recommended to perform this on a staging site first to avoid disrupting your visitors.
- Go to the Plugins page in your WordPress dashboard.
- Select the checkbox at the top to select all plugins.
- From the Bulk Actions dropdown menu, choose Deactivate and click Apply.
- If the memory error disappears, you have confirmed that a plugin is the source of the problem.
- Now, reactivate the plugins one by one. After activating each plugin, take a moment to browse your website, visiting a few different pages.
- When the error message reappears, the last plugin you activated is the one causing the issue.
- At this point, you can deactivate that specific plugin and look for a more lightweight, well-coded alternative or contact the plugin’s developer with the error details to seek a fix.
Temporarily Switching to a Default Theme
If deactivating all plugins doesn’t resolve the issue, the problem could lie within your theme. A theme with heavy features, complex page templates, or unoptimized code can consume a significant amount of memory.
- In your dashboard, go to Appearance → Themes.
- Activate a default WordPress theme, such as Twenty Twenty-Four. These themes are developed by the WordPress team and are guaranteed to be well-coded and lightweight.
- Recheck your website. If the error is gone, your original theme is the likely culprit.
You should consider reaching out to the theme developer for support. Alternatively, this is an excellent opportunity to migrate to a performance-focused theme. A theme like Hello Theme from Elementor is the epitome of a lightweight foundation. It’s a “blank canvas” starter theme that’s exceptionally fast because it contains almost no pre-set styling, giving you full control over a visual builder. Pairing it with the Elementor Editor allows you to build a visually stunning site without the performance overhead that can come from bloated, multi-purpose themes.

Best Practices for Preventing Future Memory Errors
Fixing an error is good, but preventing it is even better. Adopting a proactive approach to website management can save you from future headaches and ensure your site runs smoothly.
- Choose Your Tools Wisely: Not all themes and plugins are created equal. Before installing a new tool, do your research. Check its update frequency, read recent reviews, and browse its support forums. A well-maintained plugin from a reputable developer is far less likely to cause performance issues.
- Keep Everything Updated: Regularly update the WordPress core, all your themes, and all your plugins. Updates frequently include performance enhancements, bug fixes (including memory leaks), and critical security patches.
- Optimize Your Images: Images are often the heaviest assets on a webpage. Use a plugin like
Image Optimizer by Elementor automatically compresses and converts your images to modern, efficient formats like WebP. This reduces the memory required to process pages and significantly improves loading speed. - Use a Caching Plugin: Caching creates static HTML versions of your pages and serves them to visitors, which drastically reduces the number of PHP scripts that need to be run. This lowers the overall load on your server and conserves memory.
- Select the Right Hosting: Your hosting environment is your website’s foundation. While shared hosting is affordable, your site shares resources with hundreds of others. If your website is growing or mission-critical, investing in a VPS or a managed WordPress hosting solution is a wise decision. These environments provide dedicated resources and greater control over settings like the PHP memory limit.
Wrapping Up
The WordPress memory exhausted error is a clear sign that your website’s needs have surpassed its available resources. By systematically increasing your site’s PHP memory limit—preferably through the wp-config.php file—you can quickly and effectively resolve the immediate problem and get your site back online.
However, a truly robust solution goes beyond a simple configuration change. It involves a holistic approach to website health: proactively identifying resource-hungry plugins or themes, keeping all components of your site updated, and building on a foundation of optimized tools and reliable hosting. By adopting these best practices, you can ensure your WordPress website remains stable, fast, and scalable, ready to handle your future growth without hitting another memory wall.


