
This comprehensive guide will walk you through the entire process of creating your own website in 2025, step by step. We will demystify the technical jargon and provide a clear, actionable roadmap that anyone can follow. From the initial planning stages and choosing the right platform to designing your pages, creating content, and successfully launching, you will learn everything you need to build a professional, functional, and beautiful website. Whether you’re a small business owner, a creative professional, or an aspiring blogger, this guide will empower you to build a digital home you can be proud of.
Step 1: Define Your Website’s Purpose and Goals (The Planning Phase)
Before you write a single line of text or choose a color palette, the most critical step is to define your “why.” A successful website is one that has a clear purpose. Rushing into the building process without a solid plan is like constructing a house without a blueprint; the end result will likely be disorganized and ineffective.
What is the “Why” Behind Your Website?
Start by asking yourself: What is the primary objective I want this website to achieve? Your answer will shape every subsequent decision, from layout and design to the content you create. Common website goals include:
- Establishing a Professional Online Presence: For many service providers (consultants, freelancers, local businesses), a website acts as a digital business card, building credibility and trust.
- Generating Leads: The site’s main purpose is to capture contact information from potential customers through forms, encouraging inquiries and consultations.
- Selling Products Online (E-commerce): The website is a digital store designed to showcase products, manage inventory, and process transactions.
- Showcasing a Portfolio: For creatives like photographers, designers, and artists, the website is a gallery to display their best work and attract new clients or commissions.
- Building a Community (Blogging): The goal is to share information, expertise, or stories on a specific topic, attracting a loyal readership and fostering a community.
Who is Your Target Audience?
Once you know your goal, you need to know who you’re trying to reach. Your website isn’t for everyone; it’s for a specific group of people. Defining your target audience will influence your website’s tone, style, and content.
Consider creating simple “user personas,” which are fictional representations of your ideal visitors. Ask questions like:
- What are their demographics (age, location, profession)?
- What are their goals or pain points?
- What information are they looking for when they visit your site?
- What is their level of technical savvy?
A website designed for tech-savvy millennials will look and feel very different from one targeting retirees looking for financial advice. Understanding your audience ensures your message resonates and your design is intuitive for them.
Planning Your Content and Structure
With your goals and audience defined, you can start mapping out the structure of your website. Think about the essential pages you will need. For most websites, this includes:
- Homepage: The front door to your website. It should grab attention, clearly state what you do, and guide visitors to other important pages.
- About Page: Your opportunity to tell your story, share your mission, and connect with your audience on a personal level.
- Services / Products Page: A detailed breakdown of what you offer, including descriptions, features, and pricing.
- Contact Page: Provides clear ways for visitors to get in touch, such as a contact form, email address, phone number, and physical address if applicable.
- Blog: A section for articles, news, and updates. A blog is a powerful tool for SEO and for establishing yourself as an authority in your field.
Creating a simple sitemap—a visual flowchart of your pages and how they link together—can help you organize your thoughts and ensure a logical user experience.
Step 2: Choose Your Platform (The Foundation)
Your website building platform is the underlying software you will use to create and manage your site. There are two main paths you can take, and the choice you make here is fundamental to your website’s future flexibility and control.
Understanding the Main Options
All-in-One Website Builders
These are hosted platforms that provide an all-in-one solution: hosting, design tools, and support in a single package. Examples include Squarespace and Wix. They are known for their simplicity and are a common starting point for users who prioritize ease of use over customization.
Content Management Systems (CMS)
A CMS is a more powerful and flexible software that you install on your own hosting account. It gives you complete control over every aspect of your website. By far the most dominant CMS in the world is WordPress.
Why WordPress is the Global Standard
When you hear “WordPress,” it’s important to understand the distinction between WordPress.com (a hosted builder) and WordPress.org (the self-hosted CMS). For full ownership and unlimited potential, WordPress.org is the recommended choice.
Here’s why WordPress powers over 43% of all websites on the internet:
- Complete Ownership and Control: With a self-hosted WordPress site, the website is 100% yours. You can move it, modify it, and do anything you want with it without being tied to a specific company.
- Unmatched Scalability: WordPress can power anything from a simple one-page blog to a massive e-commerce enterprise or a complex membership site. The platform grows with you.
- Massive Ecosystem: There are tens of thousands of themes (design templates) and plugins (apps for adding features) available, allowing you to add virtually any functionality you can imagine.
- Open-Source and Free: The WordPress software itself is free. Your primary costs will be for your domain and hosting, which we will cover next.
For these reasons, choosing the WordPress.org CMS provides the most robust and future-proof foundation for creating your website.
Step 3: Secure Your Domain Name and Web Hosting (Your Address and Land)
Every website needs two things to be live on the internet: a domain name (its address) and web hosting (the land it sits on).
Choosing the Perfect Domain Name
Your domain name is your unique web address (e.g., yourwebsite.com). It’s a critical part of your brand identity, so it’s worth taking the time to choose a good one.
- Keep it Short and Memorable: Long, complicated names are easy to forget and mistype.
- Make it Relevant: It should relate to your business name or the topic of your website.
- Aim for .com: The .com extension is the most recognized and trusted domain extension in the world. While other options exist (.net, .co, .org), .com should be your first choice.
- Avoid Hyphens and Numbers: These can be difficult to communicate verbally and can make a domain feel less professional.
You can register a domain name through registrars like Namecheap or GoDaddy for around $10-20 per year. Many web hosting companies offer a free domain name for the first year when you sign up for a hosting plan.
Understanding Web Hosting
If your domain is your address, web hosting is the physical plot of land where you build your house. It’s a service provided by a hosting company that stores all your website’s files (images, text, code) on a server and makes them accessible to visitors around the globe.
Types of Hosting Explained
There are several types of hosting, each suited for different needs and budgets.
| Hosting Type | Typical Monthly Cost | Ideal For |
| Shared Hosting | $3 – $15 | Beginners, new websites, personal blogs, and small businesses with low traffic. |
| VPS Hosting | $20 – $100 | Growing websites, online stores, and businesses that need more power and control. |
| Dedicated Hosting | $100+ | High-traffic websites, large corporations, and applications requiring maximum performance. |
| Managed WordPress Hosting | $25 – $200+ | Users who want a premium, hands-off experience with optimized performance, security, and support specifically for WordPress. |
For most people creating their first website, Shared Hosting is the perfect starting point. It’s affordable and provides all the necessary resources to get you online. You can easily upgrade as your website grows.
Once you purchase hosting and a domain, they are easily connected through your hosting provider’s dashboard.
Step 4: Design and Build Your Website with Elementor (The Creative Phase)
With WordPress installed on your hosting account, you now have the engine for your website. The next step is to design and build the car itself. While WordPress works with themes to control the look and feel of your site, the modern way to build a website is with a visual page builder.
Introducing Elementor: The Ultimate Visual Builder for WordPress
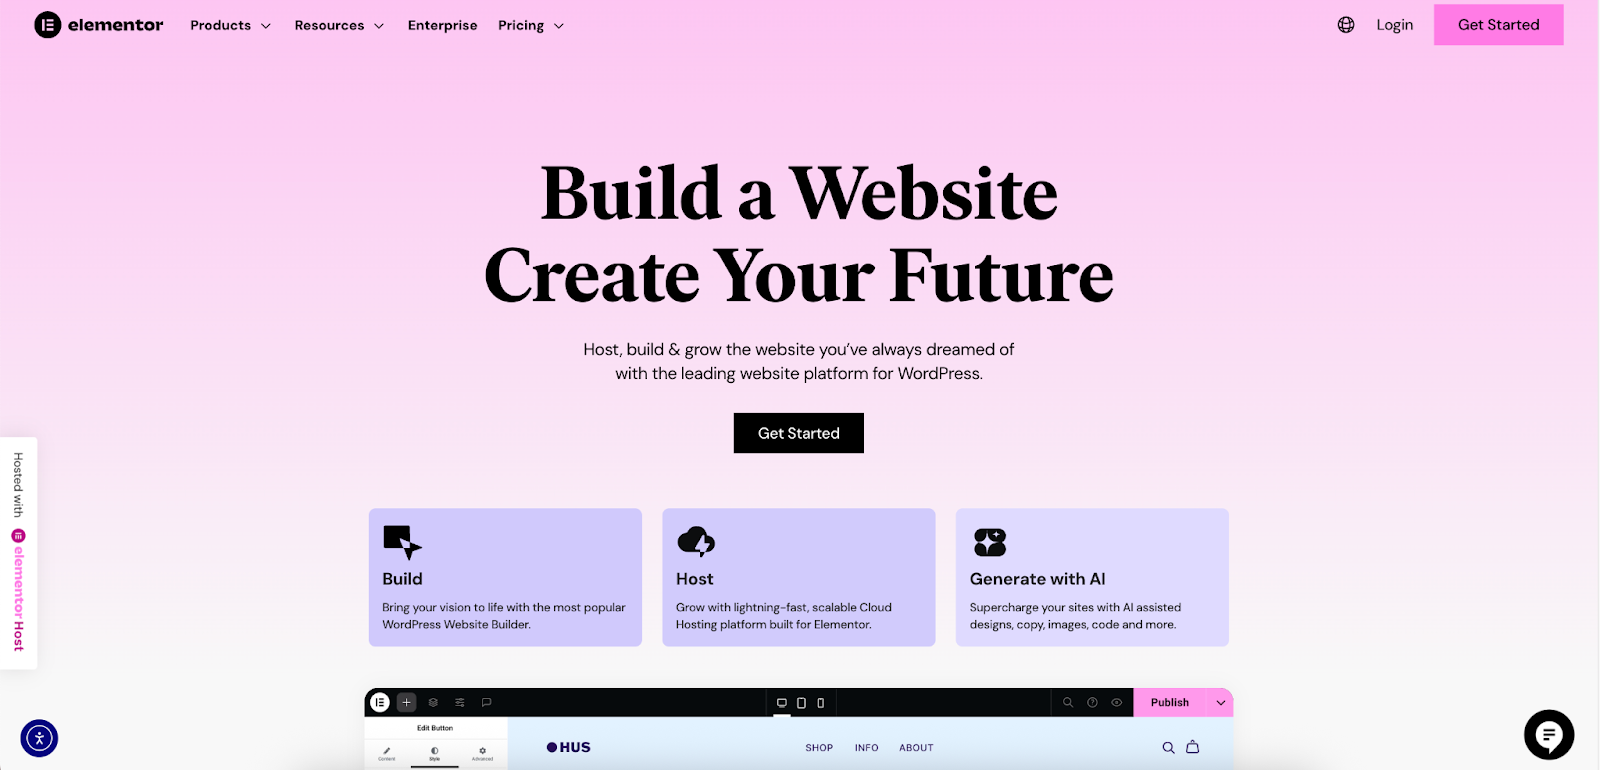
Elementor is the world’s leading website builder plugin for WordPress. It completely transforms the standard WordPress editing experience into a powerful, visual, drag-and-drop interface. It allows you to create complex, beautiful, and professional websites without ever needing to write a single line of code. This is why it is the preferred choice for over 10 million website creators, from beginners to seasoned professionals.
Getting Started with Elementor
After your hosting provider installs WordPress (most offer a simple one-click installation process), you can install Elementor directly from your WordPress dashboard. The free version is incredibly powerful and is more than enough to build a complete website.
Key Features that Empower You
Elementor provides a complete toolkit for visual web design.
The Drag-and-Drop Live Editor
This is the core of Elementor. You build your pages on the front end of your site, seeing exactly what your visitors will see. You simply drag “widgets” (content elements) onto the page and edit them in real-time. This intuitive workflow removes all the guesswork from web design.
Widgets and Elements
Widgets are the building blocks of your pages. Elementor comes with a huge library of them, including:
- Headings, Text Editors, and Images
- Buttons and Call-to-Action Banners
- Video Players and Google Maps
- Testimonials, Image Carousels, and Icon Boxes
- Contact Forms and Social Media Icons
The Template Library
If you don’t want to start from a blank slate, Elementor offers a massive library of professionally designed page templates and “blocks” (pre-designed sections like a contact area or a pricing table). You can insert these into your page with a single click and then customize them to match your brand.
Elementor Theme Builder (Pro feature)
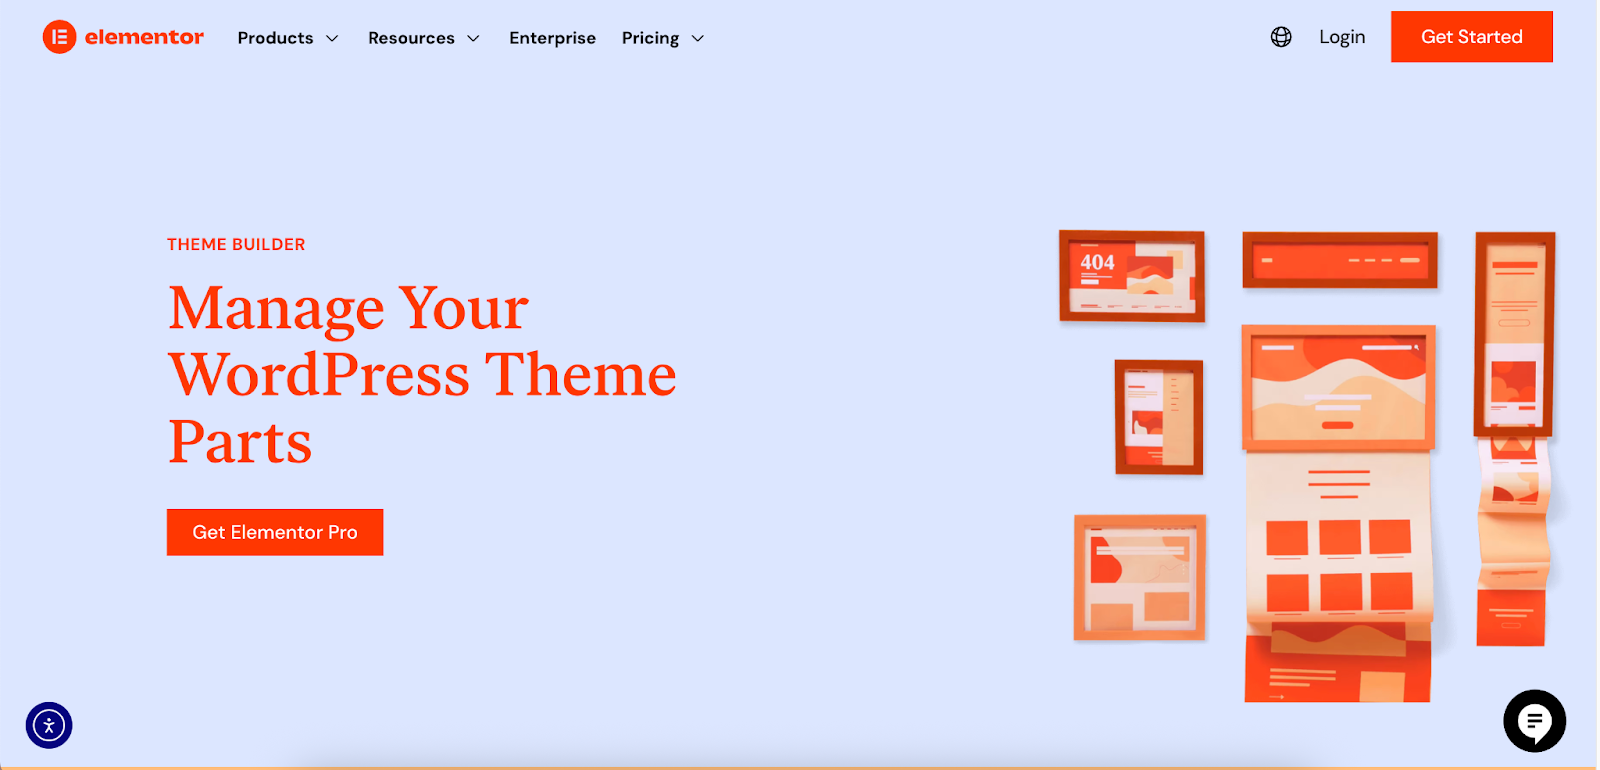
While the free version of Elementor lets you design the content of your pages, Elementor Pro unlocks the Theme Builder. This groundbreaking feature allows you to use the same visual editor to design every part of your entire website, including the header, footer, blog post templates, and archive pages. This gives you 100% design control over your site’s appearance, something that was previously only possible with custom code or restrictive themes.
Responsive Design Controls
In 2025, with over 60% of web traffic coming from mobile devices, a responsive website is essential. Elementor has built-in responsive controls that make it incredibly easy to fine-tune your design for desktops, tablets, and mobile phones, ensuring a perfect user experience for every visitor.
Step 5: Create and Add Your Website Content (The Substance)
With your design framework in place, it’s time to fill your website with high-quality content. Content is the reason people visit your site in the first place.
Crafting Compelling Written Content
Your text, or “copy,” should be clear, concise, and focused on your audience.
- Write for the Web: People scan websites, they don’t read them like a book. Use short paragraphs, clear headings, bullet points, and bold text to make your content easy to digest.
- Homepage: Clearly explain who you are, what you do, and who you do it for. Include a strong call-to-action (e.g., “Contact Us,” “Shop Now”).
- About Us Page: Don’t just list facts. Tell a story that connects with your visitors and builds trust.
- Services/Products Page: Focus on the benefits for the customer, not just the features of what you’re selling.
- Contact Page: Make it as easy as possible for people to reach you. Include a simple form and list multiple contact methods.
Sourcing and Optimizing Visuals
High-quality images and videos are crucial for making your site look professional and engaging.
- Sources: Use your own professional photography whenever possible. Alternatively, you can find high-quality images from free stock photo sites like Unsplash and Pexels or premium sites like Adobe Stock.
- Optimization: Large image files are the number one cause of slow websites. Before uploading any image, compress it using a tool like TinyPNG to reduce its file size without sacrificing quality. This will dramatically improve your page load speed.
Basic SEO (Search Engine Optimization) Principles
SEO is the practice of optimizing your website to rank higher in search engines like Google. While it’s a deep subject, you can cover the basics as you add your content.
- Keywords: Identify the main terms your audience would use to search for what you offer. Naturally include these keywords in your page titles, headings, and body text.
- Page Titles and Meta Descriptions: These are the text snippets that appear in Google search results. Write descriptive titles and compelling descriptions for each page to encourage clicks. Plugins like Yoast SEO or Rank Math can help you manage this easily within WordPress.
Step 6: Review, Test, and Launch Your Website (The Final Checks)
Before you announce your new website to the world, it’s essential to perform a final round of testing to ensure everything is working perfectly.
The Pre-Launch Checklist
Go through your site page by page and check the following:
- Proofread everything: Check for typos and grammatical errors in all your content.
- Test all links: Click every link on your site to make sure it goes to the correct destination.
- Test your forms: Fill out your contact forms to ensure they submit correctly and that you receive the notifications.
- Check responsive design: View your site on a desktop, a tablet, and a smartphone to confirm that the layout is correct on all screen sizes.
- Verify your SSL certificate: Make sure your site loads with https:// and displays a padlock icon in the browser address bar. This secures your site and is crucial for visitor trust.
Going Live!
Launching your website is often as simple as removing a “Coming Soon” page that you may have set up. Once it’s live, you should submit your website’s sitemap (a file that lists all your pages) to Google Search Console. This helps Google find and index your site more quickly.
Step 7: Maintain and Grow Your Website (The Ongoing Journey)
Creating a website is not a one-time task; it’s an ongoing process. Regular maintenance is essential for security and performance, and a growth strategy is key to achieving your long-term goals.
Essential Maintenance Tasks
- Regular Backups: Set up an automatic backup system so you can restore your site if anything goes wrong.
- Updates: Regularly update your WordPress core software, themes, and plugins to ensure you have the latest features and security patches.
- Security Scans: Use a security plugin to scan for malware and monitor for suspicious activity.
Strategies for Growth
- Analytics: Install Google Analytics to track your website traffic. Understanding how visitors find your site and what pages they view can provide valuable insights to guide your strategy.
- Content Marketing: Regularly add new articles to your blog. This keeps your site fresh, provides value to your audience, and improves your SEO.
- Promotion: Share your website and your new blog posts on social media, in your email newsletter, and in your email signature to drive traffic.
Conclusion: You’ve Built Your Digital Home
Congratulations! By following this guide, you have moved from a simple idea to a fully functional, live website. You have learned how to plan a strategy, choose the right platform, secure a domain, build and design pages with powerful tools like WordPress and Elementor, and launch your creation to the world.
Creating a website is one of the most empowering and valuable things you can do for your business or personal brand. Your website is a dynamic asset that will evolve with you. Continue to update it, add valuable content, and listen to your audience, and it will serve as the foundation for your online success for years to come.


