
This is where WebP, a modern image format developed by Google, comes in. It offers a powerful solution to the age-old problem of balancing image quality with website speed. This guide provides a comprehensive walkthrough of what WebP is, why it matters for your WordPress site, and how you can implement it to deliver a faster, more efficient experience to your visitors.
What is WebP? A Quick Primer for Web Creators
Before diving into the implementation, it’s important to understand what makes WebP a superior choice for the modern web. It isn’t just another image format; it’s a purpose-built solution designed to make the web faster without compromising the visual richness that users expect.
Understanding the WebP Format
WebP is an image format that provides advanced compression for images on the web. Developed and open-sourced by Google, it was created to produce files that are significantly smaller than their JPEG, PNG, and GIF counterparts. A key advantage of WebP is its versatility. It can handle both lossy and lossless compression, as well as animation and transparency, making it a potential replacement for multiple older formats.
To appreciate WebP, you need to understand its compression methods:
- Lossy WebP: This type of compression reduces file size by selectively discarding some of the image data. The algorithm is highly intelligent, focusing on removing data that the human eye is least likely to notice. This makes it an excellent choice for photographs and detailed images where a marginal loss in quality is imperceptible, but the reduction in file size is substantial. Lossy WebP images can be 25-34% smaller than comparable JPEG files.
- Lossless WebP: Unlike lossy compression, lossless compression reduces file size without removing any of the original image data. It works by identifying and efficiently storing repetitive patterns within the data. This method is ideal for graphics, logos, icons, and illustrations where preserving every pixel is crucial. Even without discarding data, WebP lossless images are up to 26% smaller than PNGs.
Furthermore, WebP combines the best features of other formats. It supports transparency with a lossless alpha channel (similar to PNG) and can handle animations (like GIFs), all while delivering much smaller file sizes. This makes it a true all-in-one format for nearly every visual element on your site.
Why Should You Care About WebP? The Core Benefits
Adopting a new image format might seem like a minor change, but the ripple effects of using WebP can have a profound impact on your website’s performance, user engagement, and search engine visibility.
Superior Compression and Smaller File Sizes
The most direct benefit of WebP is its remarkable compression efficiency. As mentioned, WebP files are significantly smaller than traditional formats. What does this mean in practice? A smaller file size translates directly to less data that needs to be downloaded by a visitor’s browser. When your website is composed of dozens of images, these savings add up quickly, leading to a dramatically faster and more responsive website.
Improved Website Performance and Core Web Vitals
Page load speed is a cornerstone of a good user experience. Studies consistently show that users have little patience for slow websites; a delay of just a few seconds can lead to a significant increase in bounce rates. By reducing image file sizes, WebP directly shortens loading times.
This has a measurable impact on Google’s Core Web Vitals, a set of metrics that measure real-world user experience for loading performance, interactivity, and visual stability. Specifically, optimizing images helps improve the Largest Contentful Paint (LCP) score, which measures how long it takes for the largest image or text block on the page to become visible. A better LCP score tells search engines that your site provides a fast, positive experience for users.
Enhanced SEO Rankings
Google has long used site speed as a ranking factor for desktop searches and has extended this to mobile searches as well. A faster website provides a better user experience, and search engines are designed to reward sites that serve their users well. By implementing WebP to boost your performance and improve your Core Web Vitals scores, you are sending strong positive signals to Google. While it’s just one of many ranking factors, a fast, optimized site can give you a competitive edge in search results.
Reduced Bandwidth Consumption
Smaller image files also mean less bandwidth is consumed with every page view. This has two key advantages. First, it benefits your visitors, especially those on mobile devices with limited data plans. A lighter website is more accessible to a broader audience. Second, it can lower your hosting costs. Many hosting providers charge based on bandwidth usage, so reducing the amount of data your site transfers can lead to tangible savings over time.
Is WebP Ready for Prime Time? Browser and WordPress Compatibility
For any web technology to be viable, it needs widespread support. For years, WebP’s adoption was hampered by a few holdouts, but that has changed dramatically. Today, WebP is a mature and universally supported format.
Current Browser Support for WebP
WebP is now natively supported by all major modern browsers, including:
- Chrome
- Firefox
- Microsoft Edge
- Safari (since version 14, released in 2020)
- Opera
- Most mobile browsers
With Safari’s adoption, WebP crossed the final frontier to become a universally safe choice for web creators. While extremely old browser versions may not support it, modern implementation methods include automatic fallbacks, ensuring that even users on outdated software will still see your images in their original format (like JPEG or PNG).
WordPress and WebP: A Brief History
The WordPress ecosystem has also embraced WebP. Since the release of WordPress 5.8 in 2021, the platform has included native WebP support. This means you can upload a .webp image to your Media Library just as you would a .jpg or .png file, and WordPress will recognize and display it.
However, there’s a crucial distinction to make. While WordPress allows you to use WebP images, it does not automatically convert your existing images to WebP. Nor does it handle the logic of serving WebP images to supported browsers while providing a fallback for others. If you upload a JPEG, WordPress will serve that JPEG to everyone. To unlock the full benefits of WebP, you need a solution that can create WebP versions of your images and intelligently deliver them.
How to Implement WebP on Your WordPress Website: The Main Approaches
Getting your WordPress site to serve WebP images is more accessible than ever. There are several methods available, each suited to different needs and technical comfort levels.
- Using an Image Optimization Plugin: This is the most popular and user-friendly method. These plugins automate the entire process of converting, storing, and serving WebP images, often with just a few clicks.
- Leveraging a Web Builder with an Integrated Ecosystem: Some professional website creation platforms offer tools that work together to streamline performance. Using a builder’s own optimization tools ensures compatibility and simplifies your workflow.
- Using a Content Delivery Network (CDN): Many modern CDNs can optimize and convert images to WebP on the fly, serving them from a global network of servers for even faster delivery.
- Manual Conversion and Upload: This is a more hands-on approach for those who want granular control over a small number of images. It’s not scalable for most sites but is useful to understand.
Method 1: Using WordPress Plugins to Serve WebP Images
For the vast majority of WordPress users, an image optimization plugin is the most practical and efficient way to implement WebP. These tools handle the heavy lifting behind the scenes, making the process accessible to everyone.
How Image Optimization Plugins Work
While different plugins have unique features, they generally follow a similar workflow:
- Your uploaded images (JPEGs, PNGs) in the WordPress Media Library are sent to the plugin’s optimization service or processed on your server.
- The service creates compressed versions of these images, including WebP and sometimes AVIF (an even newer format).
- These new WebP files are stored on your server alongside the originals.
- The plugin then modifies how your website delivers these images. Using server rewrite rules (like .htaccess) or PHP, it detects if a visitor’s browser supports WebP.
- If the browser supports WebP, the smaller .webp file is served.
- If it does not, the original .jpg or .png file is served as a fallback.
This ensures everyone sees your images while delivering the fastest possible version to the vast majority of your audience.
Finding the Right Plugin for Your Needs
The WordPress repository has numerous plugins for image optimization. When choosing one, consider factors like ease of use, performance, feature set, and pricing.
Image Optimizer by Elementor
A standout choice is the Image Optimizer plugin. Built by the team behind the popular Elementor website builder, this plugin is designed to provide effortless and powerful image optimization for any WordPress website, not just those built with Elementor. It focuses on delivering better performance without a complex setup process.
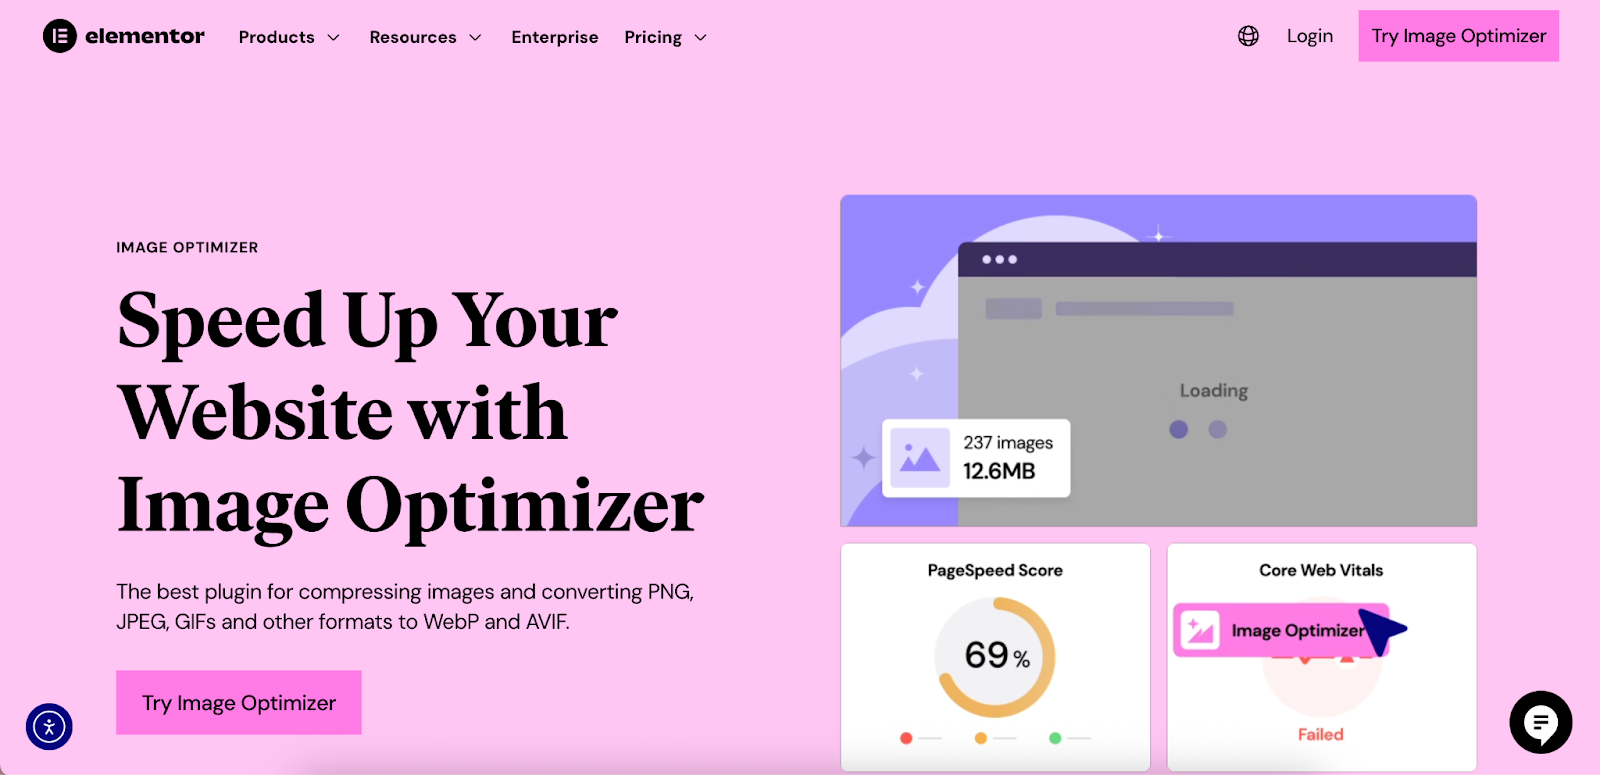
Key Benefits and Features:
- Effortless Optimization: The plugin integrates directly with your WordPress Media Library, making optimization a seamless part of your workflow.
- Automatic Conversion and Compression: Automatically compress newly uploaded images and convert them to next-gen formats like WebP and AVIF.
- Bulk Optimizer: Process your entire existing Media Library in one go to upgrade your site’s performance instantly.
- Preserve Quality: Choose between lossy and lossless compression to find the perfect balance between file size and visual quality.
- Full Control: The plugin creates backups of your original images, allowing you to restore them at any time. It also includes a feature to automatically resize oversized images upon upload, preventing performance bottlenecks.
One user noted,
“Image Optimizer works brilliantly and is so quick and easy to set up. It compresses images beautifully without sacrificing quality, which means our clients’ pages load faster and their visitors stay happy.” (Chris Gilchrist, Founder, Waterfront Digital)
Other Plugin Options
- ShortPixel: A well-known service that offers image and PDF optimization with multiple compression levels and WebP/AVIF conversion.
- Imagify: This tool also provides different levels of compression and can create WebP versions of your images.
- Smush: Offers features like lossless compression and lazy loading, with WebP conversion available in its premium version.
Step-by-Step: Setting Up an Image Optimization Plugin
Let’s walk through the process using Image Optimizer by Elementor as an example.
- Installation and Activation:
- From your WordPress dashboard, navigate to Plugins > Add New.
- Search for “Image Optimizer by Elementor.”
- Click Install Now, and then Activate.
- Initial Configuration:
- Upon activation, you will be guided through a simple setup process.
- You’ll be asked to choose your preferred compression levels. For most photos, Lossy provides the best balance of size and quality. For graphics, you might prefer
Lossless. - Ensure that the option to create WebP versions of your images is enabled. You can also enable AVIF for even greater compression, as the plugin will serve the best format supported by the browser.
- Configure other settings, such as backing up original images and setting maximum dimensions for uploaded images to prevent users from uploading excessively large files.
- Optimize Your Existing Library:
- Navigate to the plugin’s settings page (usually under Settings > Image Optimizer or Media > Bulk Optimization).
- Locate the Bulk Optimize tool. This feature will scan your Media Library for any un-optimized images.
- Click the button to start the process. The plugin will work in the background to compress and convert all your existing images. This can take some time depending on the size of your library.
- Verify It’s Working:
- Once the optimization is complete, open your website in a new incognito window.
- Right-click on any image on your site and choose Inspect.
- In the developer tools panel that opens, click on the Network tab.
- Refresh the page. A list of all the files loaded will appear.
- Find your image file in the list. The Type column should now show webp, confirming that the optimized version is being served.
Method 2: Leveraging Your Website Builder’s Capabilities
While standalone plugins are an excellent solution, another approach is to use a professional website builder that incorporates performance optimization into its ecosystem. This strategy helps reduce the number of third-party plugins you need to install and manage, which can minimize potential conflicts and streamline your entire workflow.
The All-in-One Approach: Builders with Performance Features
Professional web creators need tools that are not only powerful but also efficient. A website builder that considers performance at its core allows you to focus on design and content, knowing that the underlying structure is optimized for speed. This is where a comprehensive platform like Elementor shines.
Building with Performance in Mind Using Elementor
Elementor is built with a strong focus on performance. The editor itself includes numerous optimizations, such as efficient asset loading and dedicated caching features, to ensure that the websites you create are fast and lean.
While the core Elementor Editor doesn’t convert images to WebP on its own, its power lies in its robust ecosystem. By using the Image Optimizer plugin, you are using a tool developed by the same team, ensuring seamless compatibility. This integrated approach removes the guesswork and potential friction that can come from mixing plugins from different developers.
For web creators seeking the ultimate in performance and simplicity, Elementor Hosting offers a complete solution. It provides a managed hosting environment built on top-tier infrastructure from Google Cloud, specifically configured for high-performance WordPress sites. Crucially, it includes an enterprise-grade Content Delivery Network (CDN) with every plan.
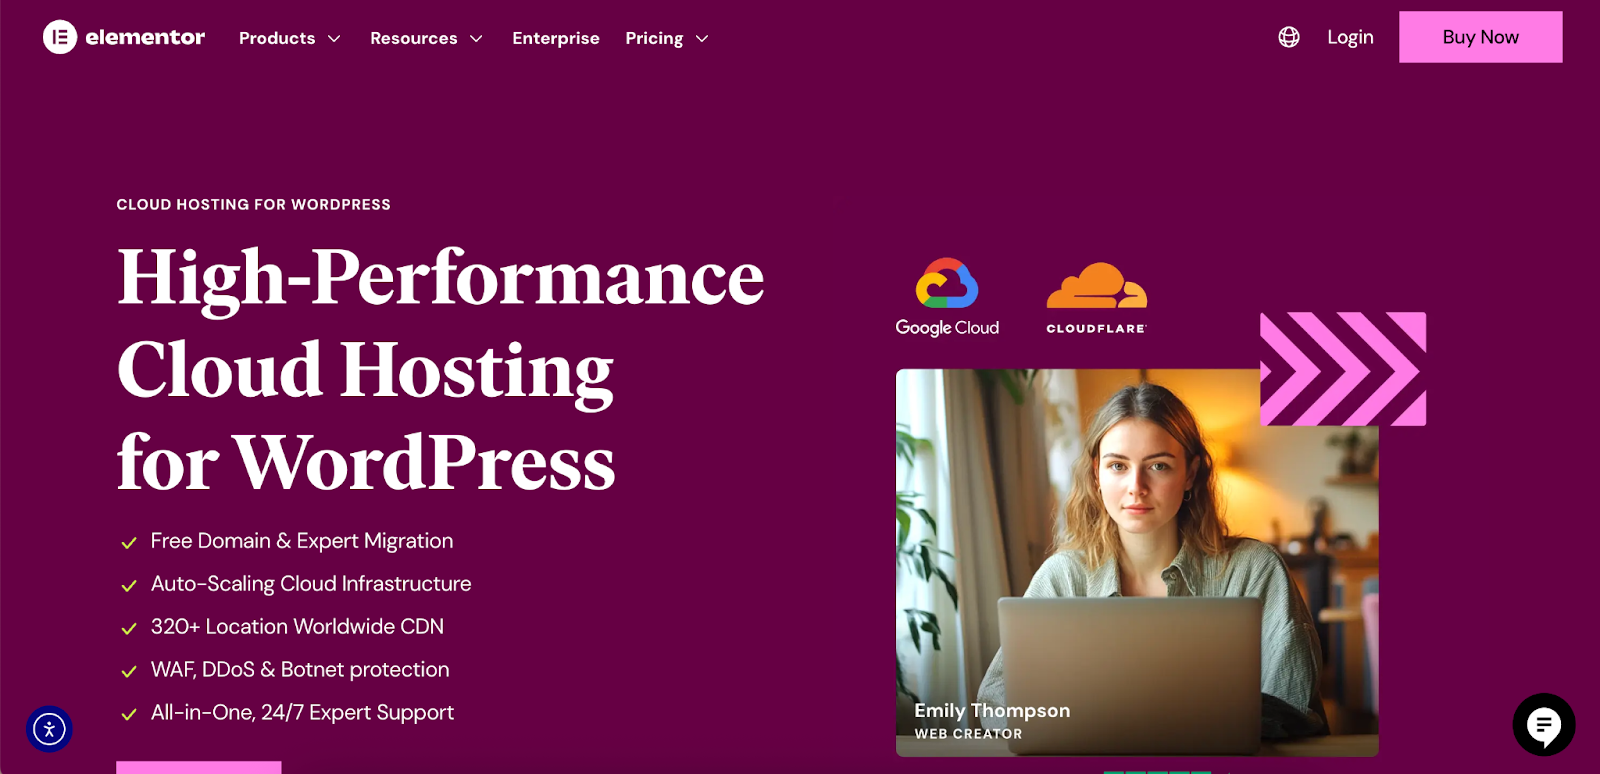
This CDN can further accelerate your site by delivering images and other assets from servers around the world, taking another layer of technical management off your plate. By combining Elementor’s powerful editor, its dedicated Image Optimizer plugin, and its performance-focused hosting, you create a fully integrated stack designed for professional results.
Method 3: Using a Content Delivery Network (CDN) for Image Optimization
A Content Delivery Network (CDN) is another powerful tool for boosting your site’s speed, and many modern CDNs come with built-in image optimization features.
What is a CDN and How Can It Help?
A CDN is a geographically distributed network of servers. When you use a CDN, copies of your website’s static assets (like images, CSS, and JavaScript files) are stored on these servers worldwide. When a visitor accesses your site, the CDN delivers those assets from the server that is physically closest to them. This dramatically reduces latency and speeds up load times.
Beyond this primary function, many CDNs can perform on-the-fly image optimization.
How CDN Image Optimization Works
The process is highly efficient and completely automated:
- A user’s browser requests an image from your site.
- The request is routed to the nearest CDN edge server.
- The CDN server checks the browser’s Accept header to see if it supports WebP.
- If it does, the CDN pulls the original image from your web host, converts it to WebP in real-time, and serves the optimized version to the user.
- The CDN then caches this new WebP version on its edge server, so the next user from that region gets it instantly.
This method offloads the entire conversion process from your own server, which can be beneficial for sites with very high traffic.
Popular CDNs with Image Optimization
- Cloudflare: One of the most widely used CDNs. Its paid plans include the Polish feature, which can automatically compress images and create and serve WebP versions to compatible browsers.
- Bunny.net: A popular and affordable CDN that offers a powerful feature called Bunny Optimizer. It can perform real-time resizing, cropping, and WebP conversion.
- Elementor Hosting’s Included CDN: As mentioned, Elementor Hosting comes with an enterprise-grade Cloudflare CDN included. This provides global content delivery and security features out of the box, reinforcing the value of an all-in-one solution for web creators who prioritize performance and reliability.
Method 4: The Manual Approach to WebP
For the technically inclined or for situations involving only a handful of images, it’s possible to convert and implement WebP manually. This method offers the most control but is not practical for most websites.
Who Is This Method For?
The manual approach is best suited for:
- Websites with very few images.
- Developers who want absolute control over the compression settings for each image.
- One-off landing pages or special projects where automation is unnecessary.
Step-by-Step Manual Conversion
- Convert Your Images: You’ll first need to convert your JPEG or PNG files to the WebP format.
- Online Tools: Free web-based converters like Squoosh (developed by Google) or Convertio are excellent options. They allow you to upload an image and visually compare the quality and file size of different compression settings.
- Desktop Software: Professional image editing software like Adobe Photoshop now includes built-in support for exporting images as WebP. Open-source alternatives like GIMP also have this capability.
- Upload to WordPress: Thanks to WordPress 5.8 and later, you can now upload the .webp files you created directly to your Media Library.
- Implement the Images with a Fallback: Here lies the challenge of the manual method. You cannot simply replace an <img> tag’s src with the .webp file’s URL, as this would result in a broken image for users on non-supported browsers. The correct way to implement this is by using the HTML <picture> element.
The <picture> element allows you to specify multiple sources for an image, and the browser will use the first one it supports. Here is an example of the code:
HTML
<picture>
<source srcset=”/path/to/your/image.webp” type=”image/webp”>
<source srcset=”/path/to/your/image.jpg” type=”image/jpeg”>
<img src=”/path/to/your/image.jpg” alt=”A descriptive alt text for your image.”>
</picture>
To use this, you would need to edit the HTML of your page or post. If you are using a builder like Elementor, you could place this code inside an HTML widget. As you can see, this process is cumbersome to repeat for every image on your site, which is why automated plugin or CDN solutions are the preferred choice for most creators.
Verifying Your WebP Implementation and Measuring Success
After setting up your chosen WebP solution, the final step is to verify that it’s working correctly and measure the performance gains.
How to Check if Your Site is Serving WebP Images
The most reliable way to check is by using your browser’s built-in developer tools.
- Open your website in Google Chrome or Mozilla Firefox.
- Right-click on one of your site’s images and select Inspect.
- In the developer console that appears, navigate to the Network tab.
- If the tab is empty, refresh the page.
- A list of all the resources loaded by the page will appear. You may want to filter this list by clicking on Img.
- Find your image in the list. Look at the Type column. It should display webp. If it does, your implementation is successful.
Measuring the Performance Impact
To quantify the benefits of your work, run your site through a performance testing tool both before and after implementing WebP.
- Google PageSpeed Insights: This is the ideal tool for this task, as it not only gives you a performance score but also measures your Core Web Vitals directly. You should see a noticeable improvement in your LCP score and a reduction in the “Serve images in next-gen formats” opportunity.
- GTmetrix or Pingdom: These tools provide detailed waterfall charts that visualize how your page loads. After implementing WebP, you will be able to see a clear reduction in the file size of your images and their corresponding load times.
Frequently Asked Questions (FAQ) about WebP on WordPress
What’s the difference between WebP and AVIF? AVIF is an even newer format that often provides better compression than WebP. However, its browser support is currently less widespread than WebP’s. Many modern optimization tools, including Image Optimizer by Elementor, can create both formats and will automatically serve the best one supported by the visitor’s browser.
Will I lose image quality with WebP? With lossless WebP, there is no quality loss at all. With lossy WebP, there is a technical loss of data, but the compression is so advanced that the visual quality is typically indistinguishable from the original JPEG, especially at a high-quality setting. The key is to find the right balance for your needs.
Do I need to keep my original JPEG and PNG files? Yes, absolutely. Your original files are essential. They serve as the source for creating WebP versions and, more importantly, as the fallback for browsers that don’t support WebP. You should never delete your original uploads.
Does using WebP affect my SEO? Yes, it affects SEO positively. By making your images smaller, WebP improves your site speed and Core Web Vitals. Since page performance is a known ranking factor, this is a clear benefit for your SEO efforts.
Can I use WebP for my logo? Yes. Lossless WebP is a perfect replacement for PNGs when it comes to logos, icons, and other graphics, especially those that require a transparent background. You get the same crisp quality and transparency with a smaller file size.
Conclusion
In today’s competitive digital landscape, website performance is paramount. Adopting the WebP image format is one of the most impactful steps you can take to speed up your WordPress site, improve your user experience, and boost your SEO. The benefits—smaller file sizes, faster load times, and reduced bandwidth—are too significant to ignore.
We’ve explored several effective methods for implementation, from automated plugins and CDNs to manual techniques. For most WordPress users, a dedicated optimization plugin offers the most effective and accessible path. A tool like Image Optimizer by Elementor provides a powerful, straightforward solution that integrates directly into your existing workflow, allowing you to reap the rewards of WebP without the technical headache.
Don’t let heavy images slow down your success. Take the time to evaluate your options and implement a WebP strategy today. Your visitors—and your search rankings—will thank you for it.


