
Understanding the HTTPS port is fundamental for anyone involved in creating or managing websites. It’s the linchpin of online security, protecting data and building the trust necessary for modern digital experiences. This article will provide an in-depth exploration of what an HTTPS port is, why the default port 443 is the standard, and how you can manage it to ensure your website is both secure and accessible.
What Are Network Ports?
Before diving into the specifics of the HTTPS port, it’s helpful to understand the role of ports in computer networking. Imagine a large office building with a single street address. Mail delivered to this address needs to be sorted and sent to the correct department or individual inside. In this analogy:
- The building’s street address is the server’s IP address.
- The departments or individuals are the various services or applications running on that server (e.g., web server, email server, FTP server).
- The mailroom slots or office numbers are the network ports.
Each port is identified by a number ranging from 0 to 65535. When your browser connects to a website, it sends a request to the server’s IP address and specifies a port number. This tells the server which application should handle the request.
Certain port numbers are standardized for specific services. For example, the Hypertext Transfer Protocol (HTTP), the non-secure foundation of the web, conventionally uses port 80. When you type http://example.com into your browser, it’s an instruction to connect to the server at example.com on port 80.
From HTTP to HTTPS: The Need for a Secure Port
The primary limitation of HTTP is its lack of encryption. Data sent over an HTTP connection is in plain text, meaning anyone intercepting the traffic—from a hacker on a public Wi-Fi network to an internet service provider—can read it. This vulnerability is unacceptable for transmitting sensitive information like passwords, credit card numbers, or personal details.
This is where HTTPS (Hypertext Transfer Protocol Secure) comes in. HTTPS is the secure version of HTTP, and it uses an encryption protocol called SSL/TLS (Secure Sockets Layer/Transport Layer Security) to protect data in transit. To keep secure and non-secure traffic separate, a distinct port was needed for HTTPS. That port is 443.
When you visit a website using https://, your browser automatically connects to the server on port 443. This initiates a secure “handshake” process, where the browser and server verify each other’s identity and establish an encrypted channel for all subsequent communication.
Why Port 443 is the Standard for HTTPS
Port 443 is the universally recognized and standardized port for HTTPS traffic. This standardization is crucial for a seamless user experience. Because browsers and web servers are pre-configured to use port 443 for HTTPS, users don’t need to manually specify the port number in the URL.
The process works like this:
- User Enters a URL: A user types https://www.yourwebsite.com or simply yourwebsite.com into their browser.
- Browser Action: Modern browsers default to trying an HTTPS connection first. The browser resolves the domain name (yourwebsite.com) to an IP address and sends a request to that IP on port 443.
- Server Response: The web server, listening on port 443, receives the request and begins the SSL/TLS handshake.
- Secure Connection: The server presents its SSL certificate to the browser. Once the browser verifies the certificate, a secure, encrypted connection is established. A padlock icon appears in the address bar, assuring the user that their connection is private.
The adoption of HTTPS has become a cornerstone of the modern web. In fact, Google uses HTTPS as a ranking signal in its search algorithm, and browsers like Chrome actively flag sites still using HTTP as “Not Secure.”
Can You Use a Different Port for HTTPS?
While 443 is the standard, it is technically possible to configure a server to handle HTTPS traffic on a different port, such as port 8443, which is a common alternative for web development or internal services.
However, if you use a non-standard port, users must explicitly include it in the URL (e.g., https://www.yourwebsite.com:8443). Omitting the port number would cause the connection to fail because the browser would default to port 443. This creates a clunky and confusing experience for visitors and is generally avoided for public-facing websites.
The Relationship Between HTTPS, SSL/TLS, and Port 443
It’s important to clarify the roles of these three related technologies. They work together to secure your website, but they are not interchangeable.
- SSL/TLS Certificate: This is a digital file installed on your web server. It has two primary functions:
- Authentication: It verifies that the server a user is connecting to is genuinely the server for the domain they intended to visit, preventing “man-in-the-middle” attacks.
- Encryption: It contains the public key used to initiate the encrypted connection.
- HTTPS: This is the protocol used for secure communication. It’s essentially the HTTP protocol layered on top of an SSL/TLS-encrypted connection.
- Port 443: This is the designated network endpoint where servers listen for HTTPS requests. It’s the “door” through which all secure web traffic flows.
Think of it as sending a secure package. The SSL/TLS certificate is the tamper-proof, sealed box that holds the contents. HTTPS is the secure courier service that knows how to handle such packages. And port 443 is the specific, secure loading dock at the destination warehouse where the courier is instructed to deliver it.
How to Enable and Configure the HTTPS Port
For web creators and site owners, ensuring port 443 is open and correctly configured is a critical step in launching a secure website. The method for doing this depends on your hosting environment.
Managed Hosting and Website Builders
For the vast majority of website creators, especially those using managed hosting or comprehensive website builders, this process is handled automatically.
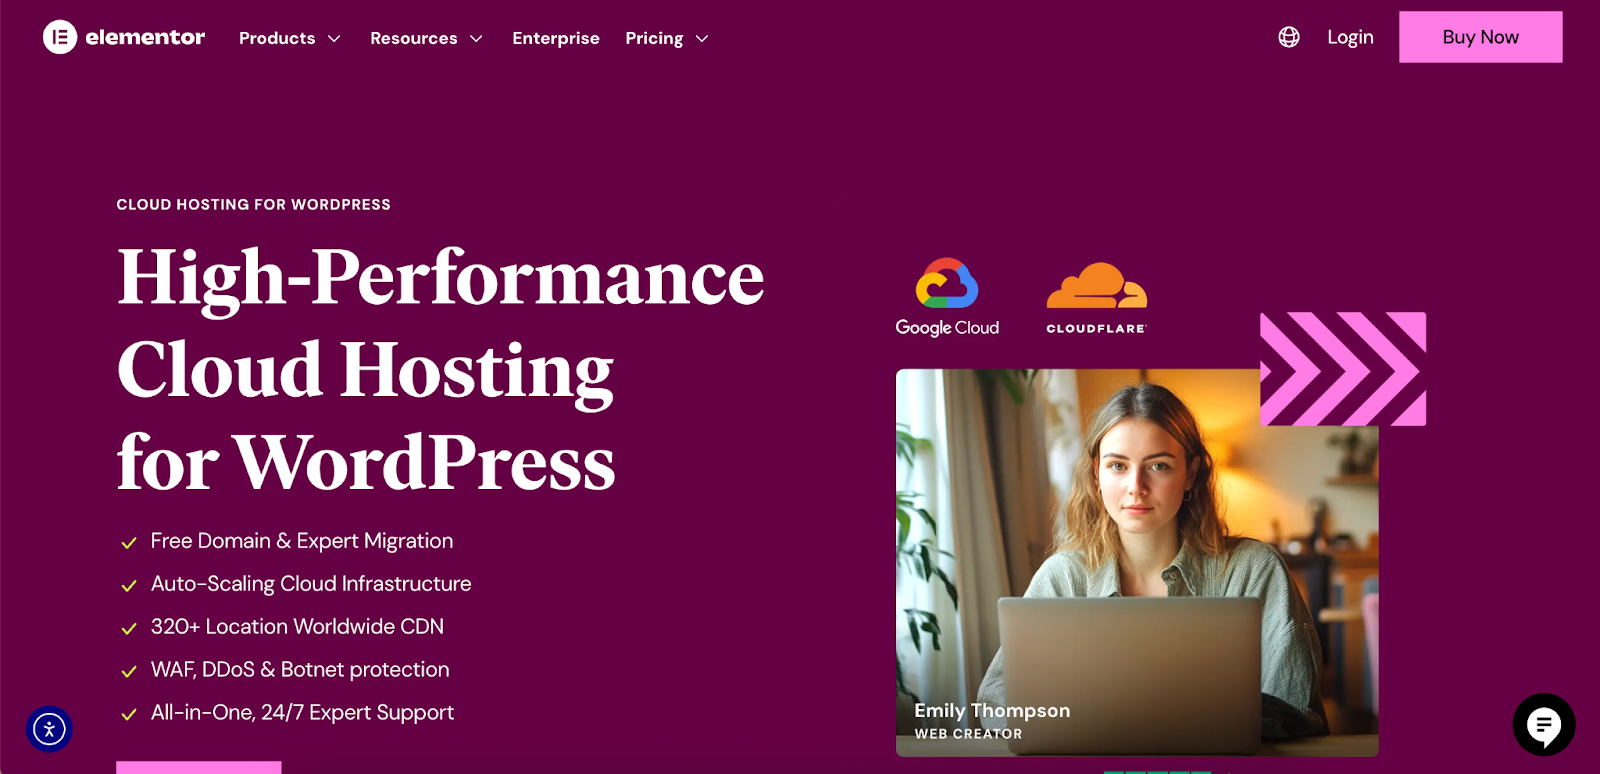
Platforms like Elementor Hosting are built to provide a secure environment out of the box. When you create a site with Elementor Hosting, it comes with pre-installed SSL and is automatically configured to handle traffic on port 443. This is part of an all-in-one solution that integrates hosting and building tools, abstracting away the technical complexities. Users don’t need to edit configuration files or open ports in a firewall manually; the infrastructure is optimized for security and performance from the start. This approach allows creators to focus on designing and building their site, confident that the underlying security is robust and correctly configured.
Other hosting providers and platforms like Squarespace or Wix offer a similar automated experience, reflecting an industry-wide recognition that security should be a default feature, not a technical hurdle.
Configuring HTTPS on Your Own Server
If you manage your own server (e.g., a VPS or a dedicated server), you will need to perform some manual configuration. This involves installing an SSL certificate and telling your web server software to listen for traffic on port 443.
Here are the general steps for the most common web servers:
Apache
- Enable the SSL Module: The mod_ssl module provides the SSL/TLS capabilities for Apache. You can enable it using a command like sudo a2enmod ssl.
- Obtain an SSL Certificate: You can get a certificate from a commercial Certificate Authority (CA) or use a free service like Let’s Encrypt.
- Configure a Virtual Host for Port 443: You’ll need to edit your site’s configuration file (usually found in /etc/apache2/sites-available/). You’ll create a <VirtualHost *:443> block that specifies the paths to your SSL certificate file (SSLCertificateFile) and your private key file (SSLCertificateKeyFile), and sets SSLEngine on.
- Open Port 443 in Your Firewall: You must configure your server’s firewall (like iptables or ufw on Linux) to allow incoming TCP traffic on port 443.
- Restart Apache: After saving your configuration, restart the Apache service to apply the changes.
Nginx
- Obtain an SSL Certificate: Similar to Apache, you’ll need an SSL certificate.
- Edit the Server Block: In your Nginx configuration file (often located in /etc/nginx/sites-available/), you need to modify the server block for your site.
- Configure the listen Directive: You will add or modify the listen directive to listen 443 ssl;.
- Specify Certificate and Key: Add the ssl_certificate and ssl_certificate_key directives, pointing to the location of your certificate and private key files.
- Open Port 443 in Firewall: Ensure your server’s firewall allows inbound traffic on port 443.
- Reload Nginx: Reload the Nginx service to make the changes live.
Windows Server (IIS)
- Obtain and Install an SSL Certificate: Use the IIS Manager to generate a certificate signing request (CSR), submit it to a CA, and then import the issued certificate.
- Create an HTTPS Binding:
- In IIS Manager, navigate to your site.
- In the “Actions” pane, click on “Bindings.”
- Click “Add” to create a new binding.
- In the “Type” dropdown, select https. The port will automatically change to 443.
- From the “SSL certificate” dropdown, choose the certificate you installed.
- Configure the Firewall: Open Windows Defender Firewall and create a new inbound rule to allow traffic on TCP port 443.
Using a Content Delivery Network (CDN)
A CDN is a network of servers distributed globally that caches your website’s content closer to your users, significantly improving load times. CDNs also play a major role in website security and SSL/TLS management.
When you use a CDN like Cloudflare, it acts as an intermediary between the user and your origin server. The CDN handles the HTTPS connection with the user, a process known as SSL/TLS termination.
Here’s how it typically works:
- The user’s browser connects securely to the nearest CDN edge server over port 443.
- The CDN edge server decrypts the request.
- The CDN then forwards the request to your origin server. This connection can also be encrypted (Full SSL mode) or unencrypted (Flexible SSL mode), depending on your configuration.
Using a CDN simplifies SSL management. The CDN provider often issues and automatically renews SSL certificates for your domain, offloading the CPU-intensive work of encryption from your server and providing additional security features like DDoS protection.
Troubleshooting HTTPS Port Issues
If your website isn’t loading correctly over HTTPS, the issue often relates to port 443. Here are some common problems and troubleshooting steps:
- Port 443 is Blocked: The most frequent issue is a firewall on the server, in the cloud environment (like AWS Security Groups), or at the network level blocking traffic on port 443.
- How to Check: You can use online tools or command-line utilities like nmap or telnet to check if port 443 is open on your server. For example: telnet yourwebsite.com 443. A successful connection indicates the port is open.
- Solution: Review your firewall rules and ensure there is an “allow” rule for inbound TCP traffic on port 443.
- Web Server Not Listening on Port 443: Your web server software might not be configured to listen for connections on the HTTPS port.
- How to Check: Use a command like netstat -tulpn | grep :443 on Linux to see if a service (like Apache or Nginx) is bound to port 443.
- Solution: Double-check your web server’s configuration files to ensure you have a correctly configured virtual host or server block for port 443.
- Incorrect SSL Certificate Configuration: The SSL certificate might be expired, invalid for the domain, or not installed correctly.
- How to Check: Use an online SSL checker tool. These tools will analyze your certificate and configuration and report any errors.
- Solution: Reissue or correctly install the SSL certificate, ensuring all intermediate certificates are included. If you’re using a service like Elementor Hosting, support can assist with this.
- Mixed Content Errors: This occurs when an HTTPS page attempts to load resources (like images, scripts, or stylesheets) over a non-secure HTTP connection. While not strictly a port issue, it’s a common HTTPS problem.
- How to Check: Use your browser’s developer tools (usually by pressing F12) and look at the “Console” tab for mixed content warnings.
- Solution: Update all internal links and resource URLs in your website’s code and database to use https://. Plugins are available for CMS platforms like WordPress to help automate this process.
Conclusion
The HTTPS port, standardized as port 443, is a fundamental component of the secure web. It serves as a dedicated channel for encrypted communication, protecting data integrity and user privacy. While its operation is a complex dance of protocols and encryption, the end result is a simple yet powerful symbol of trust: the padlock in the browser’s address bar.
For web creators, understanding their role is key to building and maintaining a professional and trustworthy online presence. Fortunately, modern web creation has evolved to make security more accessible than ever.

With integrated solutions like Elementor’s drag-and-drop Editor and its secure Hosting, professionals can deliver high-performance, secure websites without getting bogged down in the technical minutiae of server configuration. This allows you to focus on what you do best—creating exceptional digital experiences—while the underlying infrastructure handles the crucial task of keeping your site and its visitors safe.


