
Despite its importance, many website owners overlook this critical step. Research indicates that data loss and downtime can have a substantial financial impact, and a significant percentage of cyberattacks are directed at small businesses, often targeting vulnerabilities in content management systems, such as WordPress.
This guide removes the technical barriers and guesswork. We’ll walk you through five easy and effective ways to back up your WordPress site, from one-click solutions to manual methods that give you complete control. By the end, you’ll have a clear plan to protect your digital asset and ensure you can get back online quickly, no matter what happens.
Why Backing Up Your WordPress Site is Crucial
Thinking of a backup as your website’s “undo” button is a good start, but its importance goes much deeper. A consistent backup strategy is a fundamental part of responsible website management, providing a safety net against various common disasters.
Protection Against Data Loss
The most obvious reason for backing up data is to protect against data loss. This can happen in several ways: your hosting server could suffer a critical hardware failure, or a technical glitch during a software update could corrupt your database. Without a recent backup, years of content, user data, and design work could be permanently lost.
Security Against Hacks and Malware
WordPress is the world’s most popular CMS, which also makes it a prime target for hackers. Should your site be compromised by malware, a phishing attack, or a brute-force intrusion, the cleanup process can be complex and expensive. Having a clean, recent backup allows you to restore your site to its pre-hack state quickly, removing the malicious code and minimizing downtime and damage to your reputation.
Reversing Update Errors
The WordPress ecosystem thrives on updates. While regularly updating your plugins, themes, and core files is crucial for security and functionality, it’s not without risk. A faulty update can cause compatibility issues, break key features, or even bring down your entire site. A backup allows you to instantly roll back to the previous stable version while you diagnose the problem, ensuring your site remains functional for your visitors.
Peace of Mind During Site Migration
Whether you’re moving to a new hosting provider or just a different server, migrating a WordPress site can be a stressful process. A full backup is an essential prerequisite. It ensures that if anything goes wrong during the transfer—such as file corruption or database connection errors—you have a complete and intact copy of your site ready to be restored, making the process significantly less risky. A reliable hosting solution can further streamline this process. For example, Elementor Hosting is a solution designed for professionals who need a platform that gives them and their clients the confidence to scale.
Understanding What to Backup: The Two Core Components of Your Site
Before diving into the methods, it’s essential to understand what a comprehensive WordPress backup entails. Your website consists of two distinct parts, and you need both for a successful restoration.
Your WordPress Files
These are the actual files that form the structure and functionality of your site. This includes:
- WordPress Core Installation: The foundational files of the WordPress CMS.
- Plugins: Every plugin you’ve installed adds files to your wp-content/plugins directory.
- Themes: Your active theme and any other installed themes are located in the wp-content/themes directory.
- Media Library: All of your uploaded images, videos, and documents are stored in the wp-content/uploads directory. This is often the most significant part of a site’s file system.
- Configuration Files: Files like wp-config.php and .htaccess in your root directory contain vital settings for your website.
Your WordPress Database
The database is where all of your site’s content and settings are stored. It doesn’t contain the files themselves, but rather the information that organizes and populates them. This MySQL database includes:
- Posts, pages, and custom post types
- Comments and user data
- Site settings, including plugin and theme options
- Categories, tags, and other taxonomies
- eCommerce data like products, orders, and customer information
A complete backup includes a copy of all your files and a separate export of your database. Without both, you cannot fully restore your website.
Method 1: Use Your Hosting Provider’s Backup Service (The Easiest Way)
For most users, the simplest and most reliable way to handle backups is through their web hosting provider. Reputable hosts understand the importance of data protection and build automated backup systems directly into their service.
How Hosting Backups Work
Most quality hosting providers automatically create daily backups of your entire website (both files and the database) and store them for a set period, often 30 days. These backups are typically accessible through your hosting control panel, allowing you to restore your site to a previous point with just a few clicks. This “set it and forget it” approach provides excellent peace of mind without requiring any technical effort on your part.
The Benefits of an Integrated Hosting Solution
Choosing a host that integrates backups with its core services offers significant advantages. Because the host controls the entire server environment, their backup systems are optimized for performance and reliability. This is particularly true for managed WordPress hosting solutions, which are fine-tuned specifically for the platform.
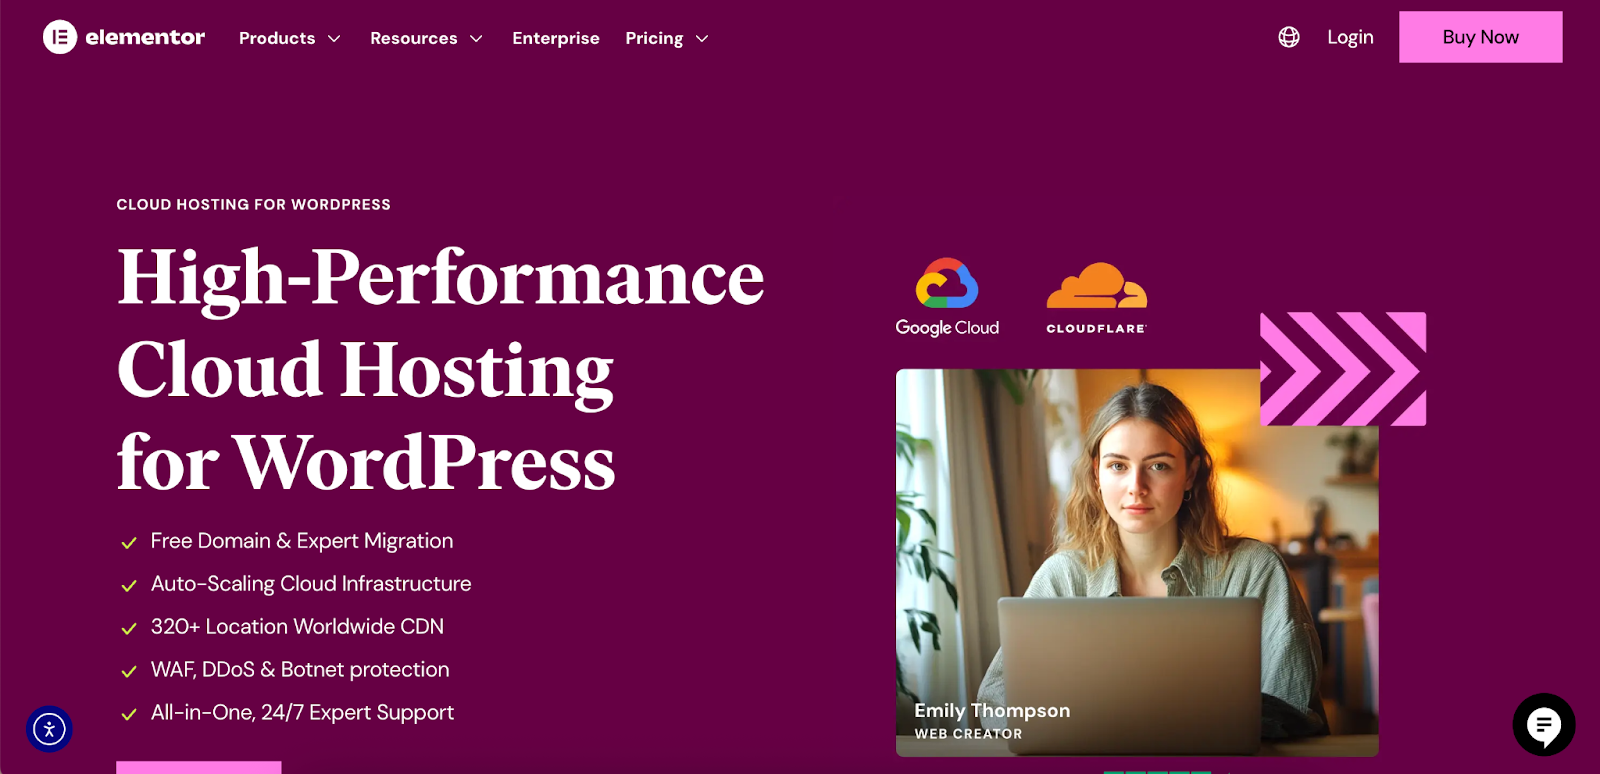
A Look at Elementor Hosting
For professionals who build websites with Elementor, an integrated solution like Elementor Hosting provides a seamless and robust experience. It’s a managed hosting solution designed for reliability, performance, and security, with backups being a core feature.

Key aspects of Elementor Hosting include:
- Managed Cloud Infrastructure: Elementor Hosting is built on top of the best cloud infrastructure available: Google Cloud & CloudFlare. This foundation provides exceptional speed and stability. It also features auto-scaling Cloud Hosting that accommodates traffic peaks without slowing down the site, even when unexpected traffic occurs.
- All-in-One Support: A significant frustration for many website owners is dealing with support from different companies. If an issue arises, the hosting company might blame a plugin, and the plugin developer might blame the host. With Elementor Host, you get support for Elementor and hosting in one place, from experts who understand both. This eliminates the guesswork and helps you resolve more quickly.
- Enterprise-Grade Security: Every Elementor Host website includes a premium SSL certificate, anti-DDoS protection, a Web Application Firewall (WAF), and anti-botnet protection. This secure environment protects your site from common threats, and the included backup system ensures you have a recovery point if needed.
- Simplified Management: The entire experience is designed to be straightforward for web creators. You get a single bill and a centralized dashboard for managing your sites, which simplifies the workflow for freelancers and agencies managing multiple client projects.
How to Restore From a Hosting Backup
The process varies slightly between hosts, but it generally involves these steps:
- Log in to your hosting account’s control panel (e.g., cPanel, Plesk, or a custom dashboard).
- Navigate to the “Backups” or “Backup Manager” section.
- Select the site you wish to restore (if you have multiple sites).
- Choose a restore point from the list of available dates.
- Confirm the restoration. The system will handle the entire process of replacing your files and database with the selected backup.
Method 2: Use a Dedicated WordPress Backup Plugin
If your host doesn’t offer reliable backups or if you want more control over your backup schedule and storage location, a dedicated WordPress plugin is an excellent choice. This is the most popular method for users who want a flexible and powerful solution managed directly from their WordPress dashboard.
How Backup Plugins Work
Backup plugins automate the process of creating a full backup of your site. They package your WordPress files and database into a single downloadable archive (usually a .zip file). Most modern plugins allow you to schedule backups to run automatically (e.g., daily or weekly) and can send the backup files to a secure, off-site cloud storage location.
Key Features to Look For in a Backup Plugin
- Automation: The ability to set a schedule and have backups run automatically in the background.
- Cloud Storage Integration: Support for sending backups to remote locations like Google Drive, Dropbox, or Amazon S3. Storing backups off-site is crucial in case your entire server becomes inaccessible.
- Full Site Backup: Ensure the plugin backs up both your files and your database.
- Easy Restore: A good plugin should have a simple, one-click restore feature to get your site back online quickly.
- Support: Look for plugins with good documentation and a responsive support team.
Popular backup plugins include UpdraftPlus, Jetpack VaultPress, and BackupBuddy.
Step-by-Step: Setting Up a Backup Plugin
While the interface differs between plugins, the general setup process is similar:
- Step 1: Install and Activate the Plugin: From your WordPress dashboard, go to Plugins > Add New, search for your chosen backup plugin, and click “Install” and then “Activate.”
- Step 2: Configure Your Settings: Navigate to the plugin’s settings page. Here, you will configure two main things:
- Schedule: Set the frequency for your file and database backups. For most sites, a daily database backup and a weekly file backup is a good starting point.
- Remote Storage: Select your preferred cloud storage provider and follow the authentication steps to connect it to your website.
- Step 3: Run Your First Backup: Manually initiate your first full backup to ensure everything is working correctly.
- Step 4: Test Your Restore Process: It’s critical to know that your backups actually work. Ideally, you should test restoring your backup on a staging site or a local development environment to avoid affecting your live site.
Method 3: Perform a Manual Backup via cPanel
For those who prefer a hands-on approach or are in a situation where they cannot access their WordPress dashboard, a manual backup is a reliable option. Most web hosts provide access to a control panel called cPanel, which includes all the tools you need.
This method is more technical and involves two distinct parts.
Part 1: Backing Up Your WordPress Files
- Log in to cPanel and open the File Manager.
- Navigate to your website’s root directory, which is usually public_html.
- Select all WordPress files and folders within this directory.
- Click the Compress button in the top menu. Choose “Zip Archive” as the compression type and click “Compress File(s).” This will create a single .zip file containing all your website files.
- Once the compression is complete, select the newly created .zip file and click Download. Save it to a secure location on your local computer.
Part 2: Backing Up Your WordPress Database
- Return to the main cPanel dashboard and open phpMyAdmin.
- On the left-hand sidebar, select the database that corresponds to your WordPress installation. If you’re not sure which one it is, you can find the database name in your wp-config.php file.
- With your database selected, click the Export tab in the top navigation bar.
- Choose the Quick export method and ensure the format is set to SQL.
- Click the Go button. This will download a .sql file of your database to your computer.
Store both the .zip file of your files and the .sql file of your database together in a secure, off-site location.
Method 4: Perform a Manual Backup via FTP/SFTP
If your host doesn’t use cPanel or if you prefer using a File Transfer Protocol (FTP) client, you can use this method to back up your files. SFTP (Secure File Transfer Protocol) is recommended over FTP as it encrypts the data during transfer.
What You’ll Need
You will need an FTP client application installed on your computer. FileZilla is a popular, free, and open-source option. You will also need your FTP/SFTP credentials (host, username, password, and port), which can be found in your hosting account dashboard.
Step-by-Step: Backing Up Files with an FTP Client
- Connect to your server using your FTP client and credentials.
- In the right-hand panel (the remote site), navigate to your WordPress root directory (e.g., public_html).
- In the left-hand panel (your local computer), create a new folder to store your backup files.
- Select all the files and folders in the remote site panel, then drag and drop them into the local folder you just created.
- The download process may take some time, depending on the size of your site.
For the database portion of this backup, you will still need to follow the phpMyAdmin steps outlined in Method 3.
Method 5: Implement Real-Time Backups
For certain types of websites, daily or weekly backups might not be enough. A real-time backup, also known as continuous data protection (CDP), saves changes as they happen.
Who Needs Real-Time Backups?
This method is essential for dynamic, high-transaction websites where data changes constantly. If your site lost even an hour’s worth of data, it could be a significant problem. Examples include:
- eCommerce Stores: To avoid losing order and customer information.
- Membership Sites: To protect new user registrations and content access records.
- High-Traffic Blogs or News Sites: Where comments and content updates are frequent.
How to Get Real-Time Backups
Real-time backups are a premium feature. You can typically get them in two ways:
- High-End Backup Plugins: Some premium backup plugins, like Jetpack VaultPress, offer real-time backup functionality as part of their top-tier plans.
- Managed Hosting Providers: Many premium managed hosting solutions, including some that specialize in eCommerce or high-traffic sites, offer real-time backups as part of their service package. These solutions provide the ultimate peace of mind by ensuring every single change is captured.
Best Practices for WordPress Backups
Regardless of the method you choose, following these best practices will ensure your backup strategy is robust and reliable.
Store Backups in Multiple Locations
The 3-2-1 rule is a standard best practice for data protection: keep at least three copies of your data, store them on two different types of media, and keep one copy off-site. For a website, this means having a backup on your server (if available), one on your local computer, and one in a cloud storage service like Google Drive or Dropbox.
Establish a Consistent Backup Schedule
The ideal backup frequency depends on how often you update your site.
- Static or Low-Traffic Sites: A weekly backup may be sufficient.
- Blogs and Business Sites: A daily backup is recommended.
- eCommerce and Membership Sites: A real-time or at least hourly backup is best.
Automate your schedule whenever possible using a plugin or hosting service.
Regularly Test Your Backups
A backup is useless if it doesn’t work. Periodically, you should test your restore process on a staging site to confirm that your backup files are not corrupted and that you know how to perform a restoration before a disaster strikes.
Secure Your Backup Files
Your backup files contain a complete copy of your website, including sensitive information. Treat them with the same level of security as your live site. If you store them in the cloud, use a strong, unique password and enable two-factor authentication on your storage account.
Conclusion
Your WordPress website is the result of countless hours of effort, and protecting it with a solid backup strategy is non-negotiable. From the effortless automation of managed hosting solutions like Elementor Hosting to the granular control of manual methods, there is a solution available for every user, technical skill level, and budget.
The five methods outlined in this guide provide a clear path to securing your digital assets. The key is to move from knowing to doing. Don’t wait for a crisis to discover the importance of a backup. Choose the method that best fits your needs, set it up today, and enjoy the peace of mind that comes from knowing your hard work is safe, secure, and ready to be restored at a moment’s notice.


